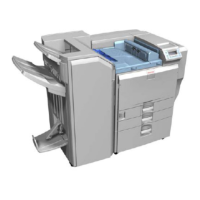
Punch Unit (B702)
SM 1-41 G133
Installation
punch unit board ( x 2, = x 1).
The cables [E] are coiled and attached to the PCB.
6. Attach the slide drive unit [F] to the finisher and connect it to the punch unit ( x 2,
x 1). Push in the slide drive unit at { when you attach the screw |.
7. Make sure that the punch unit moves freely and is not blocked by the screws.
8. Put the side-to-side detection unit [G] in the machine. Make sure that the two pins are
engaged correctly at the front.
9. Make sure that the side-to-side detection unit moves smoothly on its rails. If it does not,
make sure that the rails are aligned with their grooves.
10. Attach the side-to-side detection unit and connect it at the rear ( x 2, = x 1, x 1).
11. Pull the short connector out of the connector [H] then connect the cable of the finisher
( x 1).
This is the 3-pin connector.

 Loading...