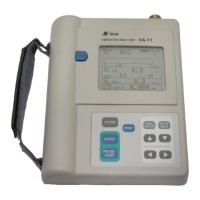
15
Preparations
2.
Insert the connector plug of the cable into the INPUT connector on the
VA-12, and rotate the connector ring clockwise to rmly lock the plug.
3. If the accelerometer has been changed, use the supplied calibration
chart to make the sensitivity setting (see the “Making sensor settings”
section below).
4. Lightly press the accelerometer and verify that the display indication
changes.
5. Use the RANGE
/ keys and verify that the display indication
changes.
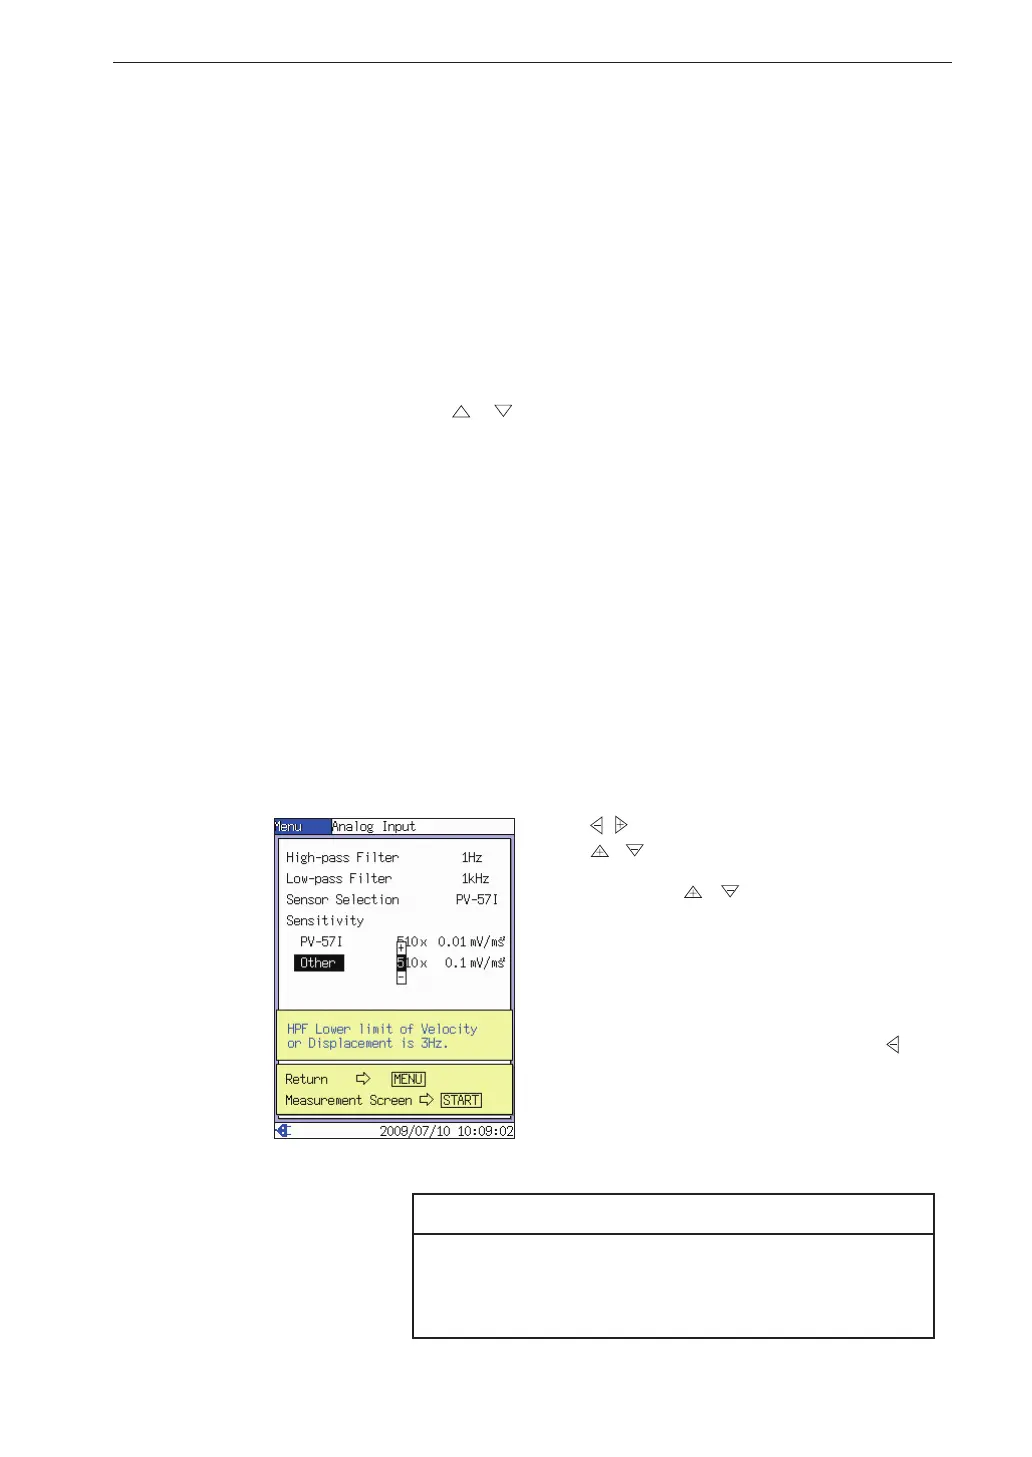
Making sensor settings
Use the supplied calibration chart of the accelerometer you intend to use, and
make the sensitivity setting by performing the following steps.
1. From the [Analog Input] menu screen, select [Sensor Selection] and
then [PV-57I] or [Other].
2. Set [Sensitivity] to the sensitivity value given on the calibration
chart.
[Analog Input] menu screen
Note
When selecting [PV-57I], a popup window appears,
asking whether you want to change the sensitivity
setting. Also note that the factor cannot be changed.
Use the / keys to move to the item to change, and
use the / keys to change the numeric value.
Holding down the / keys changes the value
more quickly.
When the correct value has been set, press the ENT
key to accept the setting.
To cancel the procedure without changing the current
setting, press the START/STOP key or the key.
The cursor returns to the menu item name, and the
setting value reverts to the previous condition.
 Loading...