12
Important Notes on Installation and Connections
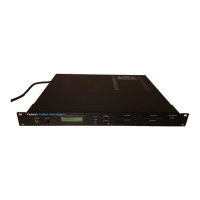
You can mount the R-1000 in a 19-inch rack.
When mounting the unit in a rack, observe the following precautions.
• Install in a well-ventilated location.
• Never obstruct the exhaust port on the R-1000.
• Use an open-type or ventilated rack to ensure that hot air from the exhaust port does not remain inside the rack.
• Never mount the unit in a sealed-type rack. Heated air inside the rack cannot escape, making efficient cooling impossible. If the unit must be
mounted in a sealed-type rack, use a rack equipped with a ventilation fan.
• When using the unit while mounted in a portable rack, remove the front and rear rack covers before use to ensure air flow.
• When mounting the unit in a rack, never attach rubber feet to the bottom panel. If they are already attached, remove them prior to mounting.
• Use due caution when mounting the unit in a rack to ensure that your fingers don’t get pinched.
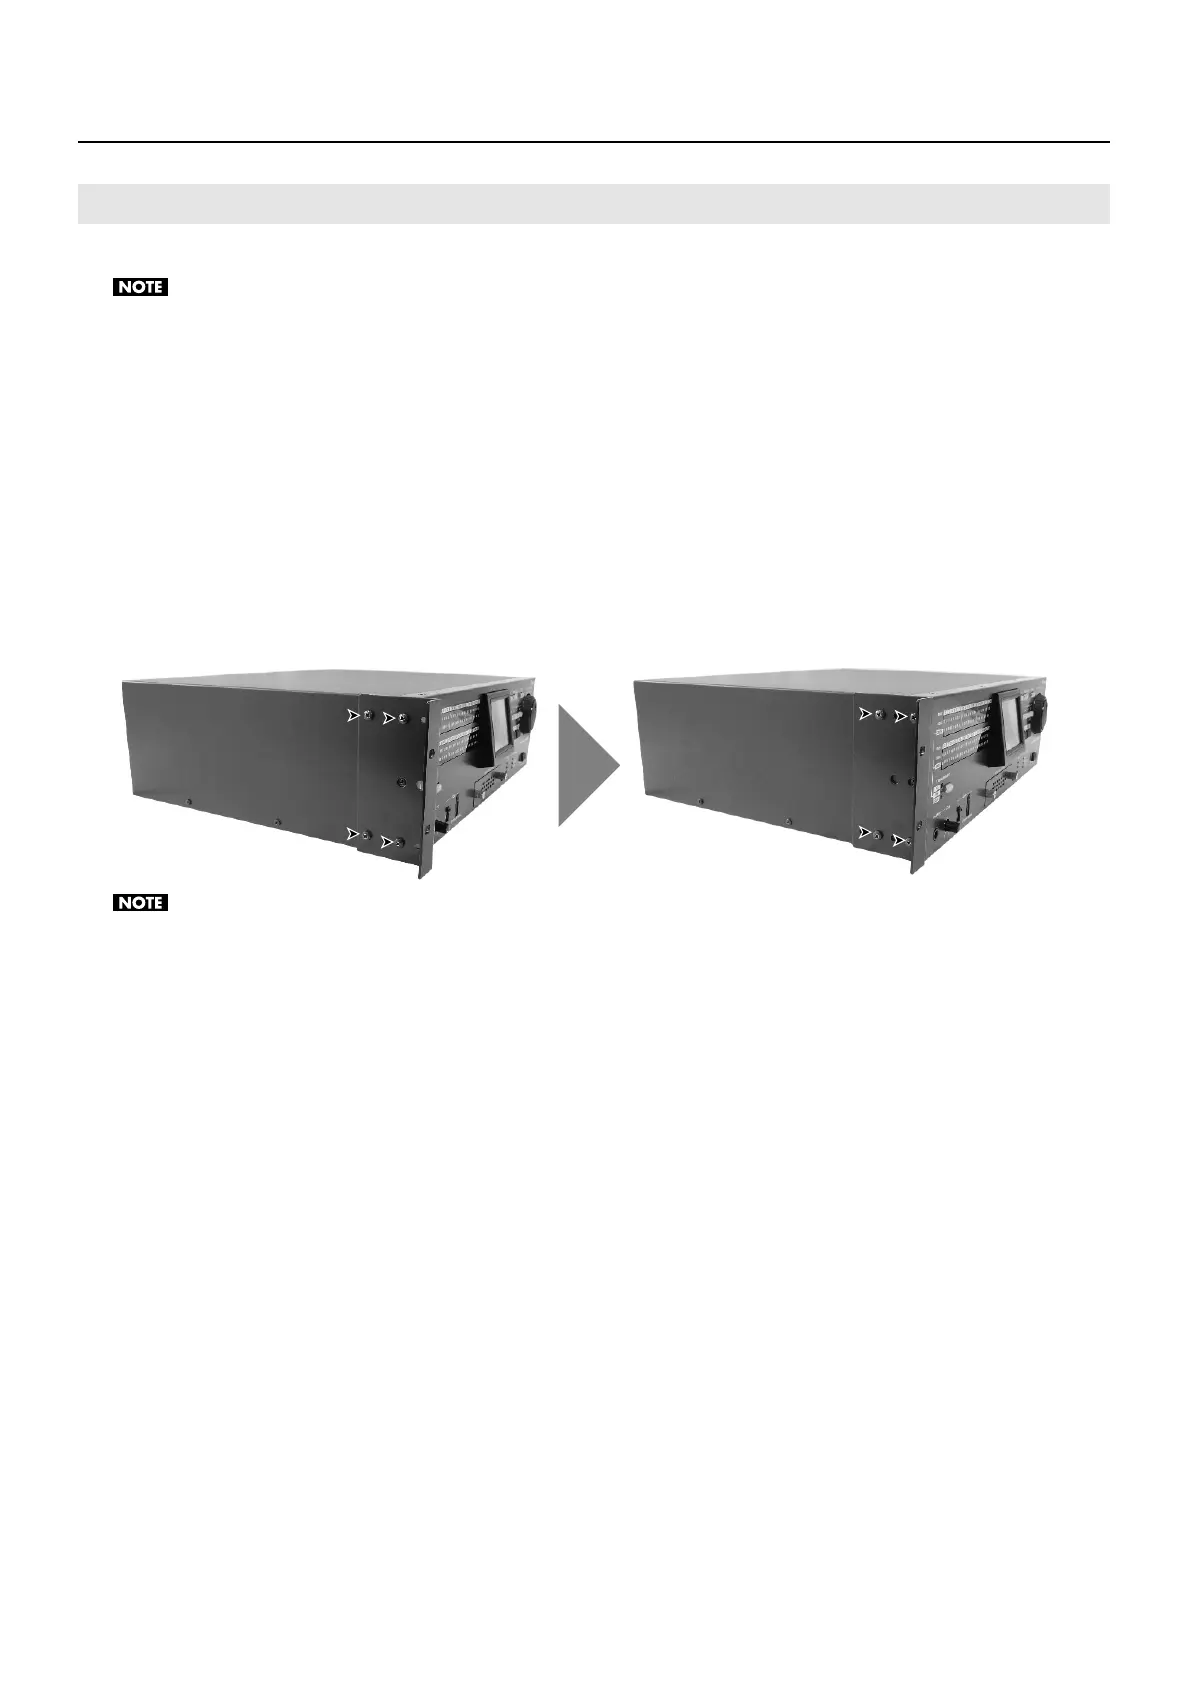
Adjusting the Location of the Rack-mount Brackets
You can move the location where the rack-mount brackets are installed on the unit by 16 millimeters. Remove all screws securing
the rack-mount brackets (4 on each side, for a total of 8), then mount using screw holes at different locations.
* Before removing any screws, turn off the power to the R-1000 and detach the power cord and all connection cables.
fig.rack-mount-move.eps
When using the unit with the rack-mount brackets detached, pay attention to the following precautions.
• Be sure to occupy the screw holes with the removed screws.
• Never use any screws except the removed ones to occupy the screw holes. Using other screws may cause malfunction.
• When re-installing the rack-mount brackets, turn off the power to the R-1000 and detach the power cord and all connection cables. Also, be
sure to install using the original screws.
About Rack Mounting
 Loading...