15
Power Supply
The R-1000 has an built-in lithium battery for saving the settings for the unit’s calendar/clock. When the battery runs down, the
calendar/clock ceases to functioning correctly. If the message “Internal battery is low” appears on the screen, indicating that the
battery is nearly dead, replace the battery.
* The replacement battery type is CR2032. Be sure to use a battery of the same type.
1. Disconnect power cord.
Disconnect the power cord from the R-1000 unit.
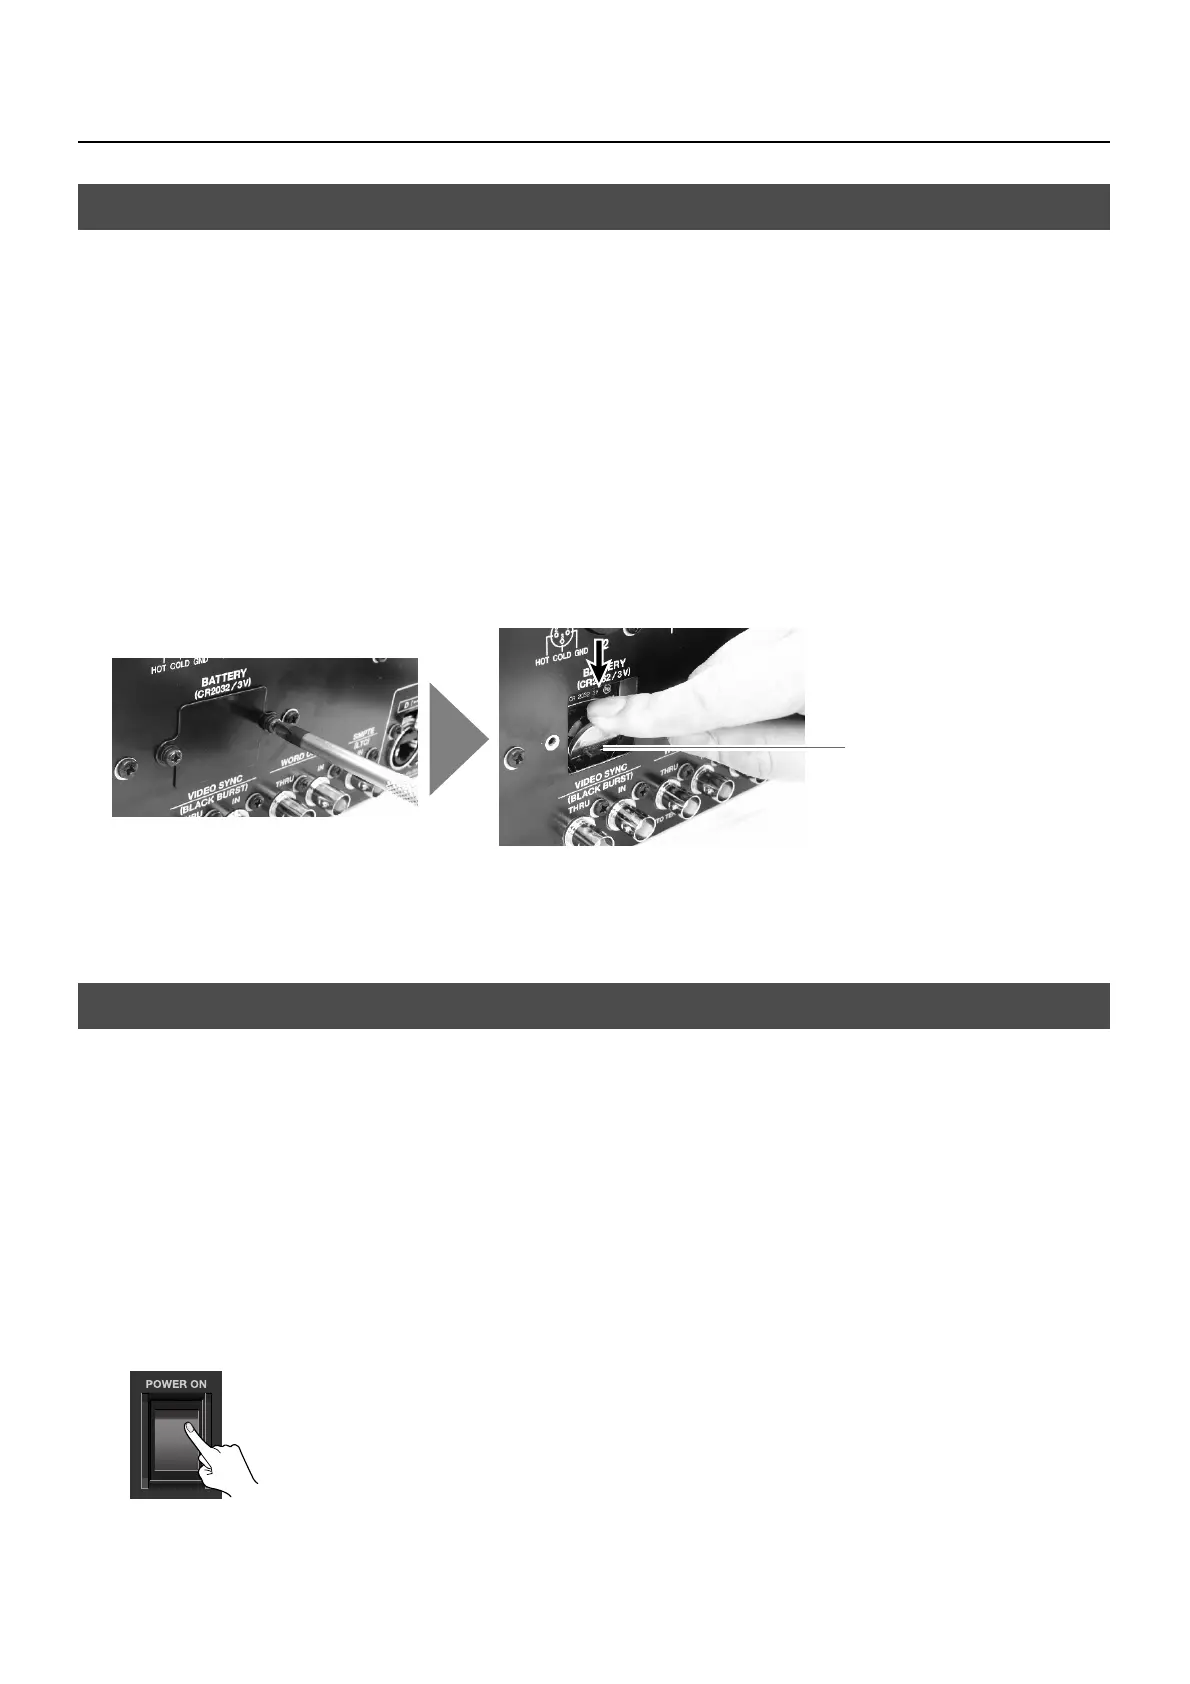
2. Remove the BATTERY panel.
Remove the BATTERY panel from the rear panel.
3. Replace the battery.
Take out the old battery and replace it with a fresh one. You can remove or install a battery by pressing down on it. When
replacing, be careful not to cut your hand or finger on the opening. Also, be sure that the “+“ and “-“ sides of the battery are
oriented correctly. When inserting, orient so that the positive side is the one facing back toward you (toward the rear panel).
fig.replace-battery.eps
4. Attach the BATTERY panel.
Attach the BATTERY panel removed in step 1 at its original location.
* Be sure to occupy the screw holes with the removed screws. Never use any screws except the removed ones to block the screw holes. Using
other screws may cause malfunction.
Turning the Power On
Once the connections have been completed (p. 14), turn on power to your various devices in the order specified. By turning on
devices in the wrong order, you risk causing malfunction and/or damage to speakers and other devices.
* This unit is equipped with a protection circuit. A brief interval (a few seconds) after power up is required before the unit will operate normally.
* To prevent malfunction and/or damage to speakers or other devices, always turn down the volume, and turn off the power on all devices before
making any connections.
1. Connect the peripheral devices.
Connect the peripheral devices. Before making the connections, switch off the power to all REAC devices, including the R-1000.
2. Turn the power on.
Set the POWER switch on the rear panel to ON. When the R-1000 starts, the STANDBY button on the front panel lights up green.
*When you start the unit for the first time, the calendar/clock setting screen is displayed on the R-1000’s touch-panel
display. Follow the steps in the separate “Adjusting the Internal Calendar/Clock” document to set the date and time. On
the second and subsequent startups, the home screen (p. 65) is displayed.
3. Turn on the power to the peripheral devices.
Turn on the power to the devices connected to the R-1000.
About the Internal Lithium Battery
Turning the Power On and Off
+
 Loading...