22
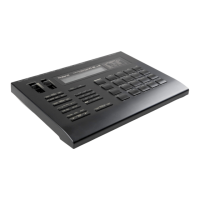
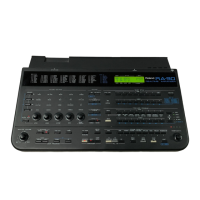
Part Names and Functions
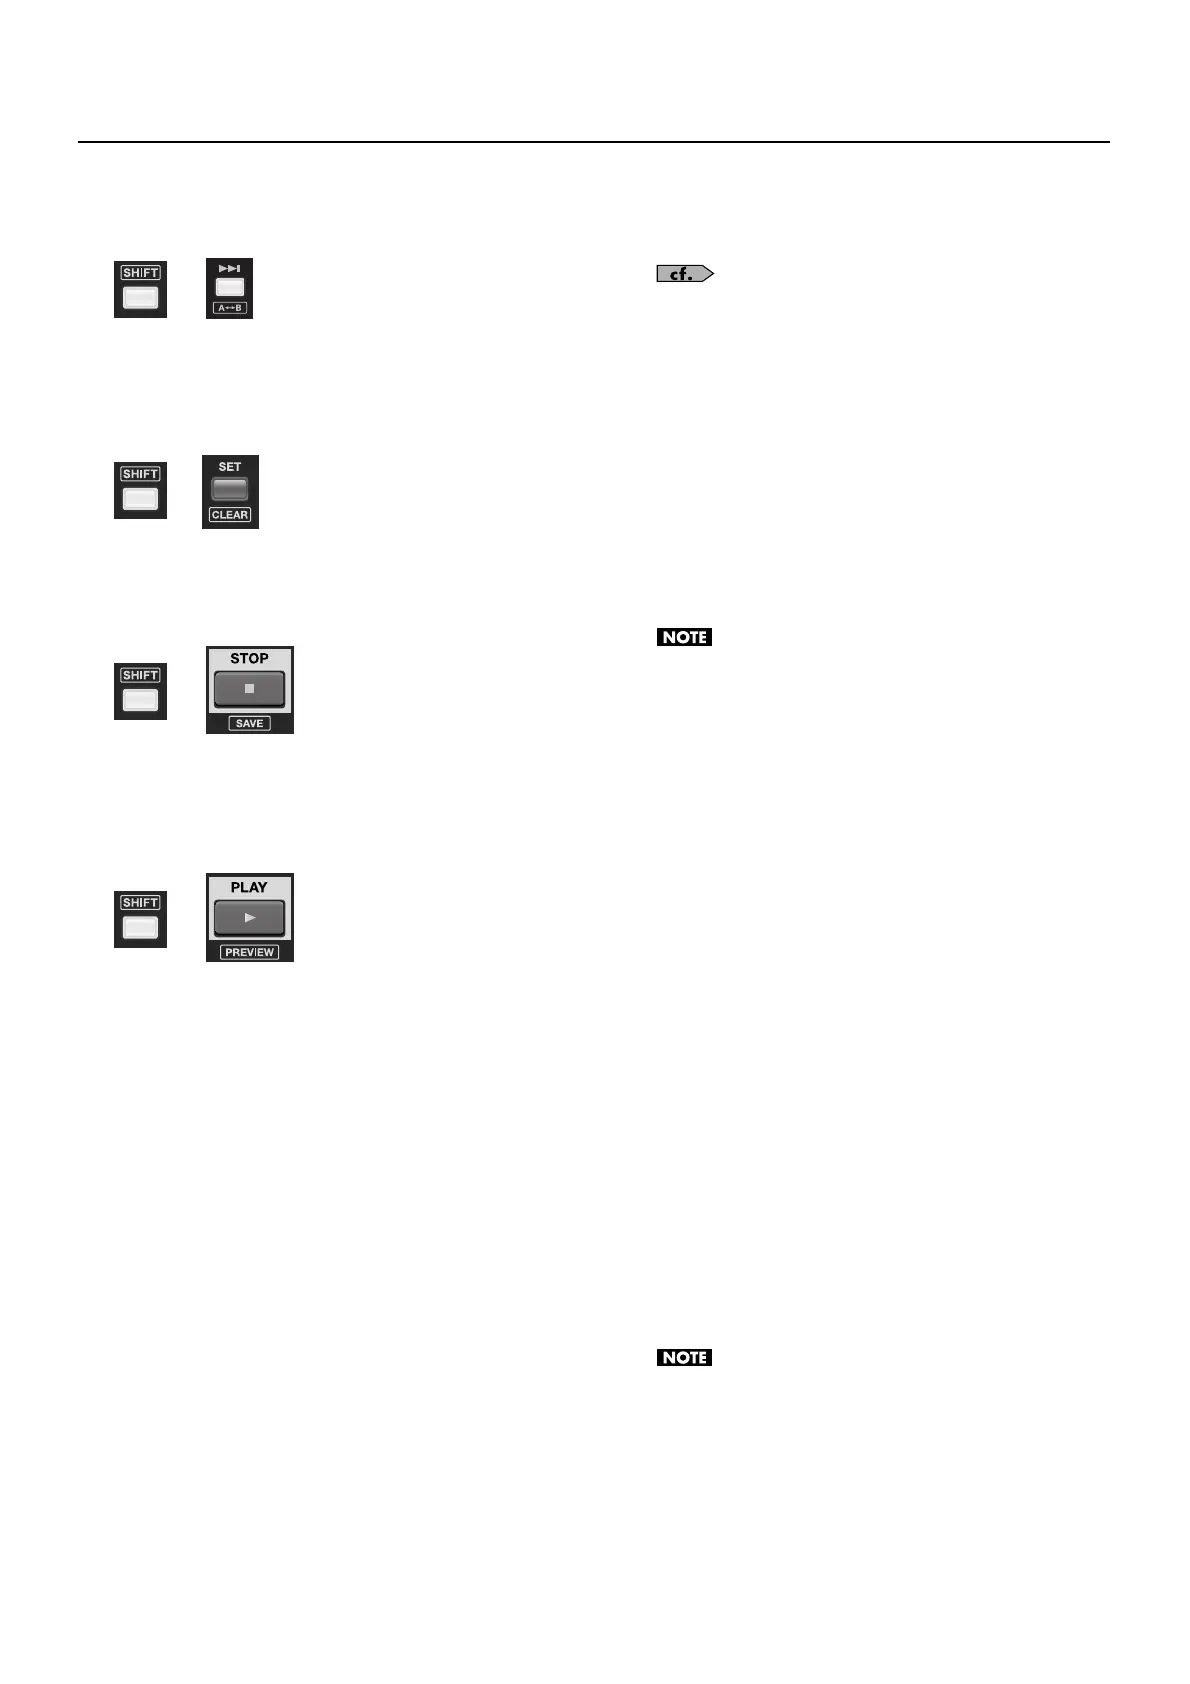
• A<->B (p. 56)
Hold down the [SHIFT] button and press this to perform repeat
playback of a passage between two points in the song (A-B).
fig.AB-repeat.eps
• CLEAR (p. 55)
Hold down the [SHIFT] button and press this to erase the marker
immediately before the current location. Pressing this button
without holding down the [SHIFT] button lets you add a marker in
the current song.
fig.clear-button.eps
• SAVE (p. 39)
Hold down the [SHIFT] button and press this to save the
current project. Pressing this button without holding down
the [SHIFT] button stops recording or playback.
fig.save-button.eps
• PREVIEW (p. 56)
Hold down the [SHIFT] button and press this to output audio to
the monitors only, without performing REAC output. Pressing this
button without holding down the [SHIFT] button starts playback
to equipment connected to the REAC ports.
fig.preview-button.eps
8. SHUTTLE and JOG/VALUE Dials (p. 54)
This indexes the playback-start position. Turning the outer
[SHUTTLE] dial rapidly moves the current position forward
and backward. Turning the inner [JOG/VALUE] dial lets you
perform precise indexing. You can also use the [JOG/VALUE]
dial to change the value when making various settings.
9. PHONES Jack and LEVEL Control (p. 34)
This is the jack for connecting headphones and the control
for level adjustment. The audio output to the headphones is
the same as the audio that is output to the two MONITOR
OUT connectors on the rear panel.
10. PC Port (p. 35)
Connect a computer where dedicated software is installed.
You can remote control R-1000 unit from your computer.
For information on remote control from a computer, refer to “About
Remote Control” (p. 73).
11. EXTERNAL STORAGE Port (p. 35)
This port is for connecting a USB memory stick, USB hard
disk, or other external storage device. You can use this to
copy recording data saved on removable storage to an
external storage device.
12. REMOVABLE STORAGE Bay (p. 18)
Insert a removable storage device describe in “About
Removable Storage for Recording.” The [ACCESS] lamp
flashes during access for recording or playback.
When removing a removable storage device, first make sure the
[ACCESS] lamp next to the REMOVABLE STORAGE bay is dark.
Removing the device while the [ACCESS] lamp is flashing can cause
corruption of recording data.
13. REAC Indicators (p. 24)
These indicate the status of connected REAC devices. They
light up when communication has been established with
devices connected to the respective ports. They flash during
standby until communication is established. The indicators
for ports where no REAC device is connected remain dark.
14. CLOCK SOURCE Indicators
These indicate the sampling-clock source.
• REAC
The R-1000’s internal clock or the clock from a connected REAC
master device is used as the source.
• WORD CLOCK
The clock from a word-clock generator or other device connected
to the WORD CLOCK IN connector is used as the source.
• VIDEO SYNC
The clock from a black-burst generator or other device connected
to the VIDEO SYNC IN connector is used as the source.
15. STANDBY Button (p. 16)
This puts the R-1000 in standby mode. To put the unit in
standby mode, press and hold the button for 2 seconds or
longer.
Never turn off the power without first putting the unit in standby
mode. Turning off the power when the unit is not in standby mode
might cause data corruption or malfunction.
+
+
+
+
 Loading...