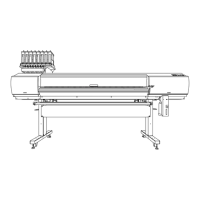
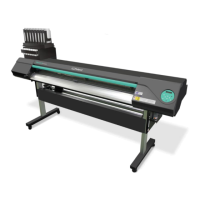
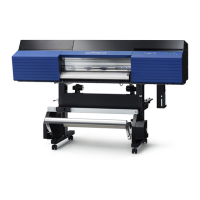
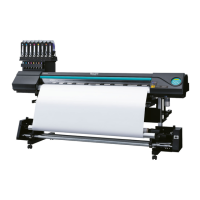
Printing
Setting the Printing-start Location
The printing-start location can be set to any location you desire. (It is possible to print even if this settings is
not congured.) Note, however, that this setting must be made for each individual page. When the printing
of one page nishes, the printing-start location returns to its default value.
Procedure
Press to move the media and the print-head carriage.
When a cursor key is pressed, the warm-up operation to move the media or the print-head carriage starts.
When the warm-up operation nishes, move the media and the print-head carriage to the position where
you want to printing to start.
When the location is set, press .
When the screen on the left is displayed, press
to conrm.
remains steadily lit and when the screen displays the char-
acter “B” together with the printable width at the location, setting is
completed.
BASEPOINT
(70%6+10
$#5'21+06
9OO
$
Note that the left and right positions are not restored to their defaults for test patterns.
When using the separately available media take-up system (TUC-3), if
is held down,
the machine stops for a xed interval to protect the motor. If the machine stops, wait for around
5 seconds, and then resume operation.
Base point
mark
Printing-start location in scan (left–right) direction
Cutter guide
Printing-start location in feed
(forward–backward) direction
Printing-start
location
The printing-start location is determined by the position
settings of the feed and scan directions.
Printing area
Move the media to adjust the
feed direction.
The base point mark on the
right side of the print head
carriage is the start location
in the scan direction.
 Loading...