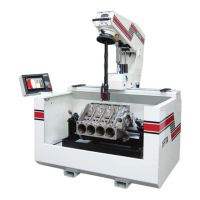
Section 6 Maintenance HP7A Manual
www.rottlermfg.com
6-8
Hydraulic System
System Description
The stroking action of the Rocker Arm is accomplished by applying air pressure to the top and bottom of
the air cylinder, located in the middle of the Rocker arm. To control the speed of the air cylinder there is
a closed hydraulic loop system. The Hydraulic uid ow is restricted by the stroking speed control valve.
As more or less uid is allowed to pass through the speed control valve the faster or slower the Rocker
Arm will stroke.
System Check
With the machine running, watch the Rocker Arm and see if there is any jerking, or bouncing when the
Rocker Arm is changing directions, slow down the stroking speed to 40 SPM. Jerking and bouncing
indicate air in the hydraulic system. Air bubbles will also be visible in the hydraulic lines.
Note: At very slow stroking speeds, there may be some bouncing of the Rocker Arm at the bottom
of the stroke. This is normal. Increase the stroking speed slightly.
System Refilling and Bleeding
Locate the Hydraulic Bleeder kit (514-3-30C) that came with the HP7A. It should include the following:
(1) 502-11-17H – 3/8” to 1/4” adapter
(2) 514-4-17W – 1/4” tting
(2 ft) 514-4-26 – 1/4” air line
(1.5 ft) RX-514-3-30B – Clear Bleeder Tubing
1. Turn the main air off.
2. Shut off power to the machine.
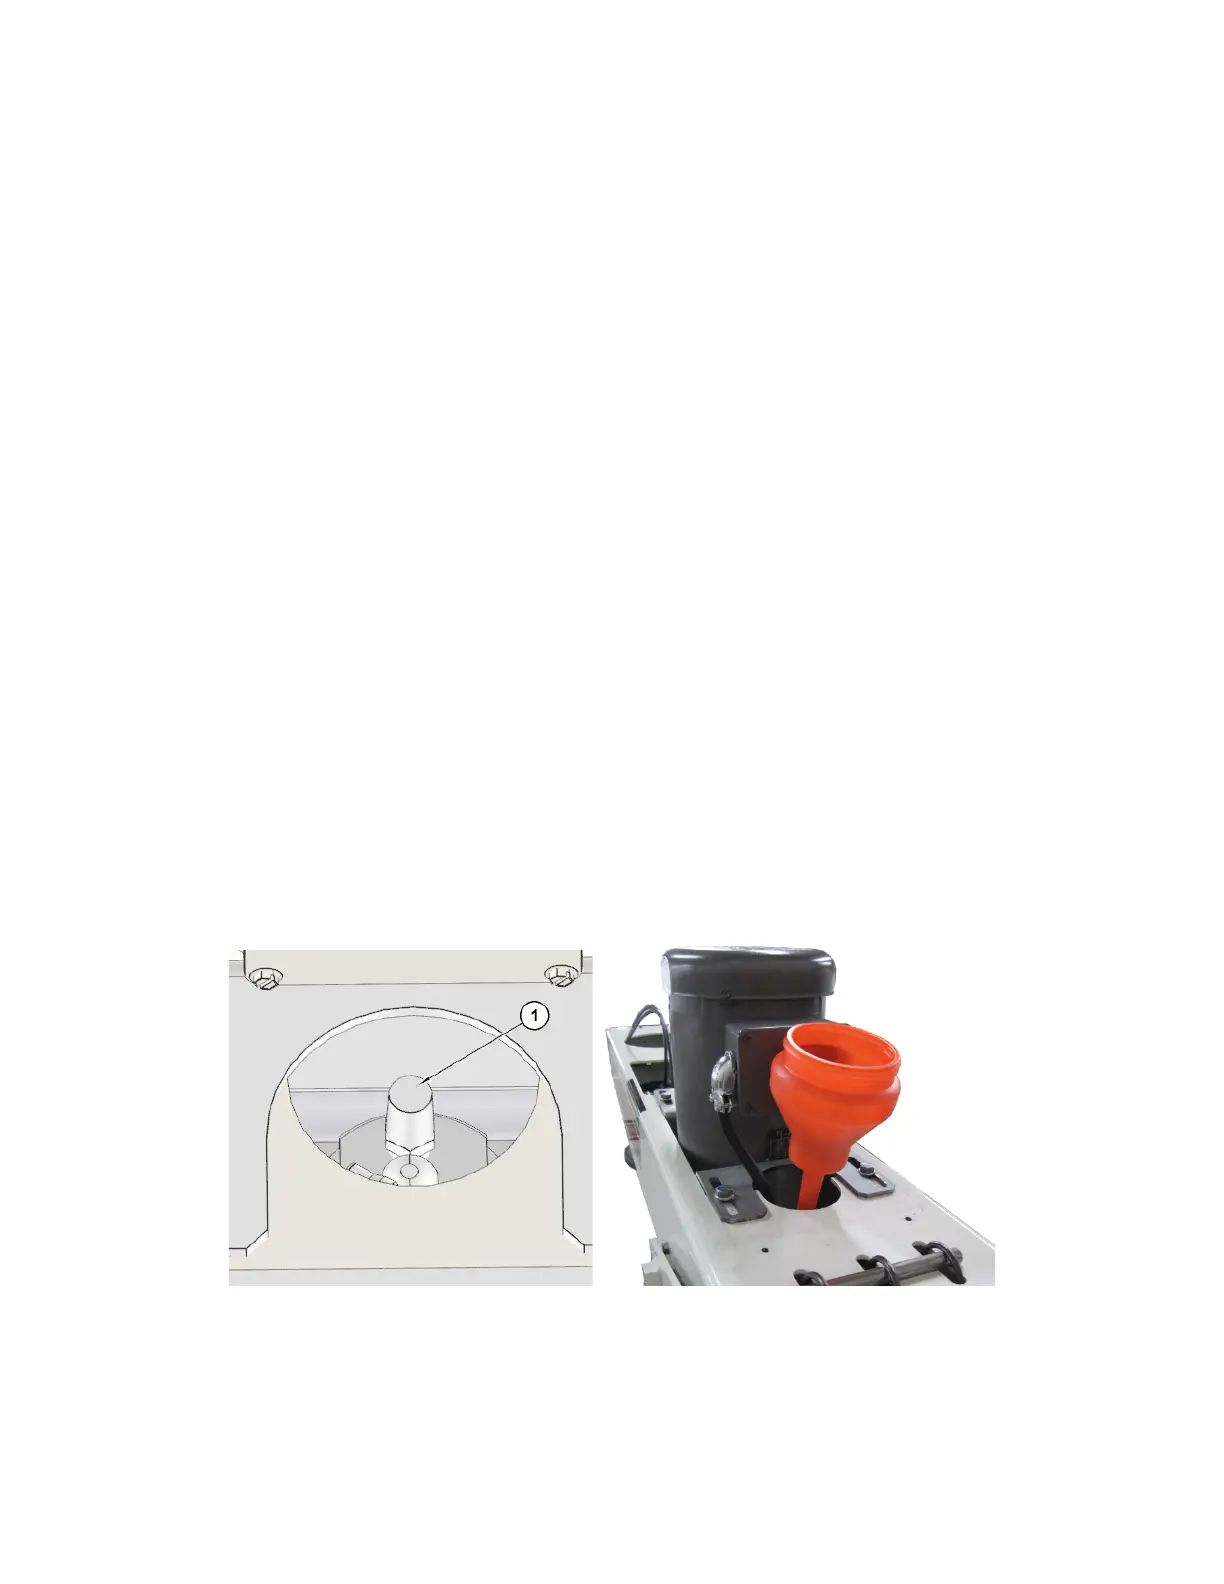
3. Remove the breather from the top of the Reservoir .(1) Fill the Reservoir (if it is not full) with specied
hydraulic oil. Using a long neck funnel ll until the level reaches the top edge at the back of the
reservoir, do not over ll.
4. Disconnect the Upper Hydraulic Mounting brackets from the Rocker Arm.(2)
5. Push the Hydraulic Cylinder Rod all the way down.
6. Open the Stroking Speed control valve all the way. (This is the lever on the right hand side of the
carriage. Turn it Horizontal.)