81
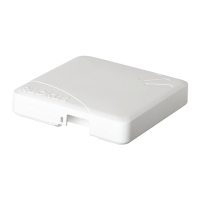
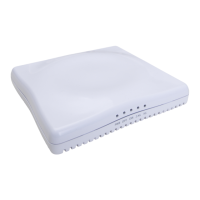
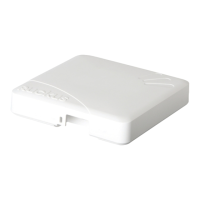
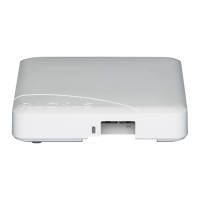
Managing the Access Point
Resetting the Access Point to Factory Default
Resetting the Access Point to Factory Default
WARNING: DO NOT reset the Access Point to factory default, unless you are
directed to do so by Ruckus Wireless support staff or by a network administrator. Do
this only if you are able to immediately reconnect the restored AP to your computer,
to reconfigure it for Wi-Fi network use — as detailed in “Installing the Access Point”
on page 17.
You can use the Web User interface to restore an inoperative AP to its factory default
settings, which will completely erase the configuration currently active in the device.
Note, too, that this will disrupt all wireless network communications through this
device.
To reset the Access Point to factory default
1. Go to Maintenance > Reboot/Reset. The Maintenance :: Reboot/Reset page
appears.
2. Click Reset Now (next to Restore to factory settings?).
After a brief pause, you will be automatically logged out of the AP. You must now
disconnect the AP from the switch (and the network) and reconnect it to your
computer, as described in “Step 1: Preconfigure the Access Point”
on page 21. At this
time, you can restore the network settings, then replace it in your site for full network
use.
Running Diagnostics
Two network connection diagnostic tools – PING and traceroute – have been built
into the AP to help you check network connections from the Web interface.
To run diagnostics for network troubleshooting
1. Go to Administrator > Diagnostics. The Administrator :: Diagnostics page
appears. Two options are available:
• Ping
•Traceroute
2. Click the text field by the option you want to activate, and type the network
address of a site you wish to connect to.
3. Click Run Test.
The results appear in the text field below each option.