Table 38: Configure your computer's IP address settings
ValueSetting
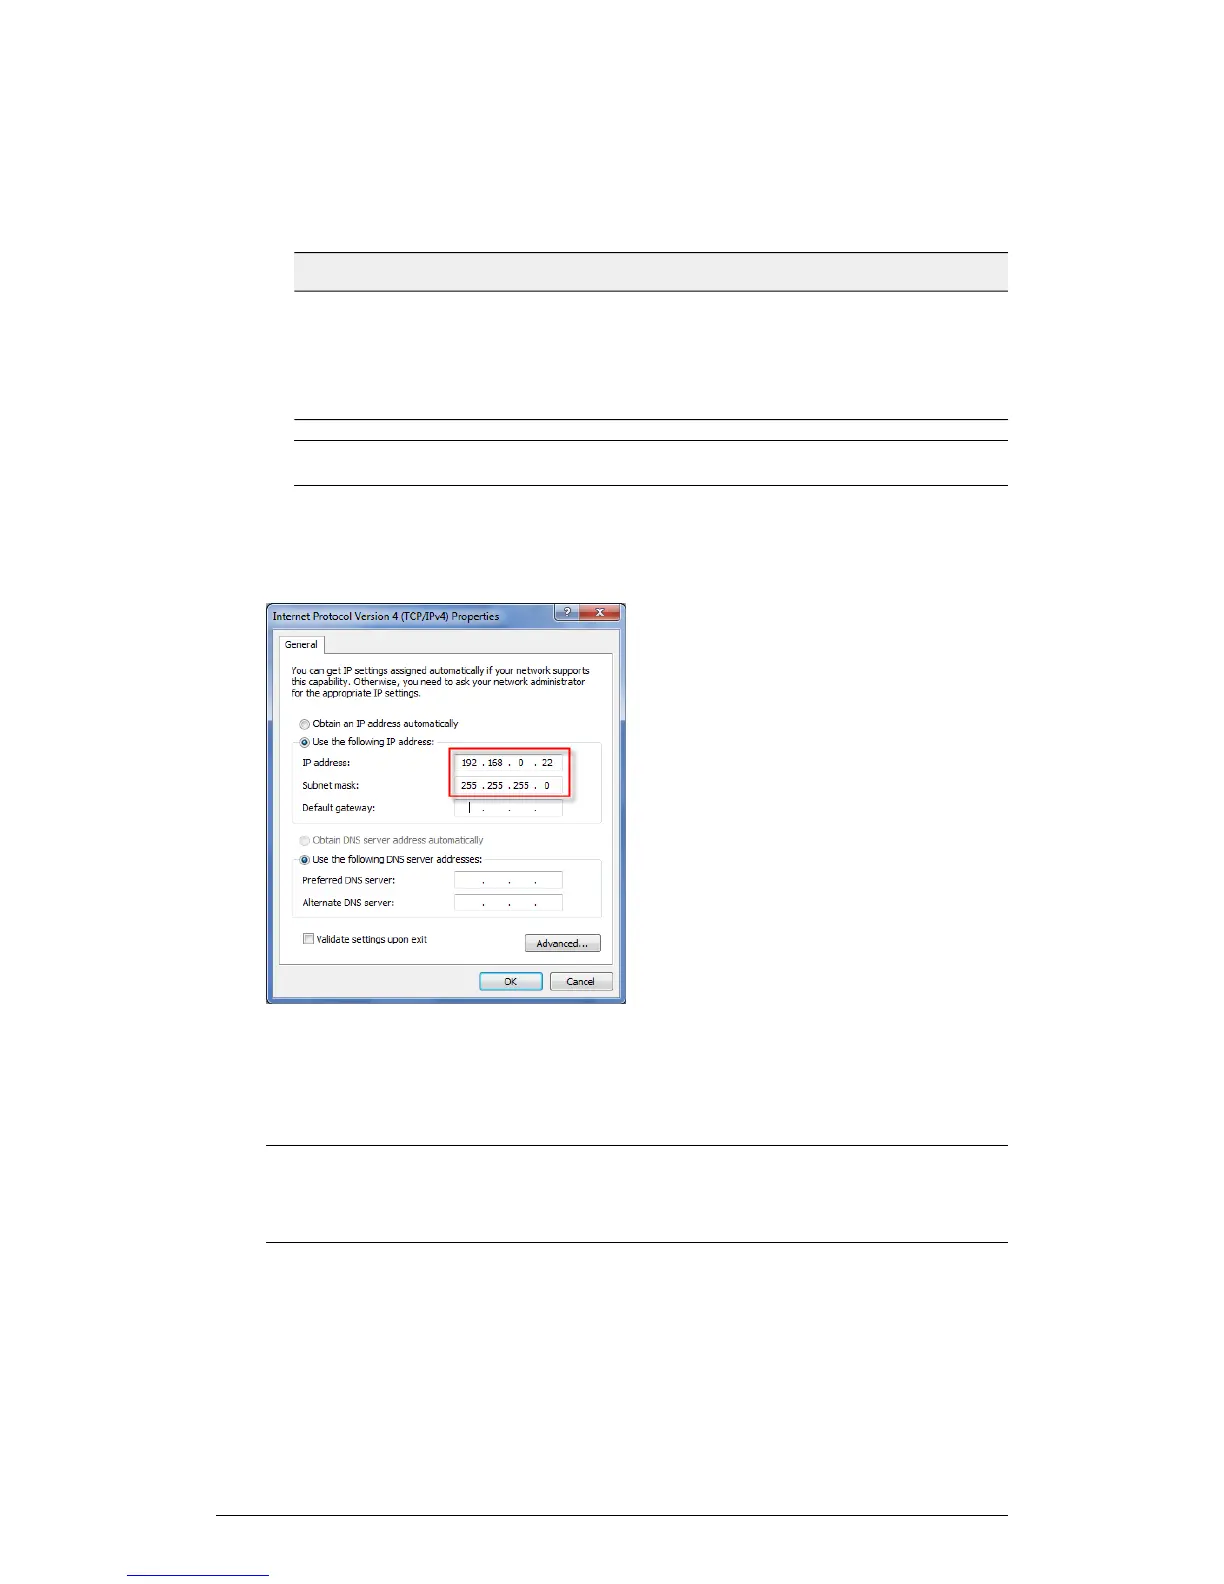
192.168.0.22 (or any address in the 192.168.0.x
network—with the exception of 192.168.0.1, which
is the default IP address assigned to the AP)
IP address
255.255.255.0Subnet mask
NOTE You can leave the Default Gateway and DNS server fields blank.
6. Click OK to save your changes and close the TCP/IP Properties dialog box.
7. Click OK again to close the Local Area Connection Properties dialog box.
Windows saves the IP address settings that you have configured.
Figure 40: Sample configuration in the Internet Protocol (TCP/IP) Properties dialog box
Connect the AP to the Administrative Computer
Connect the AP to the admin computer using an Ethernet cable.
CAUTION! Do NOT connect the AP to your live network at this point. If you connect
it to a live network with an active DHCP server, the AP acquires a new IP address from
DHCP and you will be unable to access it via the default IP address (192.168.0.1).
1. Connect one end of an Ethernet cable to an Ethernet port on the AP, and then connect
the other end to the administrative computer's Ethernet port.
2. Provide power to the AP using either an AC adapter or a PoE injector or switch.
ZoneFlex Indoor Access Point Release 104.0 User Guide
77
Installation
Step 1: Preconfiguring the AP