Supplies and accessories_ 104
Creating new form files
Use the steps below to create a new form overlay.
1. Crea
te or open a document containing text or an image for use in a
new form file.
2. To save the document as a form file, access Printing Preferences
(See "Opening printing preferences" on page 50).
3. Cli
ck the Advanced tab, and select Edit from the Text drop-down
list. Edit Overlay window appears.
4. In the Ed
it Overlay window, click Create.
5. I
n the Save As window, type a name of up to eight characters in the
File name box. Select the destination path, if necessary. (The
default is C:\Formover.)
6. Cli
ck Save. The name appears on the Overlay List.
7. Cli
ck OK or Print until you exit the Print window.
8. A con
firm message appears, click Yes to save.
The file is not printed. Instead, it is stored o
n your computer hard disk
drive.
If you click NO, the machine prints your form without saving.
9. A
confirm message appears, click Yes to save.
The form file size must be the same as the document you print with
the form file.
Using form files on your machine’s hard disk drive
1. Press Menu on the control panel.
2. Press the
up/down arrow to highlight System Setup and press OK.
3. Press the
up/down arrow to highlight Form Menu and press OK.
4. Press th
e up/down arrow to highlight the setting option you want and
press OK.
• Off
: Prints in normal mode.
• Si
ngle Form: Prints all page using the first form.
• Double For
m: Prints the front page using the first form and the
back page using the second form.
5. Press B
ack.
6. Press the
up/down arrow to highlight Select Form and press OK.
7. Press the
up/down arrow to highlight the form you want and press
OK.
Deleting residual image data
Some menus may not appear in the display depending on options or
models. If so, it is not applicable to your machine.
Image Overwrite is a security measure fo
r customers who are concerned
about unauthorized access and duplication of classified or private docu-
ment.
1. Pr
ess Menu on the control panel.
2. Pre
ss the up/down arrow to highlight Job Management and press OK.
3. Pre
ss the up/down arrow to highlight Image Overwrite and press OK.
4. Pre
ss the up/down arrow to highlight the setting option you want and
press OK.
• Automatic : All residual image data from the machine will be erased
immediately after each job has been processed.
• Manual : This option provides an on-dem
and facility for a system
administrator to erase all the real image data remained in hard disk
drive (HDD) after this option is enabled. All existing jobs will be
deleted regardless of their status and all job submissions will be pro-
hibited for the duration of the overwrite.
5. Pre
ss the up/down arrow to select On or Off for Automatic.
Press the up/down arrow to select Enable or Disab
le for Manual.
If you select Enable for Manual, the machine asks if the overwrite
feature should starts now. Press the left/right arrow to select Yes
or No. If you select Yes, On Demand overwrite starts as soon as
you select Yes. If you select No, this feature will just be enabled.
6. Press OK.
Held Job Time-out
The machine can automatically delete a stored job after a certain period of
time. You can set the time the machine will wait before deleting the stored
job.
1. Pres
s Menu on the control panel.
2. Pre
ss the up/down arrow to highlight Job Management and press OK.
3. Pre
ss the up/down arrow to highlight Held Job Timeout and press OK.
4. Pre
ss the up/down arrow to highlight the setting option you want and
press OK.
• On
: Select to automatically delete a stored job. You can set the
time the machine will wait before deleting the job.
• Off : Select not to automatically d
elete a stored job.
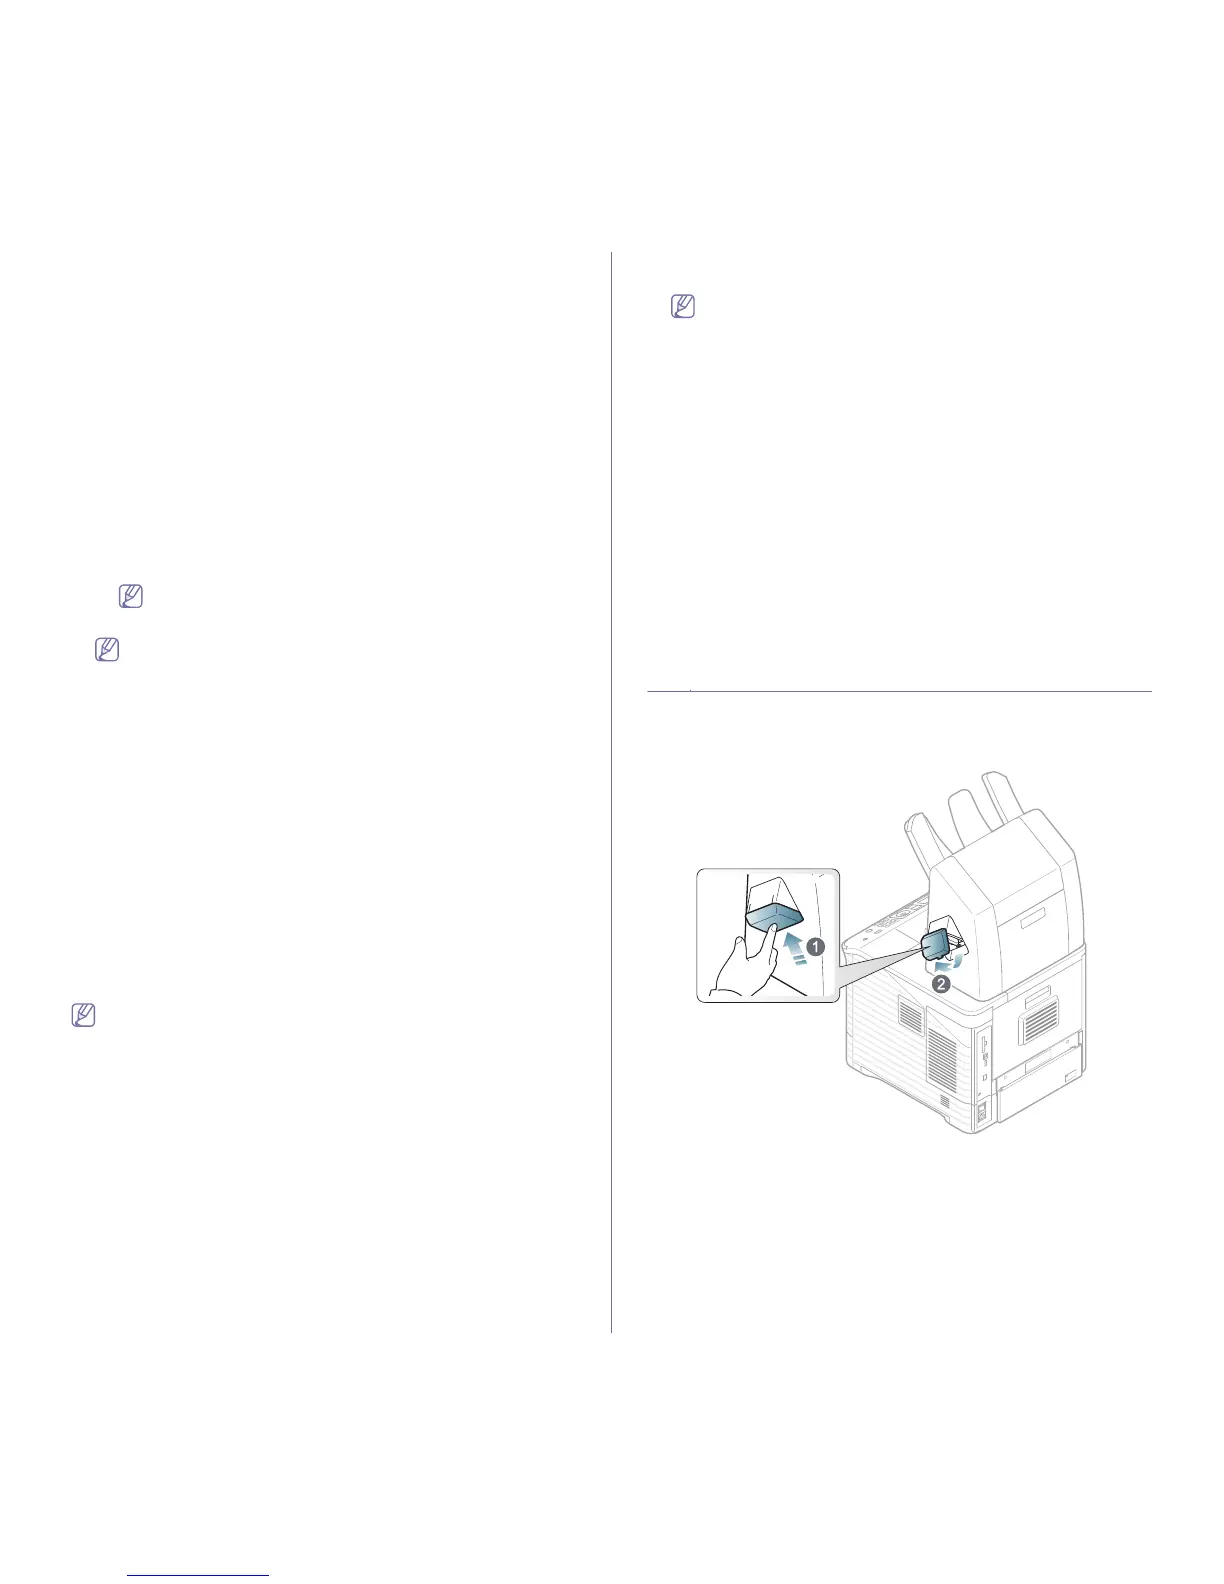
REPLACING THE STAPLER CARTRIDGE
When the optional stapler is completely empty, the message for installing
the staple cartridge appears on the LCD display.
1. Pre
ss the stapler cover at the side of the optional finisher to open.