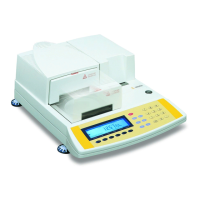
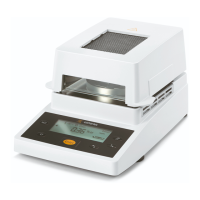
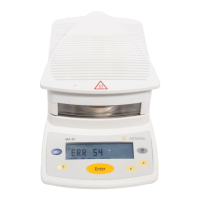
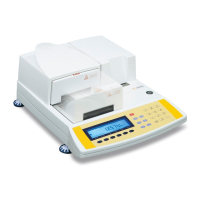
The moisture analyzer consists of a
heating unit, a weighing system, a
display and control unit and an optional
printer. In addition to the socket for
AC power (mains supply), it also has an
interface port for connecting peripheral
devices, such as a PC, an external
printer, etc.
Storage and Shipping Conditions
Allowable storage temperature:
0 ...+40°C
+32°F...+104°F
Do not expose the moisture analyzer
unnecessarily to extreme temperatures,
moisture, shocks, blows or vibration.
Unpacking the Moisture Analyzer
§ After unpacking the moisture analyzer,
check it immediately for any visible
damage as a result of rough handling
during shipment
$ If this is the case, proceed as directed
in the chapter entitled “Care and
Maintenance,” under the section on
“Safety Inspection”
It is a good idea to save the box and
all parts of the packaging until you have
successfully installed your moisture
analyzer. Only the original packaging
provides the best protection for ship-
ment. Before packing your moisture
analyzer, unplug all connected cables
to prevent damage.
Instructions for Recycling
the Packaging
To ensure adequate protection for safe
shipment, your moisture analyzer has
been packaged to the extent necessary
using environmentally friendly materi-
als. After successful installation of the
moisture analyzer, you should return
this packaging for recycling because it
is a valuable source of secondary raw
material. For information on recycling
options, including recycling of old
weighing equipment, contact your
municipal waste disposal center or local
recycling depot.
5
Getting Started
Warranty
Do not miss out on the benefits of our
full warranty. Please contact your local
Sartorius office or dealer for further
information. If available, complete the
warranty registration card, indicating
the date of installation, and return the
card to your Sartorius office or dealer.
Equipment Supplied
The equipment supplied includes the
components listed below:
– Moisture analyzer
– Power cord
– Pan support
– Shield disk
– Dust cover for keypad
– 80 disposable aluminum sample pans
– 1 pair of forceps
– 3 cards with brief instructions in
6 different languages
Installation Instructions
The moisture analyzer is designed to
provide reliable results under normal
ambient conditions in the laboratory
and in industry. When choosing a
location to set up your moisture
analyzer, observe the following so that
you will be able to work with added
speed and accuracy:
– Set up the moisture analyzer on a
stable, even surface that is not exposed
to vibrations
– Avoid placing the analyzer in close
proximity to a heater or otherwise
exposing it to heat or direct sunlight
– Avoid exposing the moisture analyzer to
extreme temperature fluctuations
– Protect the moisture analyzer from
drafts that come from open windows
or doors
– Keep the moisture analyzer protected
from dust, whenever possible
– Protect the moisture analyzer from
aggressive chemical vapors
– Do not expose the analyzer to
extreme moisture
– Make sure to choose a place where
excessive heat cannot build up. Leave
enough space between the moisture
analyzer and materials that are affected
by heat.
Conditioning the Moisture Analyzer
Moisture in the air can condense on the
surfaces of a cold moisture analyzer
whenever it is brought into a substan-
tially warmer place. If you transfer the
moisture analyzer to a warmer area,
make sure to condition it for about
2 hours at room temperature, leaving it
unplugged from AC power. Afterwards,
if you keep the moisture analyzer con-
nected to AC power, the continuous
positive difference in temperature
between the inside of the moisture
analyzer and the outside will practically
rule out the effects of moisture
condensation.
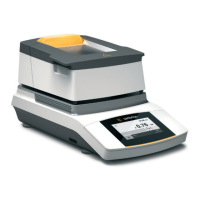
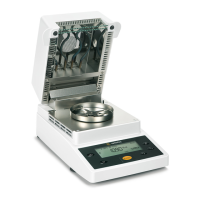
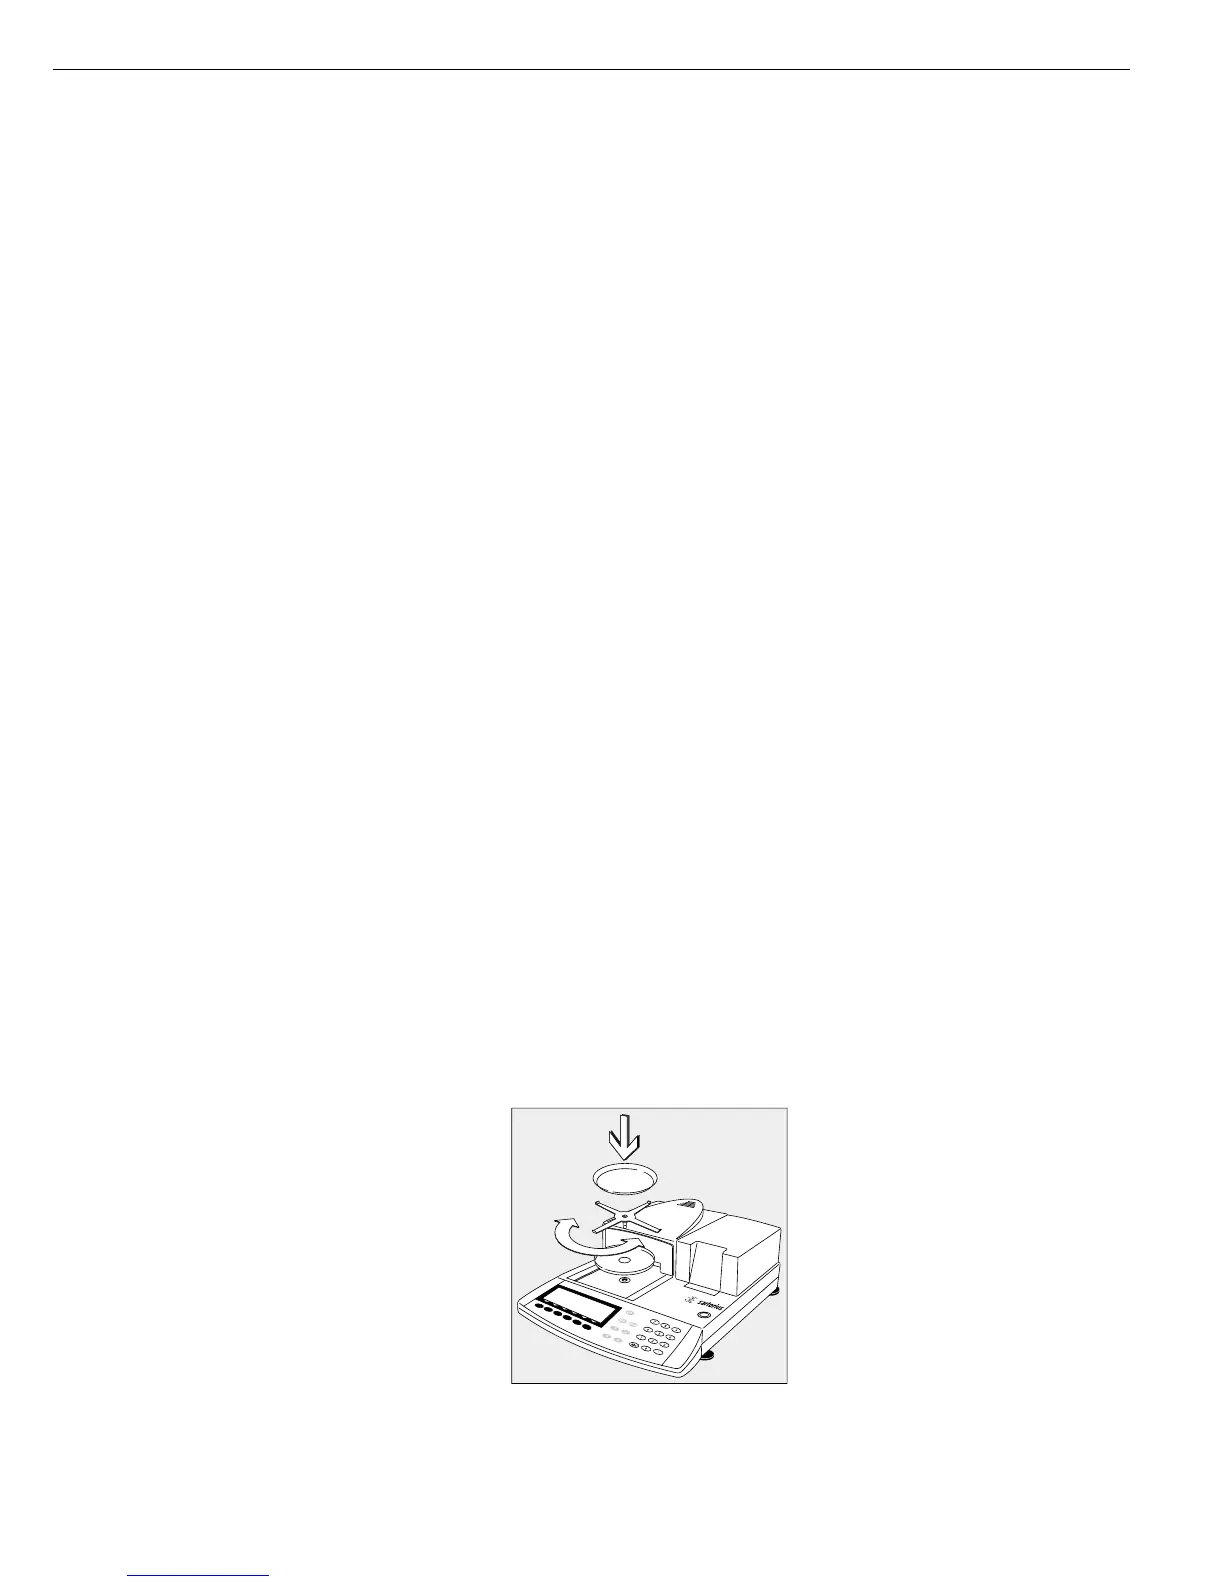
Setting up the Moisture Analyzer
§ Position the components listed below in
the order given:
– Dust cover over the keypad
– Shield disk
– Pan support; turn to the left or right,
press slightly until it stops and snaps
into place
– Disposable sample pan