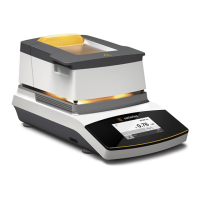
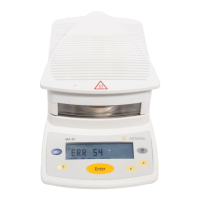
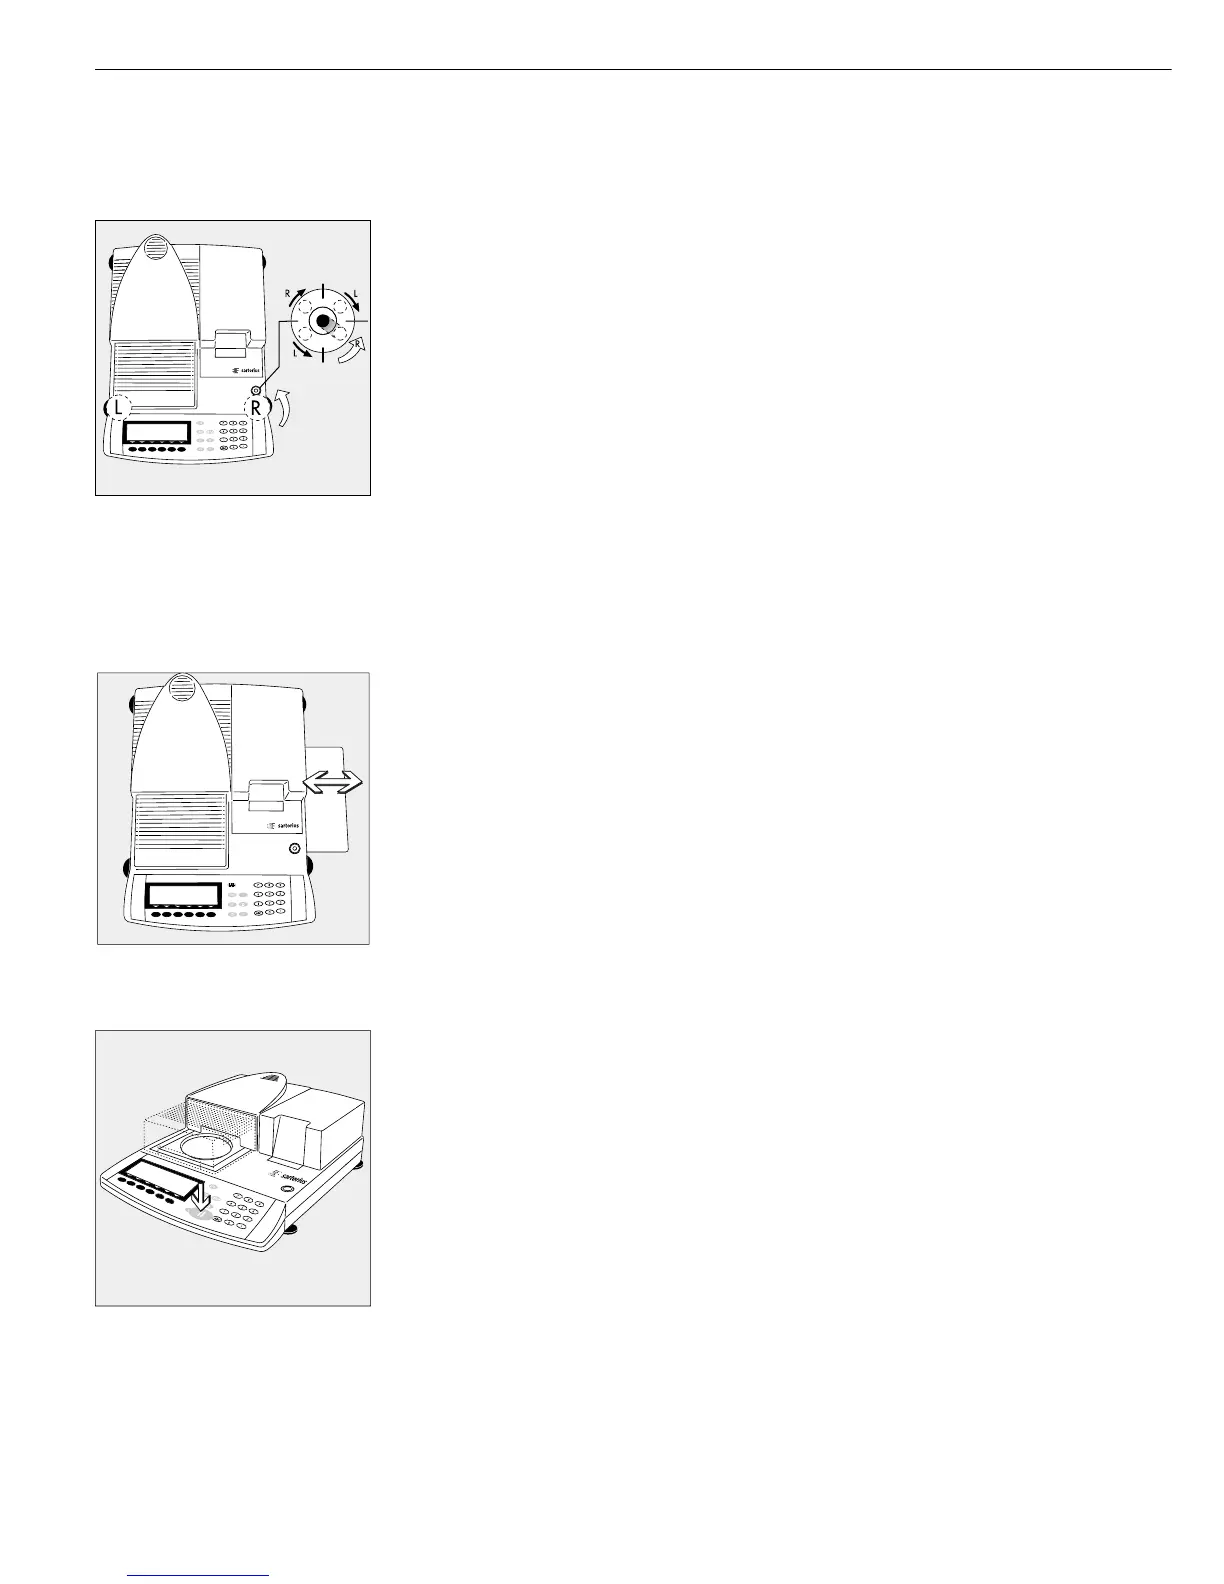
Leveling the Moisture Analyzer
Purpose:
– To compensate for unevenness at the place of installation
– To achieve perfectly horizontal positioning of the moisture analyzer
for consistent repeatability
– This is necessary especially for testing liquid samples that need to be at a uniform level
in the disposable sample pan
Always level the moisture analyzer again any time it is moved to a different location.
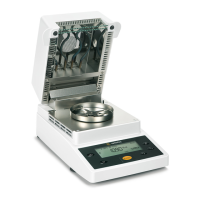
Only the 2 front feet are used for leveling.
§ Retract the both rear feet
§ Turn the 2 front feet as shown in the illustration until the air bubble is centered
within the circle of the level indicator
> Several leveling steps are usually required
§ Extend the 2 rear feet until they touch the surface on which the moisture analyzer rests
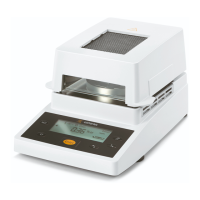
Selecting the Brief Instructions
The moisture analyzer has separate cards with brief instructions on its most important
functions. The following languages are included:
– English/Dutch
– German/Italian
– French/Spanish
To exchange the brief instruction card:
§ Pull out the brief instruction card on the right (you need to use a little force to overcome
the resistance which is used to keep the card in place)
To insert the card:
§ Slide the selected card into the slot
$ Pull out the card on the right to remove it, if necessary
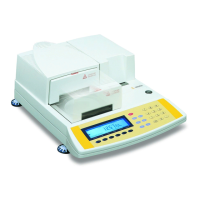
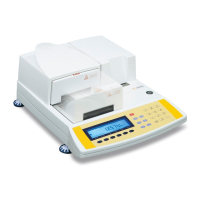
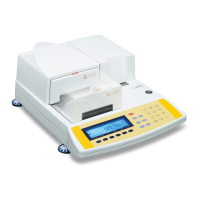
Turning On the Analyzer; Opening and Closing the Sample Chamber
§ To turn on the analyzer: Press the e key
§ To open or close the sample chamber: Press the k key
> The motor opens or closes the sample chamber
Setting the Language
– See the section on “Setting the Language” in the chapter entitled
“Configuring the Moisture Analyzer”
Setting the Date and Time
– See the section on “Entering User Data” in the chapter entitled
“Configuring the Moisture Analyzer”
8