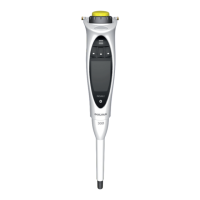
Picus
®
2 Operating Instructions 45
Cleaning and Maintenance
9.3 Sterilising the Lower Assembly
The lower assembly of the device can be sterilised using the following
measures:
— Autoclaving (excluding 1,200 µL models)
— UV radiation
— Approved cleaning agent
9.3.1 Autoclaving
The lower assembly of the device is autoclavable, except on multi-channel
models with a nominal volume of 1,200µL. There is a symbol on autoclava-
ble assemblies.
Materials: Autoclaving bag
Requirements
— There is an autoclaving symbol on the lower assembly.
— The Safe-Cone Filters have been removed.
Procedure
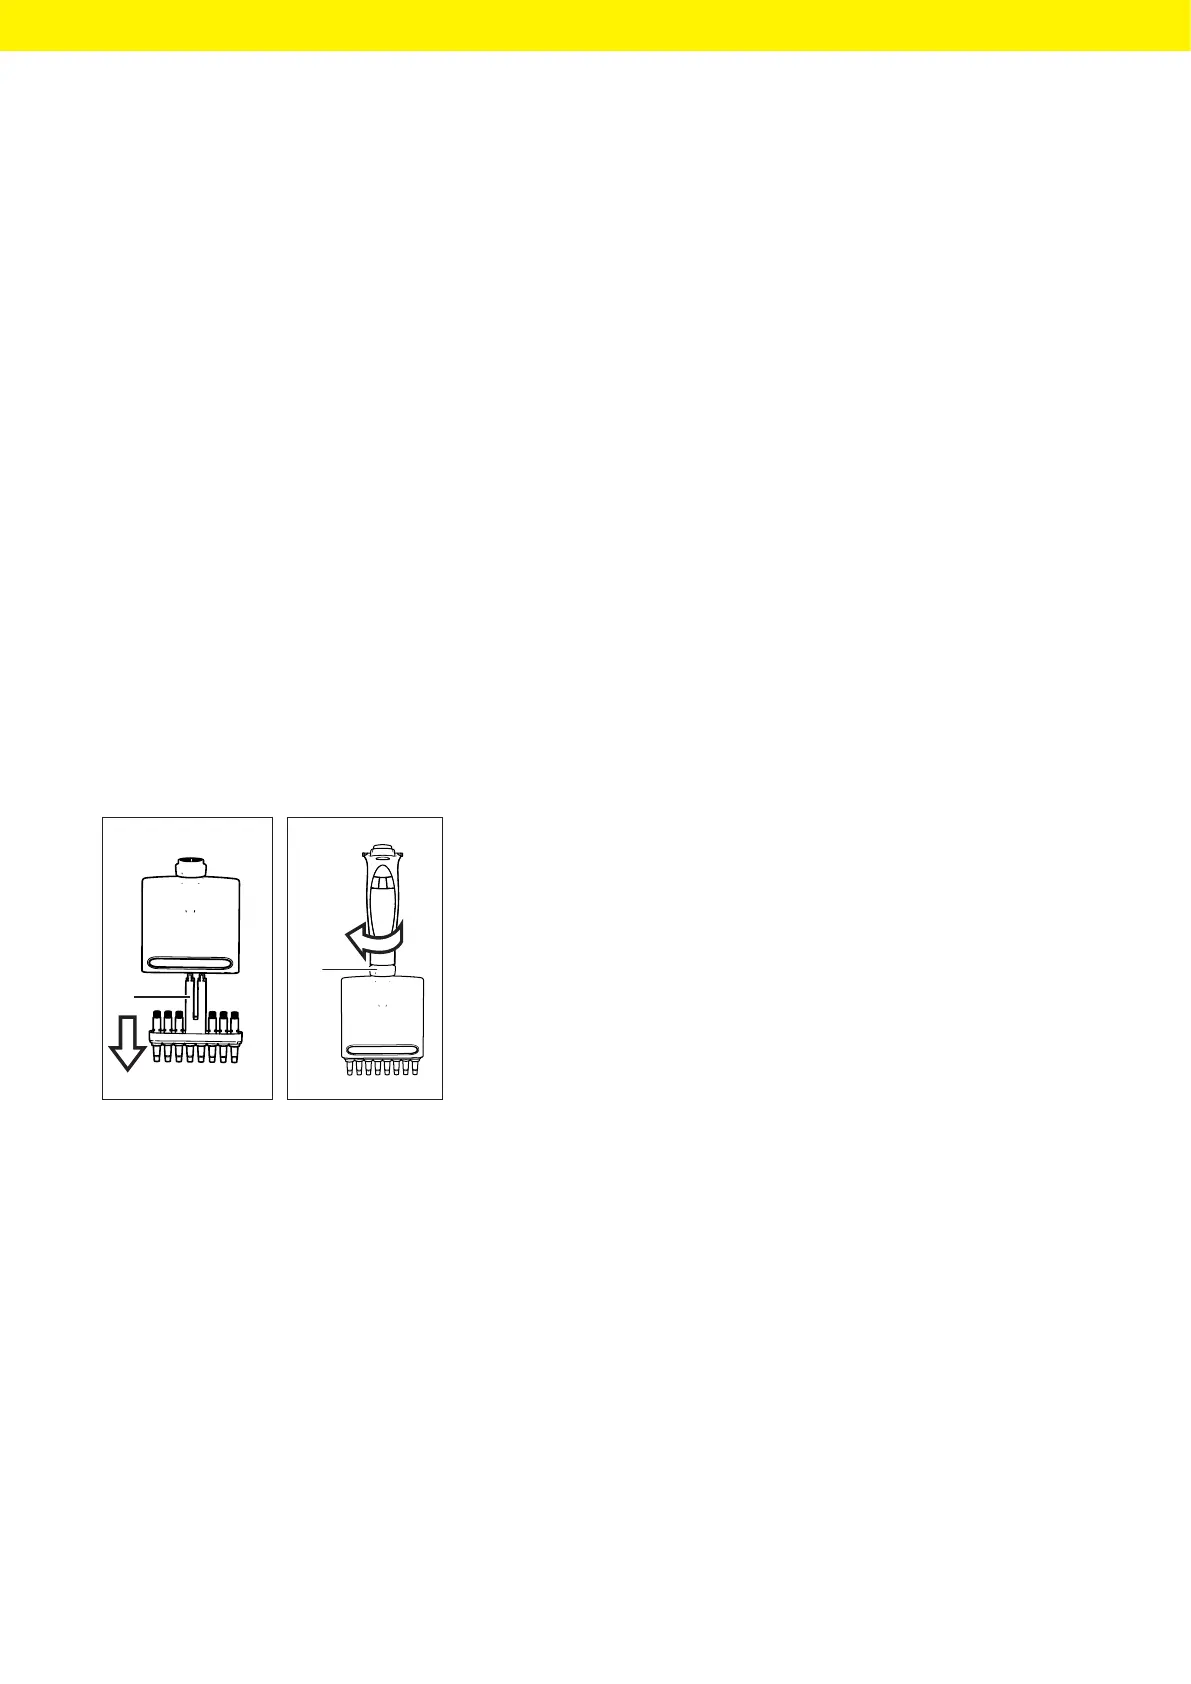
t Dismantle the lower assembly:
t For 1-channel models, see Chapter9.2.2, page42.
t For multi-channel models: unscrew the dosing head (1) clockwise and
remove the cone housing.
t Place the autoclavable components in an autoclaving bag:
— For 1-channel models: tip ejector, tip cone, tip cone holder
— For multi-channel models: tip cone housing
t Autoclave the components (settings for autoclaving, see Chapter14.9.2,
page57).
t Leave the components to cool and dry
t Assemble the components on the control head again:
t For 1-channel models, see Chapter9.2.4, page44.
t For multi-channel models: insert the cone housing into the dosing
head and screw the dosing head onto the control head by turning it
anti-clockwise.
1
1