User Manual
Chapter 2. Installation
Page 2-2 P/N 2349-72784-00
2.2. Site Preparation
NOTE
If the IRD is to be installed in a standard 19" rack, make sure the rack fully
prepared for the installation.
The IRD should be installed within 1.5m (5 feet) from an easily accessible grounded AC
outlet, capable of furnishing the required supply voltage as detailed below:
The use of an UPS (Uninterrupted Power Supply) and an AVR (Automated Voltage
Regulation) is highly recommended to ensure proper operation of the IRD.
Ensure that a qualified electrician has installed the mains power supply in accordance with
power authority regulations
All powering should be wired with an earth leakage in accordance with local regulation. In any
rack installation, ensure that the rack has been properly grounded.
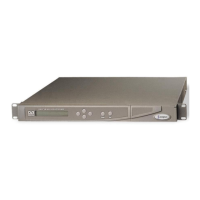
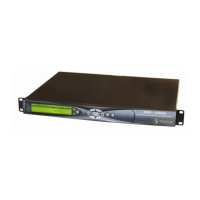
2.3. Installation
2.3.1. Installation in 19" Rack
To prepare the IRD for rack installation:
a.
The rack adapter kit includes two mounting brackets. The brackets are fastened with
screws to the sides of the IRD housing.
b. Attach each bracket by inserting two screws, with flat washers, in the two front holes at
the sides of the housing. Nuts are already in place on the inner side of the holes.
c.
After attaching the brackets, the unit is ready for installation in the rack.
d. Fasten the brackets to the side rails of the rack with four screws (not included in the kit),
two per side.
Several IRD devices may be installed in a standard 19" rack, one above the other.
Please ensure that proper grounding is provided for the rack assembly to prevent potential
electrical problems in the devices mounted on the rack. See paragraph 2.4.5.1 for more
details on grounding the IRD to a rack mount.
NOTE
To facilitate easy access during installation and maintenance, leave sufficient
space behind the rack.