6-9
© 2014 SeaStar Solutions Optimus 360 Installation Supplement, Rev. B
3. A confirmation window similar to Figure 6-11 will be shown. Ensure
the information is correct, then click OK. Click Cancel to return
to the previous screen if you need to make a change.
4. The wizard will then guide you to trim each engine down in turn in
order to register their position in the boat control module (BCM).
Follow the on-screen instructions. An example is shown in Figure 6-12.
5.
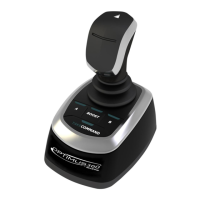
Once each engine’s position has been registered you will be prompted
to calibrate the remote control lever positions. Using the main remote
control, follow the on-screen instructions as seen in Figure 6-13.
Figure 6-12. Registering the engine position
Figure 6-13. Control Head calibration.
 Loading...

