A01350693 Rev:P ECO: 7476 Date: 04/14/08 23
Flush Mount Enclosure (XIU, 135DE)
The flush mount enclosure is designed to be mounted in the wall adjacent to the exit to be monitored. It mounts using the screws,
washers, retainers, and strain relief provided with the enclosure. Wiring may be routed through one or more of the four provided
knockout locations on the back, sides, or top of the enclosure. The center of the enclosure should be mounted 48” above the floor
in accordance with ADA requirements.
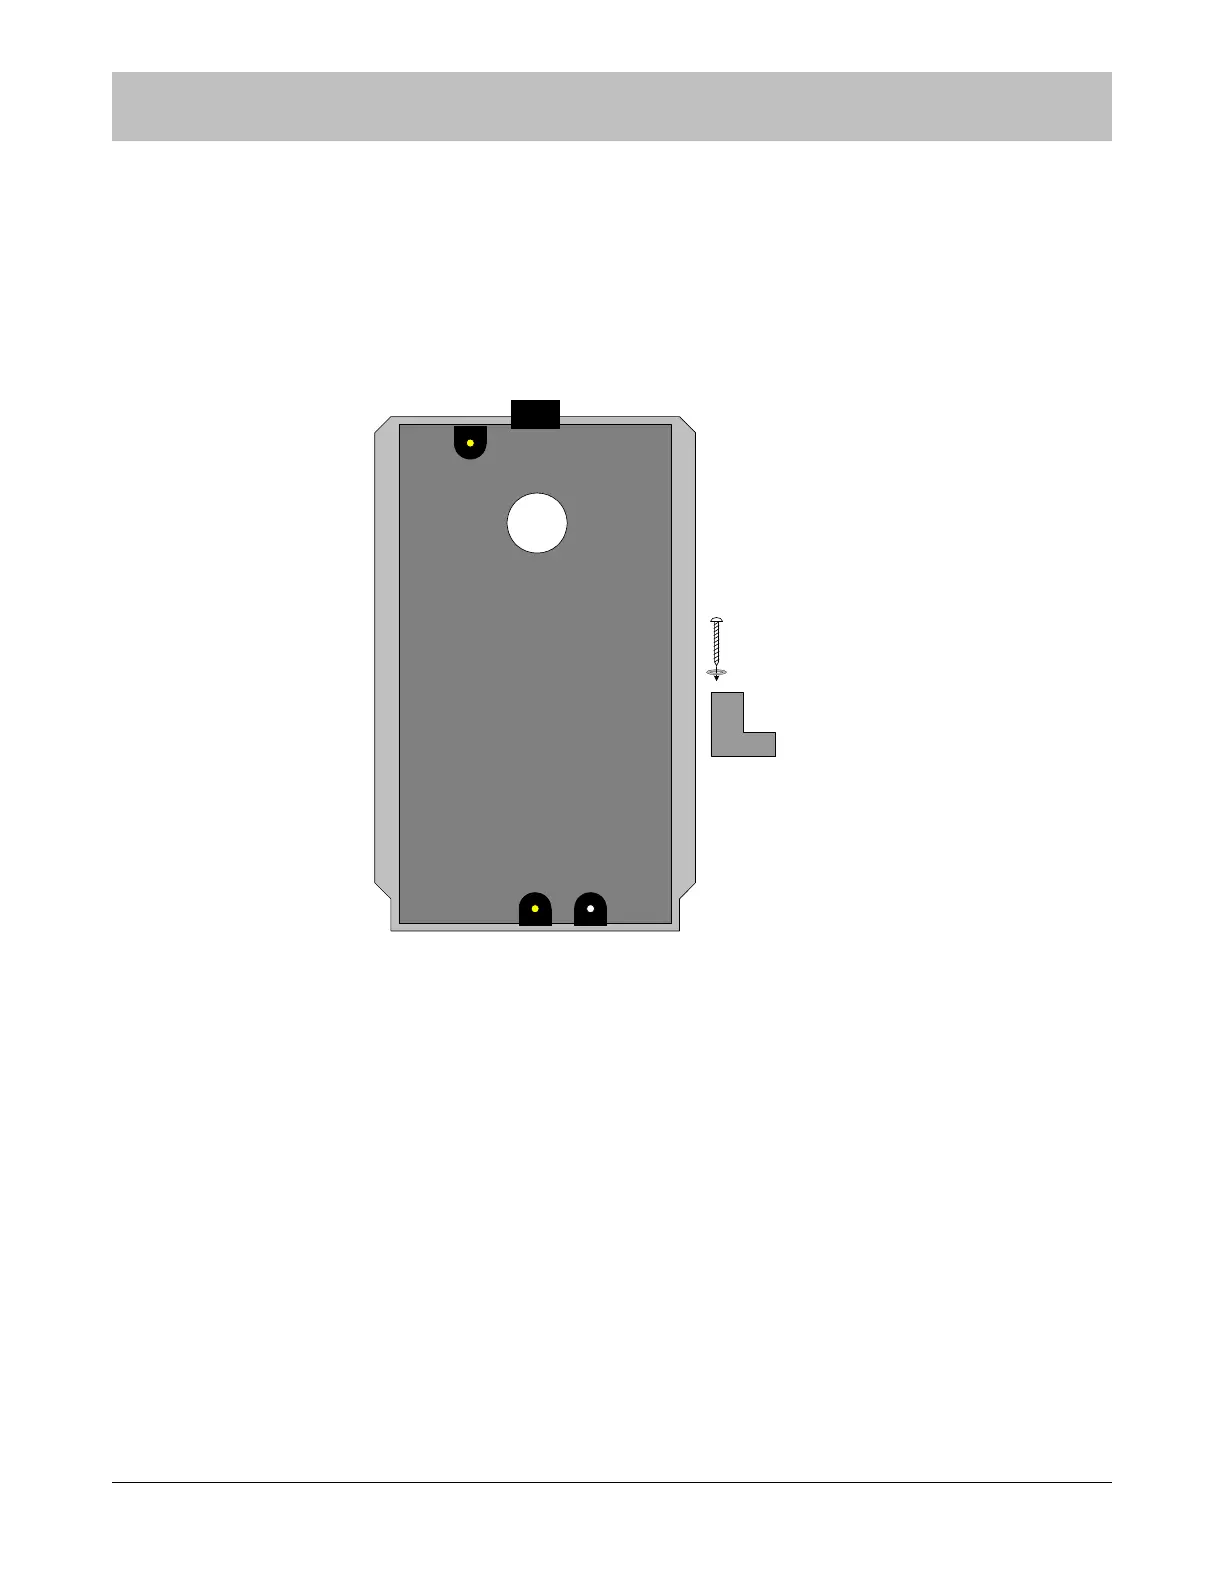
Figure 9-2 Flush Mount Enclosure for Exit Panels
After routing wires to the enclosure location, use the enclosure as a template to mark and cut the wallboard for inserting the
enclosure. Apply strain relief connector to required knockout locations. Route wires through strain relief connector. Tighten strain
relief connector around the wires. Wires should withstand 35 pounds of pull force without slipping through connector. Insert the
enclosure into the wall.
Use the screws, washers, and retainer clips provided to mount the enclosure securely in the wall. Review the diagram above for
assembly of the retainer clip. Insert the retainer clip assembly into the slots located on the top and bottom of the enclosure.
Keeping pressure on the enclosure inside the wall, tighten the screws of the retainer clip assembly in the forward most position until
the enclosure is secure.
NOTE: Strain relief of routed cables is required to retain UL product listing. If above
instructions are not followed, product listing is subject to removal.
SECTION 9 INSTALLATION AND CONNECTIONS
retainer
clip
assembly