OmniHub 6/6D– User Manual
Page 20 of 182
3.1 OmniHub 6/6D Web Interface Overview
3.1.1 Connecting to the Management Port
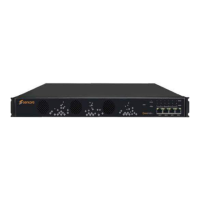
OmniHub 6/6D has an embedded gigabit switch. The four network ports are respectively
used for managing and data reception/streaming over IP network. From left to right, port
1 and port 2 are used for management purposes and, port 3 andport 4 are used for IP
reception/streaming.
If an external IP switch needs to be installed between OmniHub 6/6D and other headend
devices, this switch should support IGMP V2 and IGMP snooping function.
3.1.2 Logging into the OmniHub 6/6D Web Interface
To open the OmniHub 6/6D web interface use one of the following supported browsers
and navigate to the unit’s IP address:
Firefox
Google Chrome
Factory network settings of the Management Port:
IP address: 192.168.1.10
Subnet Mask: 255.255.255.0
Gateway: 192.168.1.254
The user will need to login to the web interface. The default username/password are
admin/admin. Click the login button to login to the web interface.
3.2 Status Overview
After a successful login, a welcome screen is displayed. The welcome screen allows you
to navigate to:
1. Module List shows the module(s) installed inside the chassis
2. Settings buttons: status, system settings, IP inputs, IP outputs, admin
3. Device host operation status