5
Mechanical installation
Assembly
Operating Instructions – MOVIPRO
®
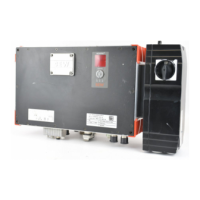
PHC11A-..M1-..2A-A1/..
35
[1]
[3] [6][5]
[9] [8] [7]
[2]
[4]
63050395199050507
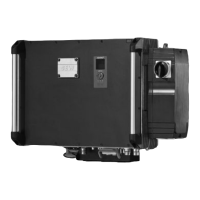
[1] Unit
[2] M5 × 8 studs
[3] Large mounting bracket
[4] Bore for M8 screw of suitable length with washer
[5] Bore for M5 × 8 stud
[6] Bore for M8 × 30 screw
[7] T-slot
[8] Bore for M6 screw of suitable length with washer
[9] Holding fixture, e.g. square pipe with an edge length ≤ 32 mm
Fastening the mounting plates
1. Insert the mounting bracket [3] into the T-slot [7] of the unit [1] so that the upper
edge of the bracket is flush with the upper end of the slot.
2. In order to prevent the mounting bracket [3] from slipping out of position in the
T‑slot [7], you can fasten the mounting bracket with M8 × 30 [6] screws in the
through bores of the unit.
3. Firmly fasten the mounting bracket [3] using the studs [2] supplied in the T-slot [7].
4. Repeat the steps for the other mounting bracket.
Preparing the fixture
Square pipes can be used as a holding fixture for the unit. Use only square pipes with
an edge length ≤ 32 mm for mounting the unit to avoid mechanical interference.
20278543/EN – 09/2014
 Loading...