Doc# E145701 3 - 1
3: Mechanical Installation
Electro Industries/GaugeTech
The Leader In Power Monitoring and Smart Grid Solutions
Electro Industries/GaugeTech
The Leader In Power Monitoring and Smart Grid Solutions
3: Mechanical Installation
3.1: Introduction
The Shark® 100/50 meter can be installed using a standard ANSI C39.1 (4" Round)
or an IEC 92mm DIN (Square) form. In new installations, simply use existing DIN or
ANSI punches. For existing panels, pull out old analog meters and replace with the
Shark® meter. See Section 3.4 for Shark® 100T Installation. See Chapter 4 for
wiring diagrams.
Recommended Tools for Shark® 100/50 Meter Installation
#2 Phillips screwdriver, small wrench and wire cutters. Shark® 100T Installation
requires no tools.
Mount the meter in a dry location, which is free from dirt and corrosive substances.
The meter is designed to withstand harsh environmental conditions (see Environmen-
tal Specifications in Chapter 2).
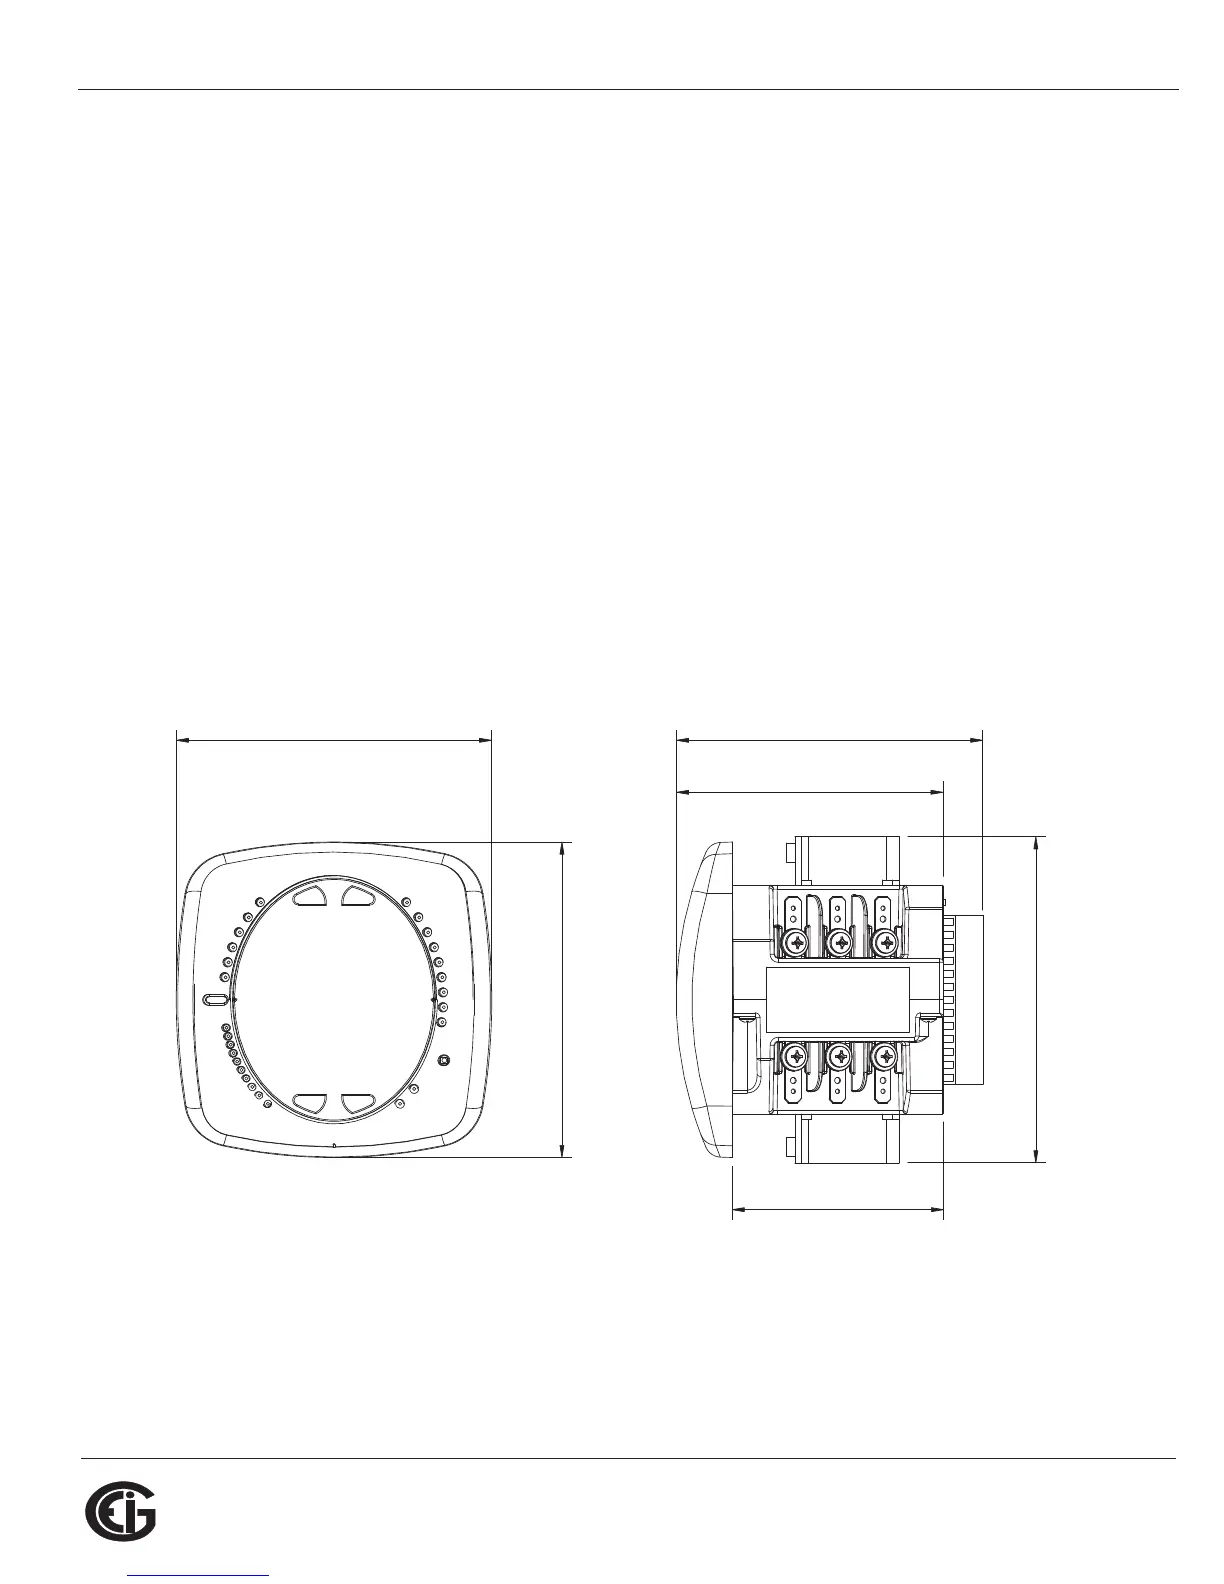
Figure 3.1: Meter Face Figure 3.2: Meter Side
4.85”
[12.32cm]
[10.41cm]
4.10"
4.85”
[12.32cm]
5.02”
[12.75cm]
3.25”
[8.26cm]
[12.00cm]
4.71"