Doc# E145701 7 - 12
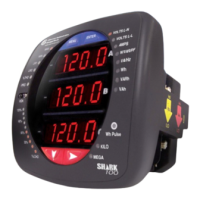
7: Using the Shark® 100B Meter
Electro Industries/GaugeTech
The Leader In Power Monitoring and Smart Grid Solutions
Electro Industries/GaugeTech
The Leader In Power Monitoring and Smart Grid Solutions
10. Click the Confirm button to process the changes. You will see the message shown
below.
11. The meter resets. Connect the meter’s Ethernet cable to your Network (remove it
from your PC). You can now connect to the meter through your Network using the
new IP address.
7.4: Using the Shark® 100B Meter’s Web Interface
As shown in Section 7.3, you can use the meter’s web interface to change the IP
address and other Network parameters. You can also view information and readings
using the web interface. This section explains the webpages other than the BACnet/IP
Settings and Activate Configuration webpages, which are explained in Section 7.3.
Home Webpage
The Home webpage is shown at the top of page 6. It is the first page you see when
you connect to the meter.
NOTE: To access this webpage from any of the other pages, click Home on the left
side of the page.
This webpage shows the current power, power factor, accumulated energy, and peak
demand readings from the meter. You can download all of the meter’s BACnet data by
clicking the Download data.csv button. You will see the following screen: