Additional Commissioning and Configuration
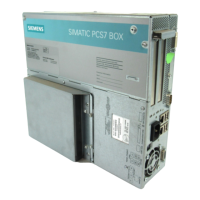
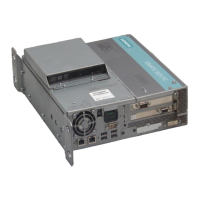
Process Control System PCS 7 - PCS 7 BOX
5-16 A5E00272813-01
5.2.4 Step 3: Adding a SIMATIC PCS 7 BOX Station to Your Project
Once your PCS 7 project is configured, you can add the SIMATIC PCS 7 BOX
station. To do this, open the project on the ES in a PCS 7 network.
Requirements
• Installation SIMATIC PCS 7 V6.0 SP3
• The PCS 7 project is open and displayed in the component view of the
SIMATIC Manager.
Follow These Steps:
1. Right click on the project folder in the left window of the SIMATIC Manager to
open the context menu and select the command Insert New Object >
SIMATIC PC Station.
2. Right-click on the inserted SIMATIC PC station and select "Rename" in the
context menu. Enter the name that you specified as the "Station name" in the
Component Configurator on the SIMATIC PCS 7 BOX station.
3. Double-click on the "Configuration" object in the right window of the SIMATIC
Manager.
4. If you require an OS in the SIMATIC PCS 7 BOX Station, insert a "WinCC
Application" into Index 1 from the catalog via SIMATIC PC Station > HMI. The
slot must match the one set in the Component Configurator.
5. Open the folder SIMATIC PC Station > Controller in the catalog and double-
click on the folder "CPU 416-2 PCI" and then double-click on the folder with
specified order number. Select software version V3.4, drag the object to Index
3 in the station window and release the mouse button.
Confirm the displayed dialog with the "OK" button.