EPROM/EEPROM OPERA
TION
4-7
Hardware
and Installation User Manual
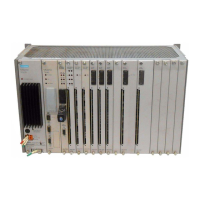
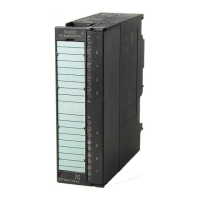
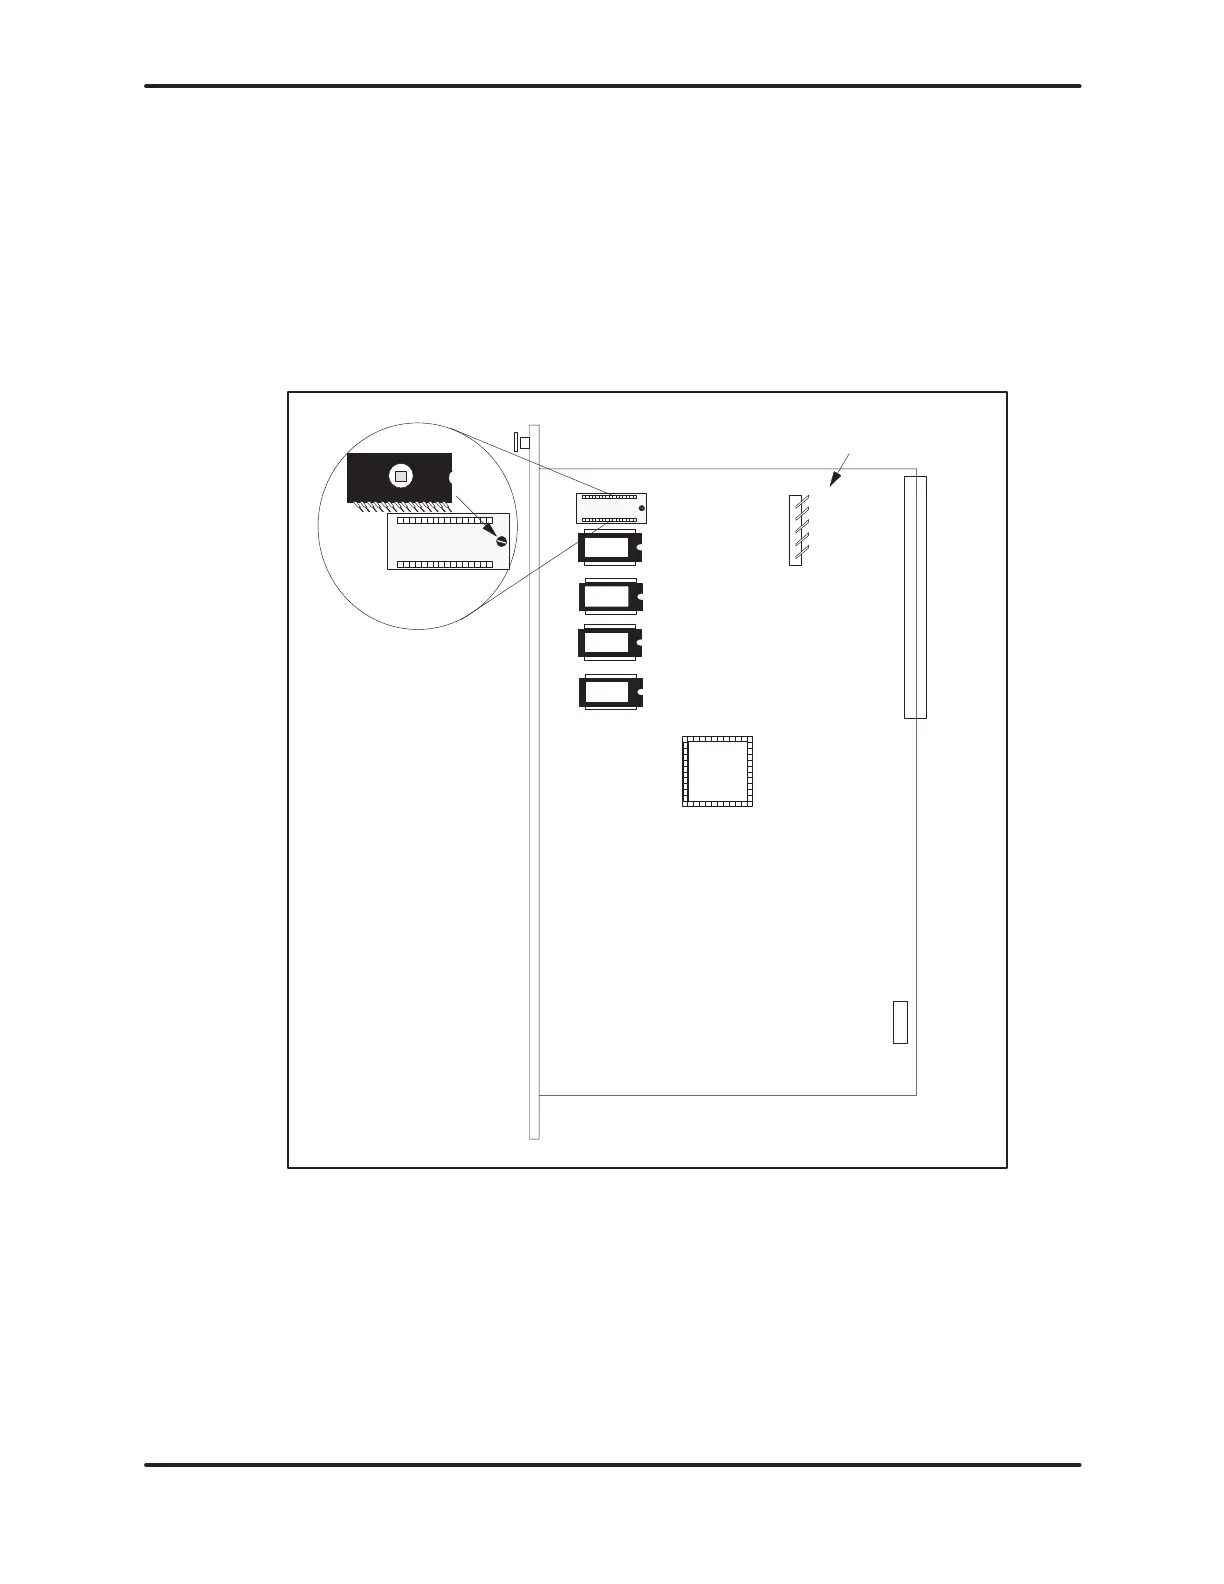
7. Insert the EPROM/EEPROM, aligning the notch on the
EPROM/EEPROM
with the socket screw
. Refer to Figure 4-2.
8.
Check the pins to make sure that they are
all
seated properly
. Tighten
the
socket by turning the screw clockwise.
9. Replace the PLC in its base and enable power. Refer to the
Troubleshooting Chapter if the EPROM/EEPROM fails to function
correctly.
Bezel edge
EPROM/EEPROM
jumper pins
5
4
3
2
1
Figure 4-2 TI535 EPROM/EEPROM Socket and Jumper Pins
Artisan Scientific - Quality Instrumentation ... Guaranteed | (888) 88-SOURCE | www.artisan-scientific.comArtisan Technology Group - Quality Instrumentation ... Guaranteed | (888) 88-SOURCE | www.artisantg.com
 Loading...