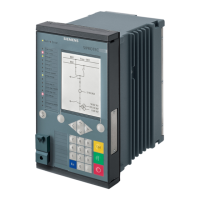
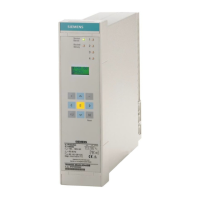
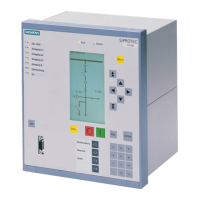
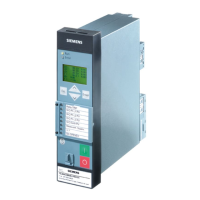
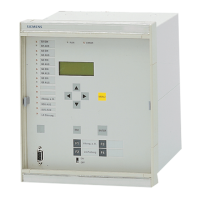
²
Remove the plastic screw covers from the expansion module.
²
Remove the right sealing strips from the base device.
²
Place the expansion module on the right next to the device. Insert the 2 hinged angle clips of the expan-
sion module in the cut-outs of the device.
²
Slip ring the expansion module in the direction of the device so that the bottom snap-in spring engages.
²
Bolt the 2 on-site operation panels of the module to one another through the contact tab.
²
Check that the bus connection is screwed on at the extreme right of the expansion module.
Installation and Commissioning
²
Reinstall the device.
²
Reinstall the plastic screw covers.
²
Refasten the terminal blocks and the necessary communication lines.
²
Connect the current and voltage blocks of the expansion module.
²
Connect any available plug-in modules.
²
Use the supplied grounding cable to connect the expansion module with the device and reconnect the
device to service ground.
²
Extend the device configuration in DIGSI and load this configuration to the device.
²
Resume operation of the device.
Expanding Devices with 2nd Device Row
Preparation
NOTE
Reordered modules are not contained in the original device configuration. Use DIGSI to perform the corre-
sponding extension in the Hardware and Protocols Editor.
Carry out the steps described in this chapter if you want to expand an installed device later on with a 2nd
device row.
²
Shut down the device in the 1st device row.
²
Use the screwdriver to carefully bend the left and right spring clips on the rear plate terminals outwards.
²
Completely detach the wired current and voltage terminal blocks from the device.
²
Remove all communication lines.
²
Remove the plastic screw covers.
²
Remove the device from the 1st device row.
²
Remove the device bus cover from the extreme right-hand expansion module of the device to be
expanded.
²
Screw the sealing plate and the adaptor bracket according to Figure 5-4 on the outer right expansion
module of the 1st device row. The sealing plate, adaptor angle, and screws are included with the supply
of the power-supply module PS203.
²
Attach the cable holder for the connecting cable of the 2nd device row to the back side of the angle rail.
²
Clip the connecting cable into the cable holder.
5.2.1.3
Working on the Device
5.2 Expanding Modular Devices
186 SIPROTEC 5, Hardware Description, Manual
C53000-G5040-C002-M, Edition 12.2021
 Loading...
