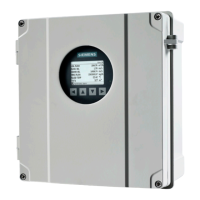
4.2 Connecting the sensor cables (internal DSL only)
Preparing for the connection
1. Loosen the four lid screws.
2. Open the lid.
3. Remove F-connector tool from wall mount enclosure.
Figure4-1 F-connector tool location
Connecting the ow sensor cables
When connecting the sensors it is required for the system to function that the sensor cables are
connected correctly. Both sensor cables for each path must be connected to the same port
numbers (1A and 1B or 2A and 2B) on the transmitter.
① Path 1 - Upstream sensor cable (1A) ③ Path 2 - Upstream (2A)
② Path 1 - Downstream sensor cable (1B) ④ Path 2 - Downstream (2B)
The sensor cables are delivered with a premounted F-connector at the transmitter end.
1. Remove the blind plug from the wall mount enclosure.
2. Slide the cable gland back onto the cable and allow access for the F-connector tool.
3. Place F-connector tool around cable and slide up to engage F-connector nut.
4. Push cable through the gland opening. Ensure that the center lead is aligned with connector
port in the transmitter.
Connecting
4.2Connecting the sensor cables (internal DSL only)
SITRANS FS130 & FS230
Compact Operating Instructions, 12/2023, A5E38755607-AF 39

 Loading...