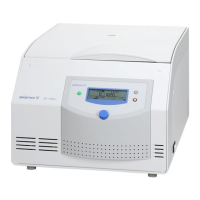
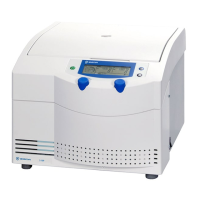
Laboratory Centrifuge Sigma 3-16L
Laboratory Centrifuge Sigma 3-16L IVD
Version 03/2014, Rev. 2.22 of 24/10/2023 • sb
Original operating manual, part no. 0700902
Pos: 113 /100 Sigm a/100 BA Ze ntrifugen Sigma ( Standardmo dule)/060 Betrieb _Spincontrol L+S/060-002 0-0019 Einsetz en von Rotor en und Zubehör ( außer 8K)-------------------------------- @ 27\mod_140531 9204492_68.docx @ 192493 @ 3 @ 1
→
6.2.2 Installation of rotors and accessories
Pos: 114 /100 Sigm a/110 BA Z entrifugen Sigma (Projekte)/3-1 6L/060 Betri eb/060-0020-00 20-0010 Einse tzen eines Rotors 3-16L @ 29\mod_140532 1629853_68. docx @ 197253 @ 4 @ 1
→
6.2.2.1 Installation of a rotor
• Open the centrifuge lid by pressing the lid key.
• Unscrew the rotor tie-down screw from the motor shaft (counter-
clockwise).
• Lower the rotor with its central bore straight down onto the motor shaft.
• Tighten the rotor tie-down screw clockwise with the supplied rotor
wrench with 7.5 Nm. In doing so, hold the rotor at its outer rim.
• Follow the safety instructions and hazard warnings (see chapter 3 -
"Safety")!
Once a day or after 20 cycles, the rotor tie-down screw must be loosened
by some turns, and the rotor must be lifted and fastened again. This
ensures a proper connection between the rotor and the motor shaft.
When using rotors for microtiter plate formats:
Ensure that the plate holders are inserted together with the plates into the
buckets.
The lid screw serves for the fastening of the lid onto the rotor only, not for
the fastening of the rotor onto the motor shaft.
Removing a rotor
• Loosen the rotor tie-down screw by turning it anti-clockwise and remove
the rotor.
Pos: 115 /010 Univ ersalmodule/ Seitenwechs el @ 0\mo d_120211624 4312_0.docx @ 105 @ @ 1