3-12
5. Select Yes to continue the installation. The default path is C:\WINEXE and
cannot be changed.
Note: If you select No, the system displays a screen informing
you that the installation has been stopped. Follow the
prompts on the screen to cancel the installation.
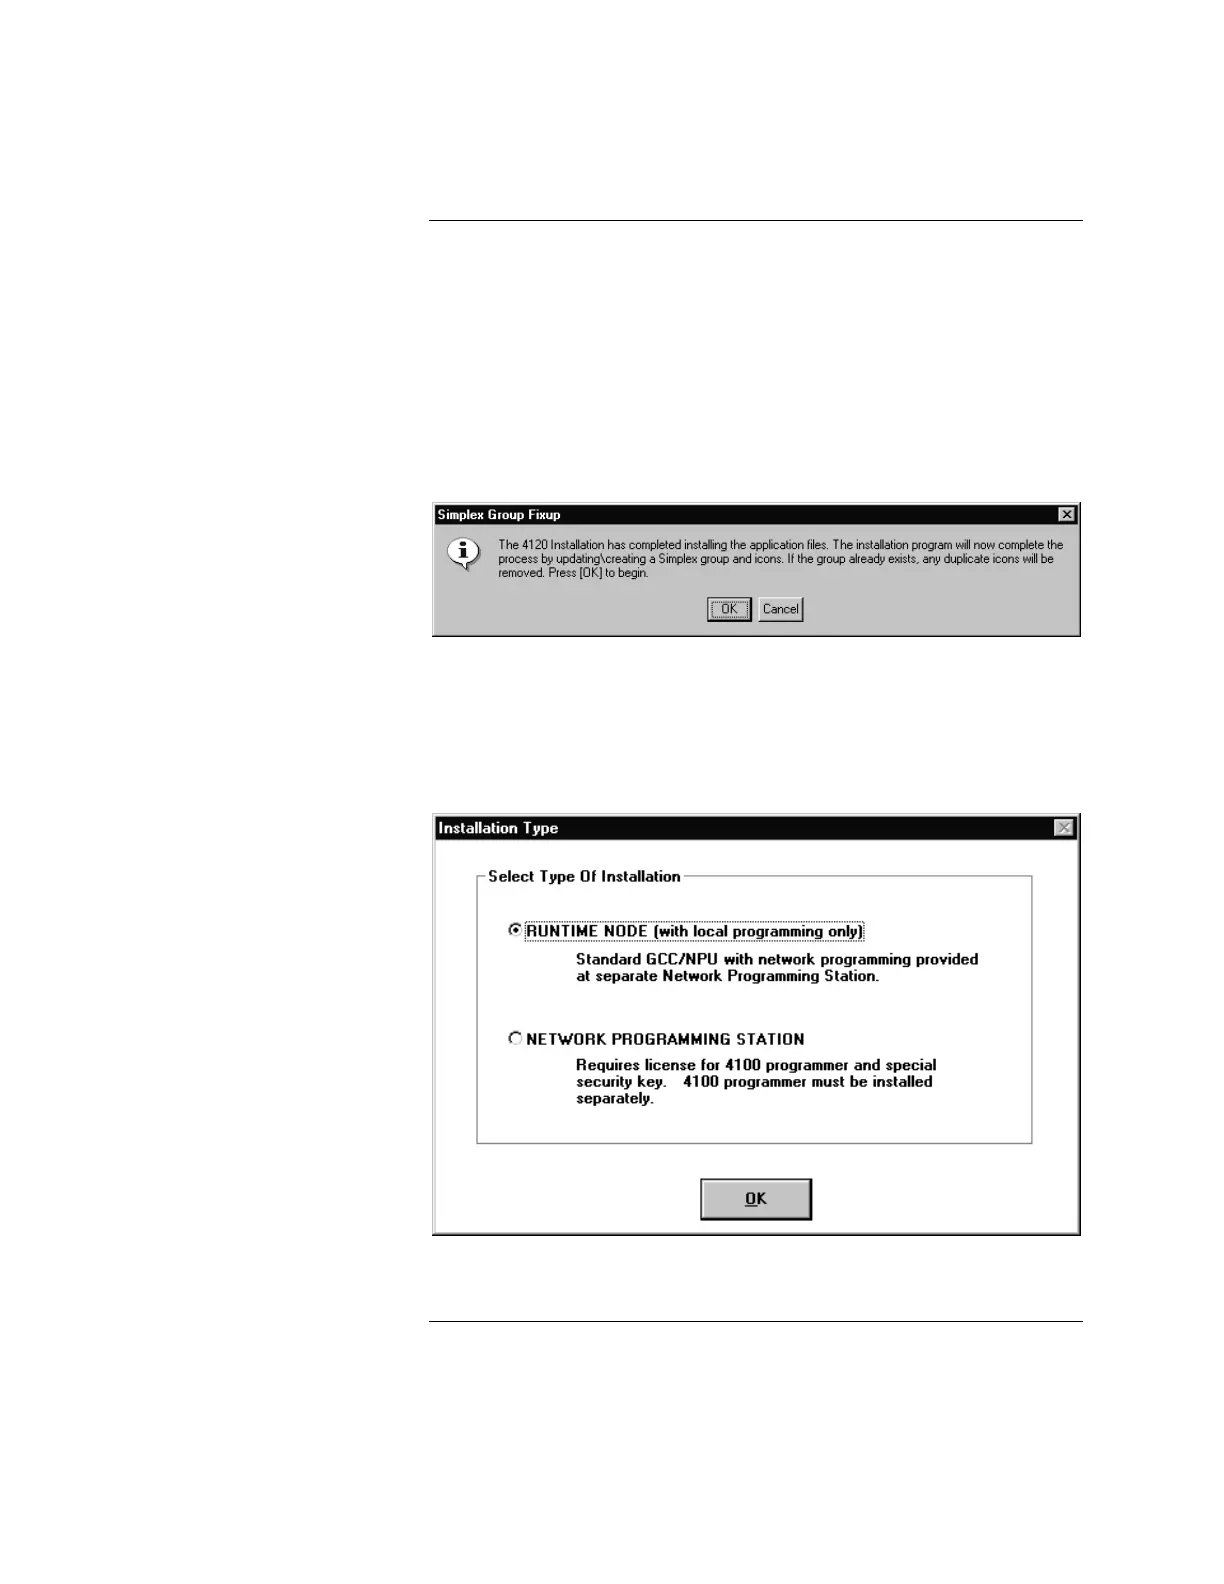
6. Follow the prompts on the screen to complete the installation. When the
installation is complete, the system displays the message box shown in
Figure 3-2.
Figure 3-2. Updating/Creating Icon Groups
7. Select OK to update or create the Simplex Group and Icons. The system
displays the selection box shown in Figure 3-3.
Figure 3-3. RUNTIME NODE Selection
Continued on next page
Installing the Software, Continued
(Applies to Both Windows 3.1
and Windows 95 systems
except where noted)
(Continued)