3-15
8. Select the ports you wish to configure and press OK. The system displays a
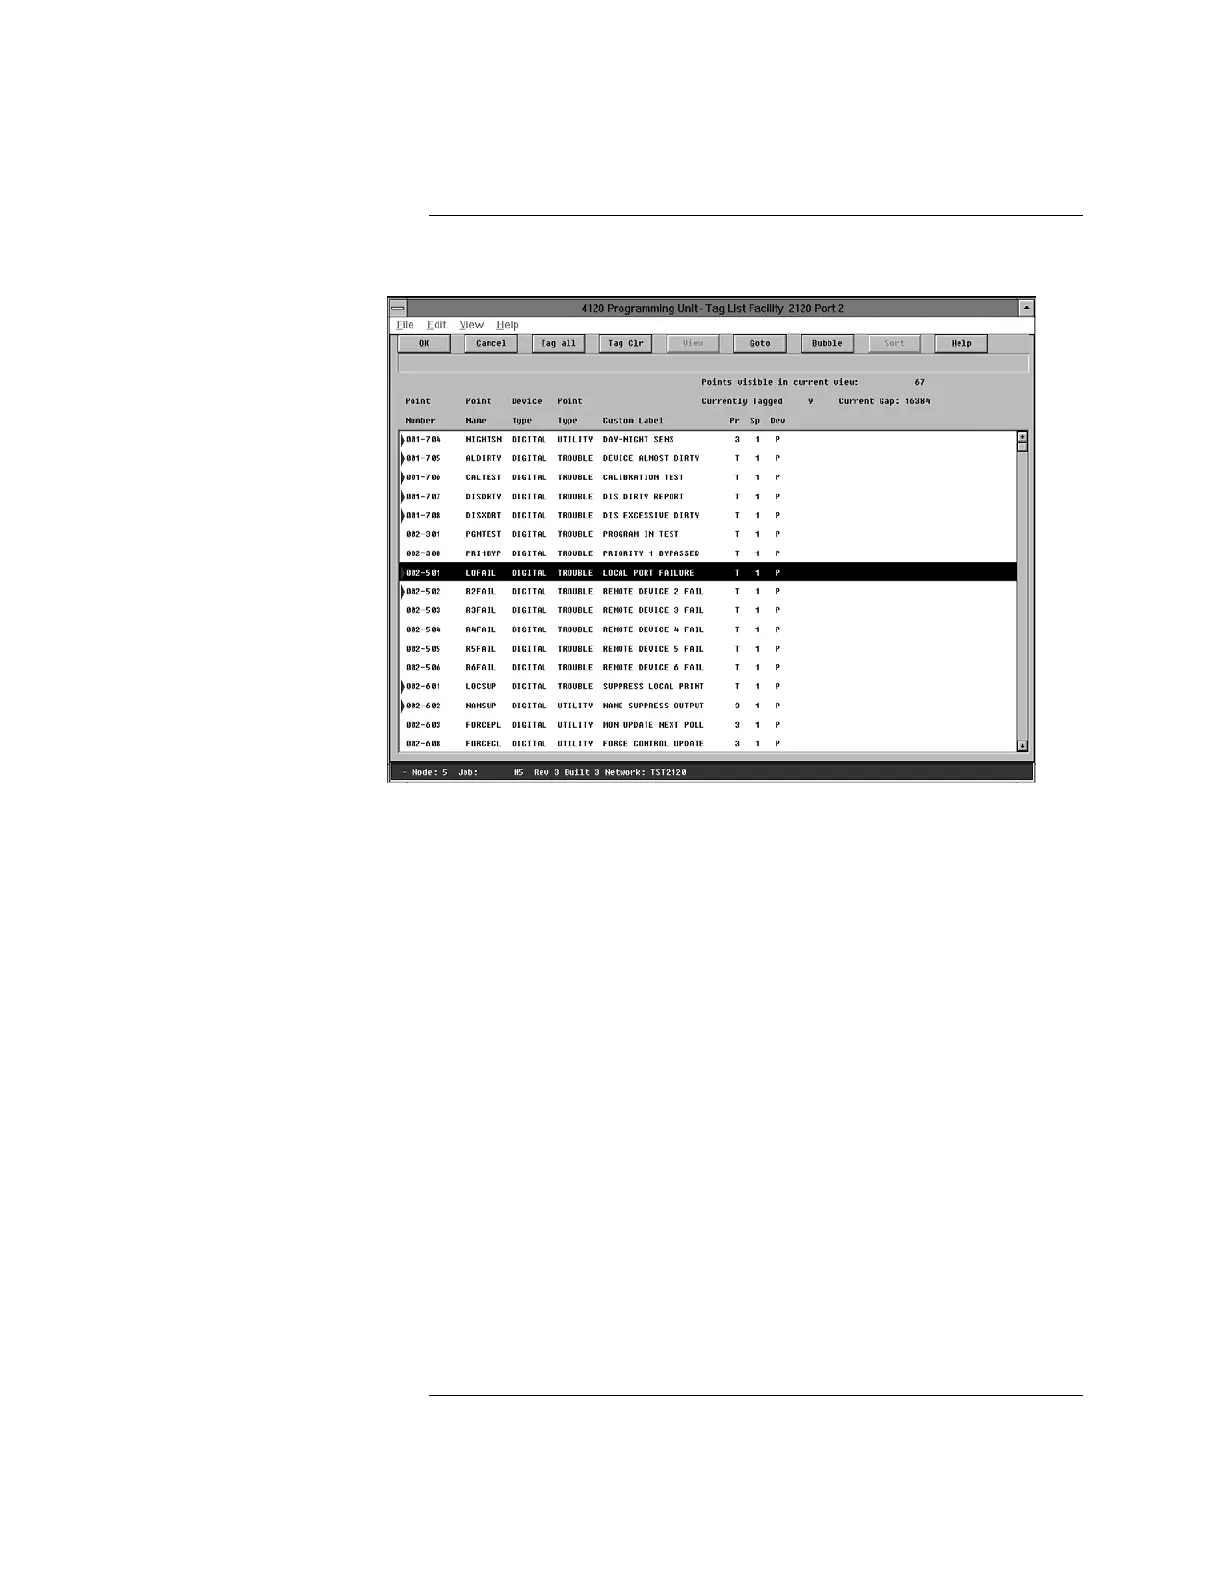
tag list. (See Figure 3-6.)
Figure 3-6. 2120 Points Tag List Screen
9. Highlight each 2120 point and press the space bar after selecting each point.
When you are finished making your selections, press OK. The system
displays the Port Selection screen.
Note: Monitor Points are default mapped to the IMS/NPU by priority only.
• 2120 PRI1 points (FIRE) are mapped as IMS/NPU FIRE
• 2120 PRI2 points (SECURITY) are mapped as IMS/NPU GENPRI2
• 2120 PRI3 points (UTILITY) are mapped as IMS/NPU UTILITY
This may result in points being incorrectly mapped at the IMS/NPU.
• 2120
“F” sense points must be changed to TROUBLE at the IMS/NPU
• 2120
“V” sense points must be changed to VERIFIED at the IMS/NPU
10. To add 2120 user points, use point numbers between 2816 and 52815, then
press the Add button at the top of the screen.
11. Select the Exit button to return to the Select Category screen or select OK
to return to the Point Configuration screen. The system displays the new
2120 points with LC2 as the class. To change the class to Public, highlight
the Class field that you want to change and press the Up and Down arrow
keys to toggle between the classes.
12. At this point, you can save the database and build using the standard
method.
Adding 2120 Points (RETROFIT APPLICATIONS ONLY), Continued
How to Add 2120 Points to
the Point Database and
Network (Continued)