52
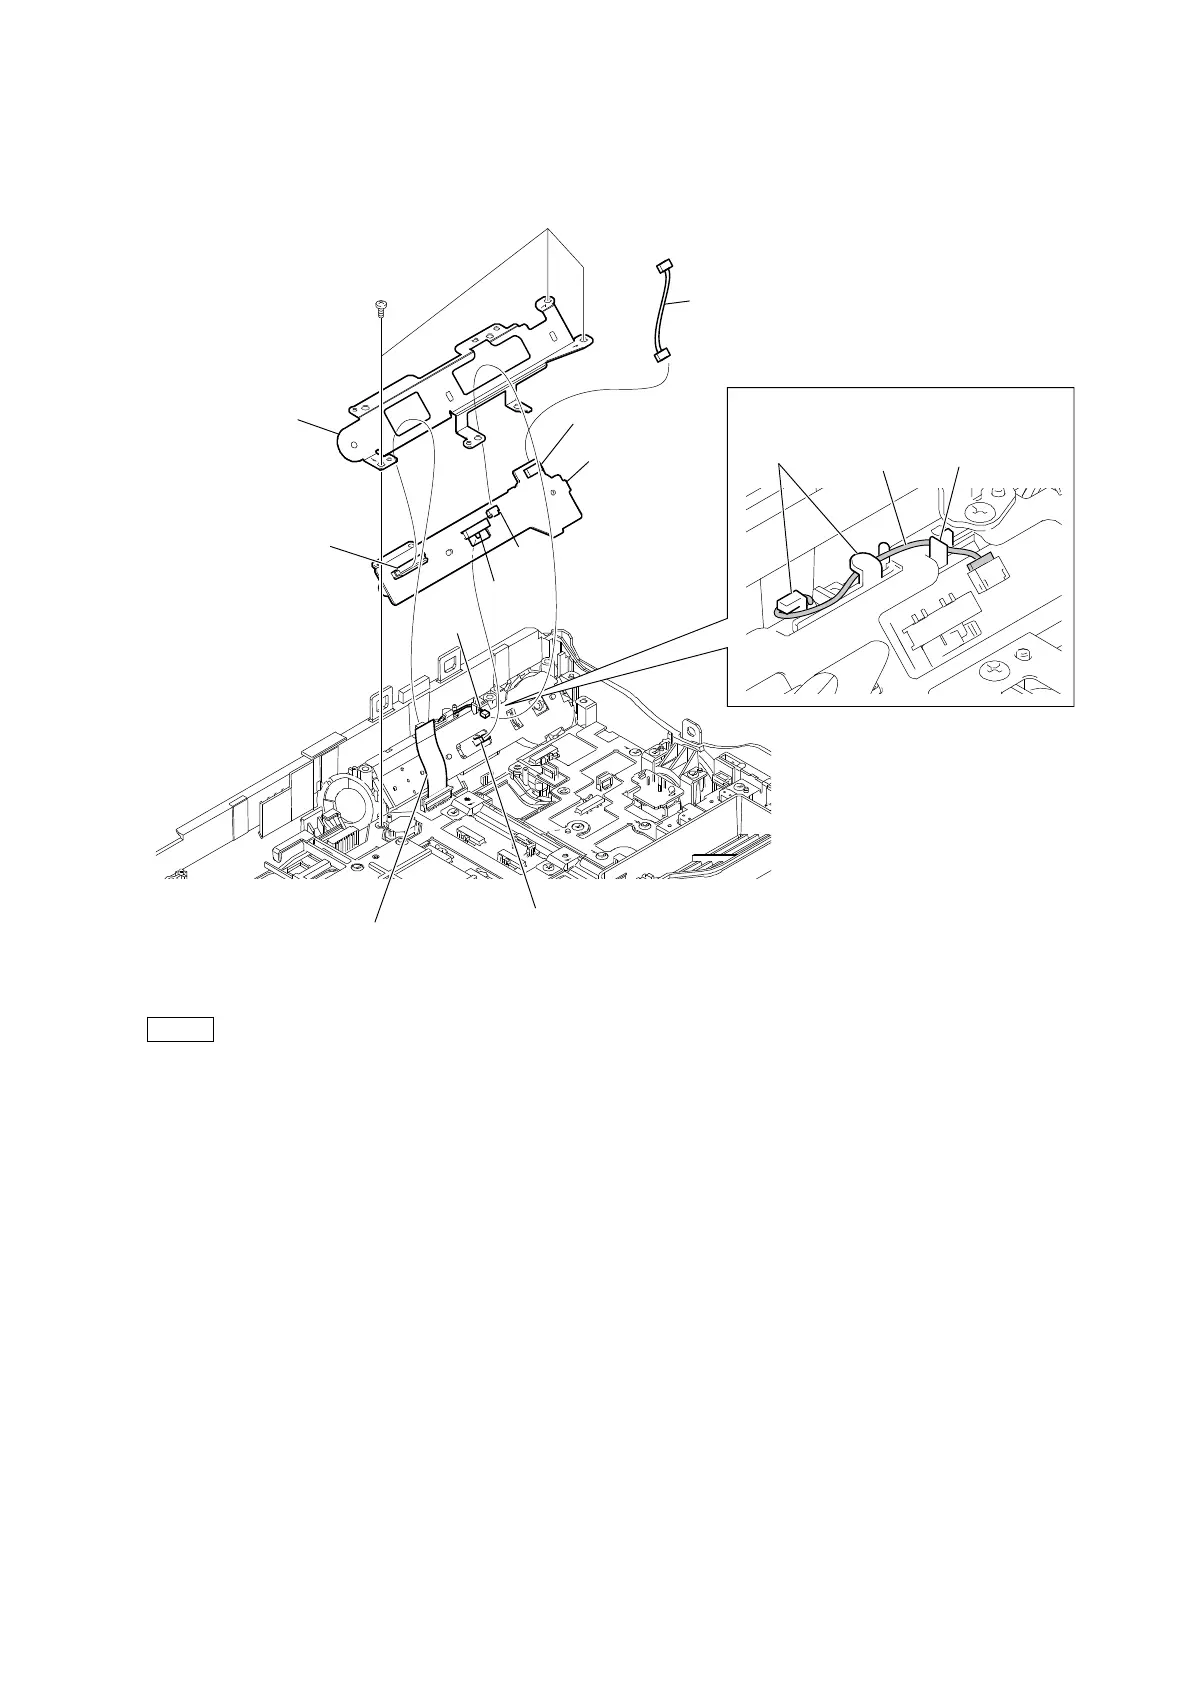
4. Disconnect the harness from the connector (CN660) on the SS-108 board.
5. Disconnect the flexible flat cable from the connector (CN704) on the SS-108 board.
6. Remove the three screws, and then remove the REC plate and the SS-108 board.
7. Disconnect the harness from the connector (CN703) on the SS-108 board.
Note
• At the time of the installation, tighten the screws in the following sequence: (a), (b), (c).
• At the time of the installation, align the switch with the lever.
8. Install the removed parts by reversing the steps of removal.
PTP2 x 5
Harness
Harness
Switch
Flexible flat cable
Lever
REC plate
SS-108 board
(a)
(b)
(c)
CN703
CN704
CN660
Harness
Arrangement of harness
Hooks
Groove