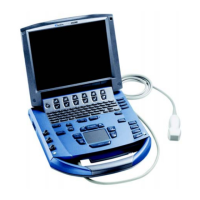
Chapter 4: Setup and Operation 41
Connecting and Removing the Transducer
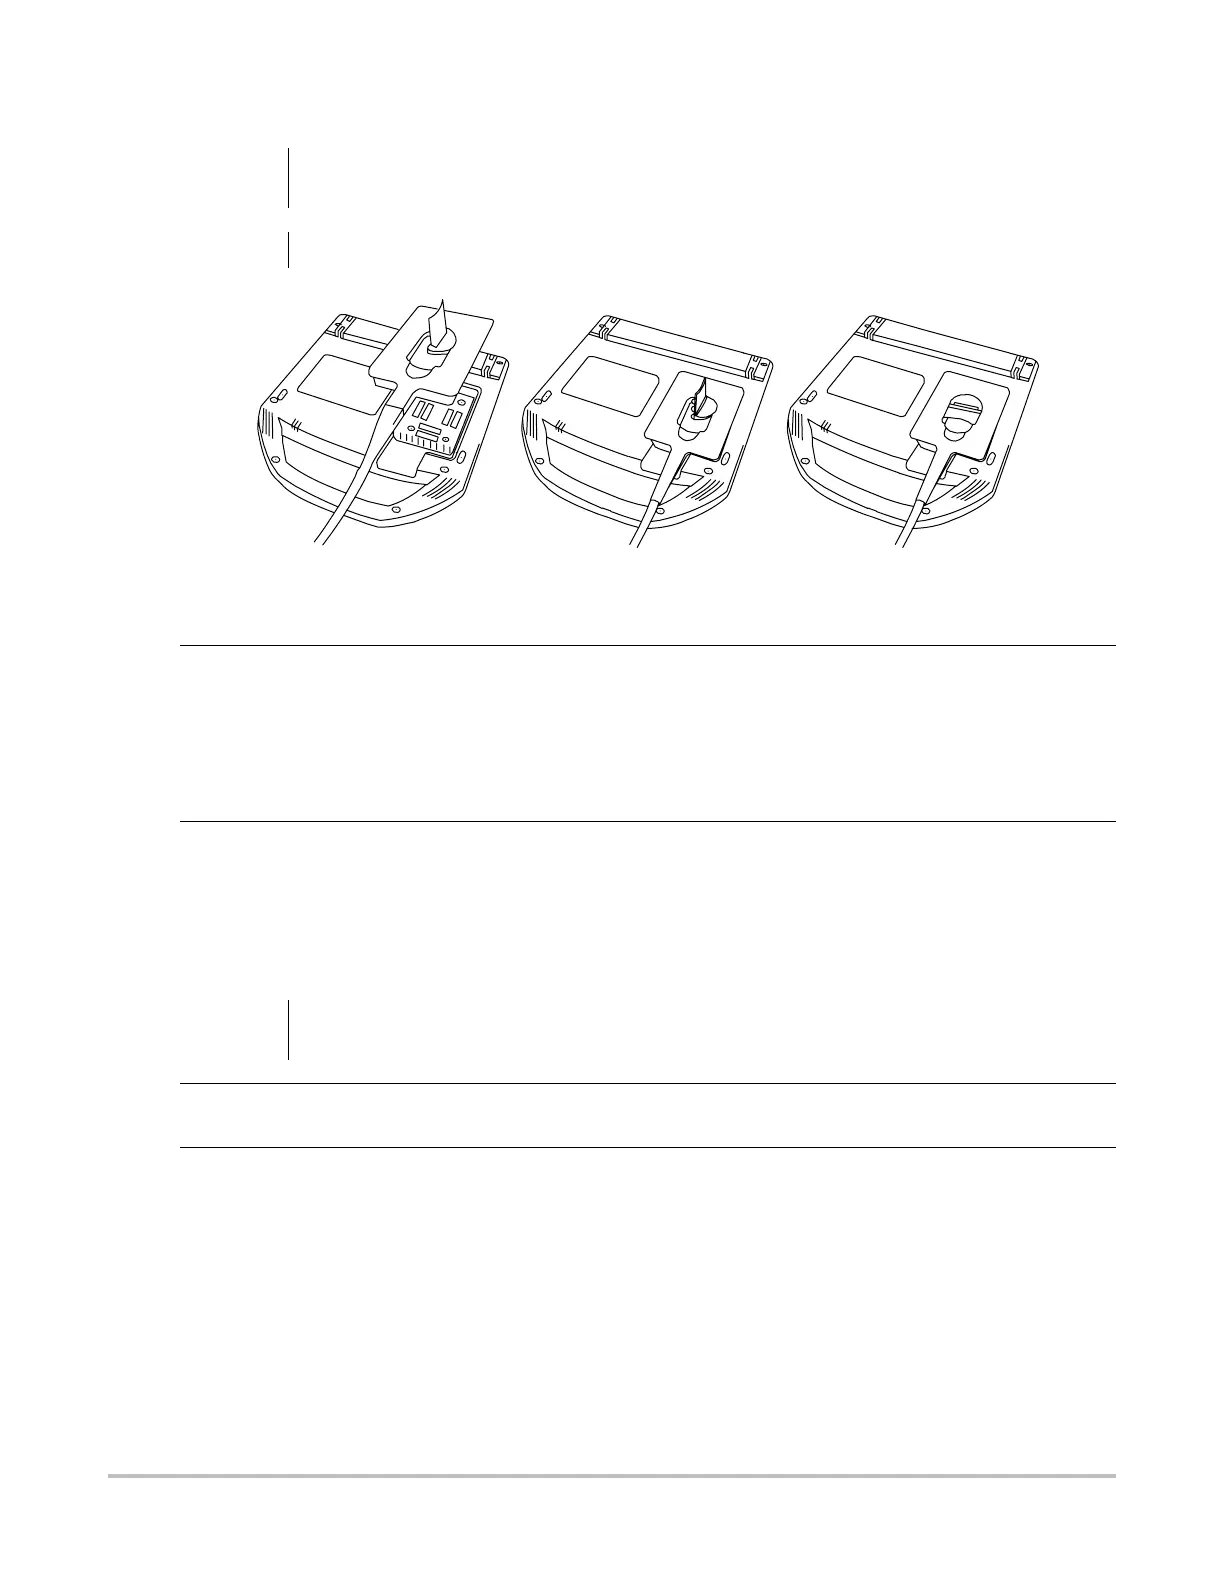
Figure 4.2 Connect the Transducer
Turning System On/Off
WARNING:
To avoid injury to the patient, do not place the connector on the patient. Operate the ultrasound
system in the MDS or on a flat, hard surface to allow air flow past the connector.
Caution:
To avoid damaging the transducer connector, do not allow foreign material in the connector.
Connect
Transducer to
System
1 Turn the system upside down (if not in MDS).
2 Pull the transducer latch up and rotate it clockwise.
3 Align the transducer connector with the connector on the bottom of the system.
4 Insert the transducer connector into the system connector.
5 Turn the latch counterclockwise.
6 Press the latch down, securing the transducer connector to the system.
Remove
Transducer
1 Pull the latch up and rotate it clockwise.
2 Pull the transducer connector away from the system.
Caution:
Do not use the system if an error message appears on the display. Note the error code and turn
off the system. Call SonoSite or your local representative.
Turn System
On/Off
1Locate the Power key on the top left side of the system. See Figure 4.1 on page 21.
2 Press the Power key once to turn on and once to turn off.
Wake Up
System
To conserve battery life, the system is configured to go into sleep mode. The system goes into
sleep mode when the lid is closed or if the system has not been touched for a preset amount of
time. Press any key, touch the touchpad, or open the lid to wake up the system. To adjust the time
for sleep delay, see “Sleep Delay” on page 28.