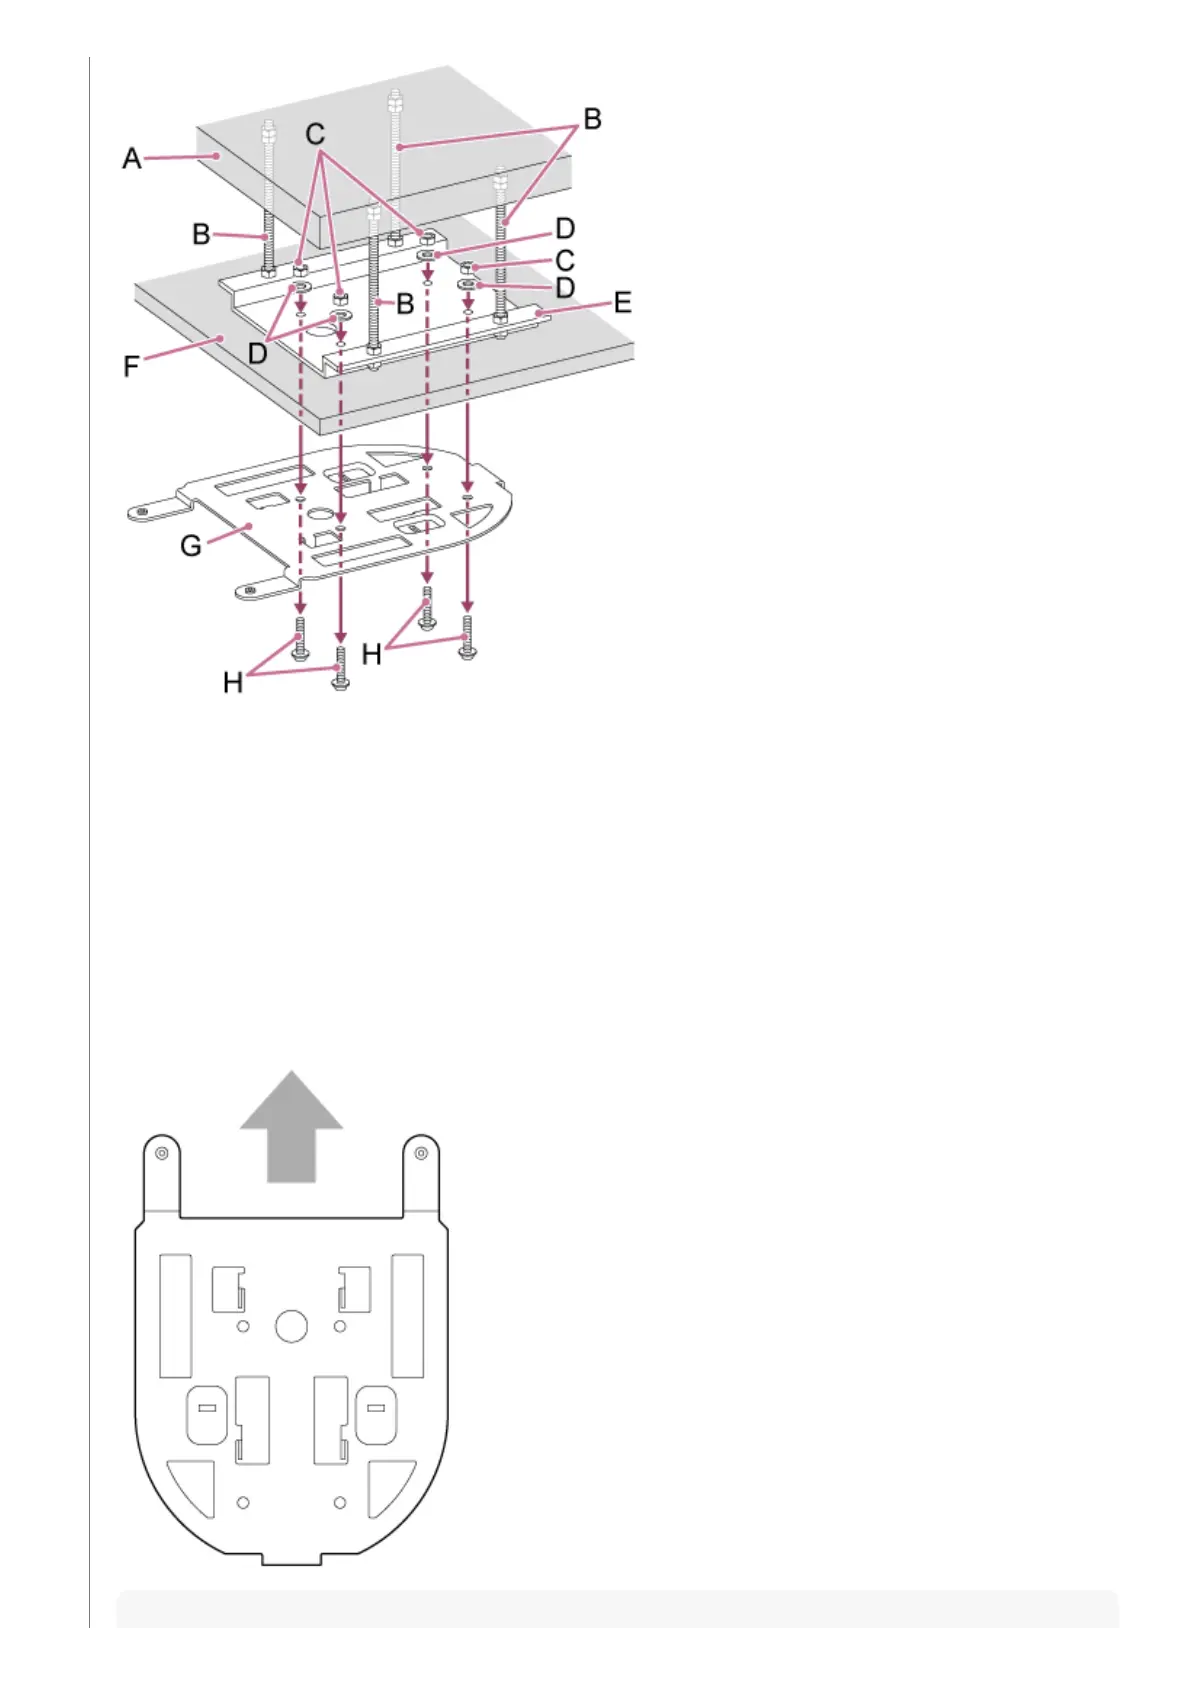
A: Concrete ceiling
B: Anchor bolts (4, not supplied)
C: Nuts (4, not supplied)
D: Washers (4, not supplied)
E: Mounting plate (not supplied)
F: Ceiling board
G: Ceiling bracket (B)
H: Mounting screws (4, not supplied)
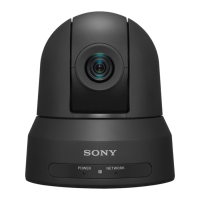
Attach the bracket, according to the orientation of ceiling bracket (B).
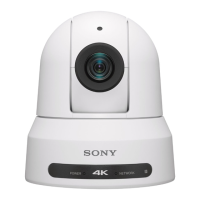
Note that when mounted on a ceiling, the front of the camera is on the opposite side of the ceiling bracket in comparison
to a normal upright mounting. The arrow direction in the figure indicates the front of the camera. Adjust the camera
orientation so that it faces forward.
Note