EasyManuals Logo

Stryker 6390 User Manual

Stryker 6390
154 pages
To Next Page IconTo Next Page
To Previous Page IconTo Previous Page
Page #60 background imageLoading...
Page #60 background image
54 6390-009-002 REV D www.stryker.com
Service
Inductive coil replacement (Continued)
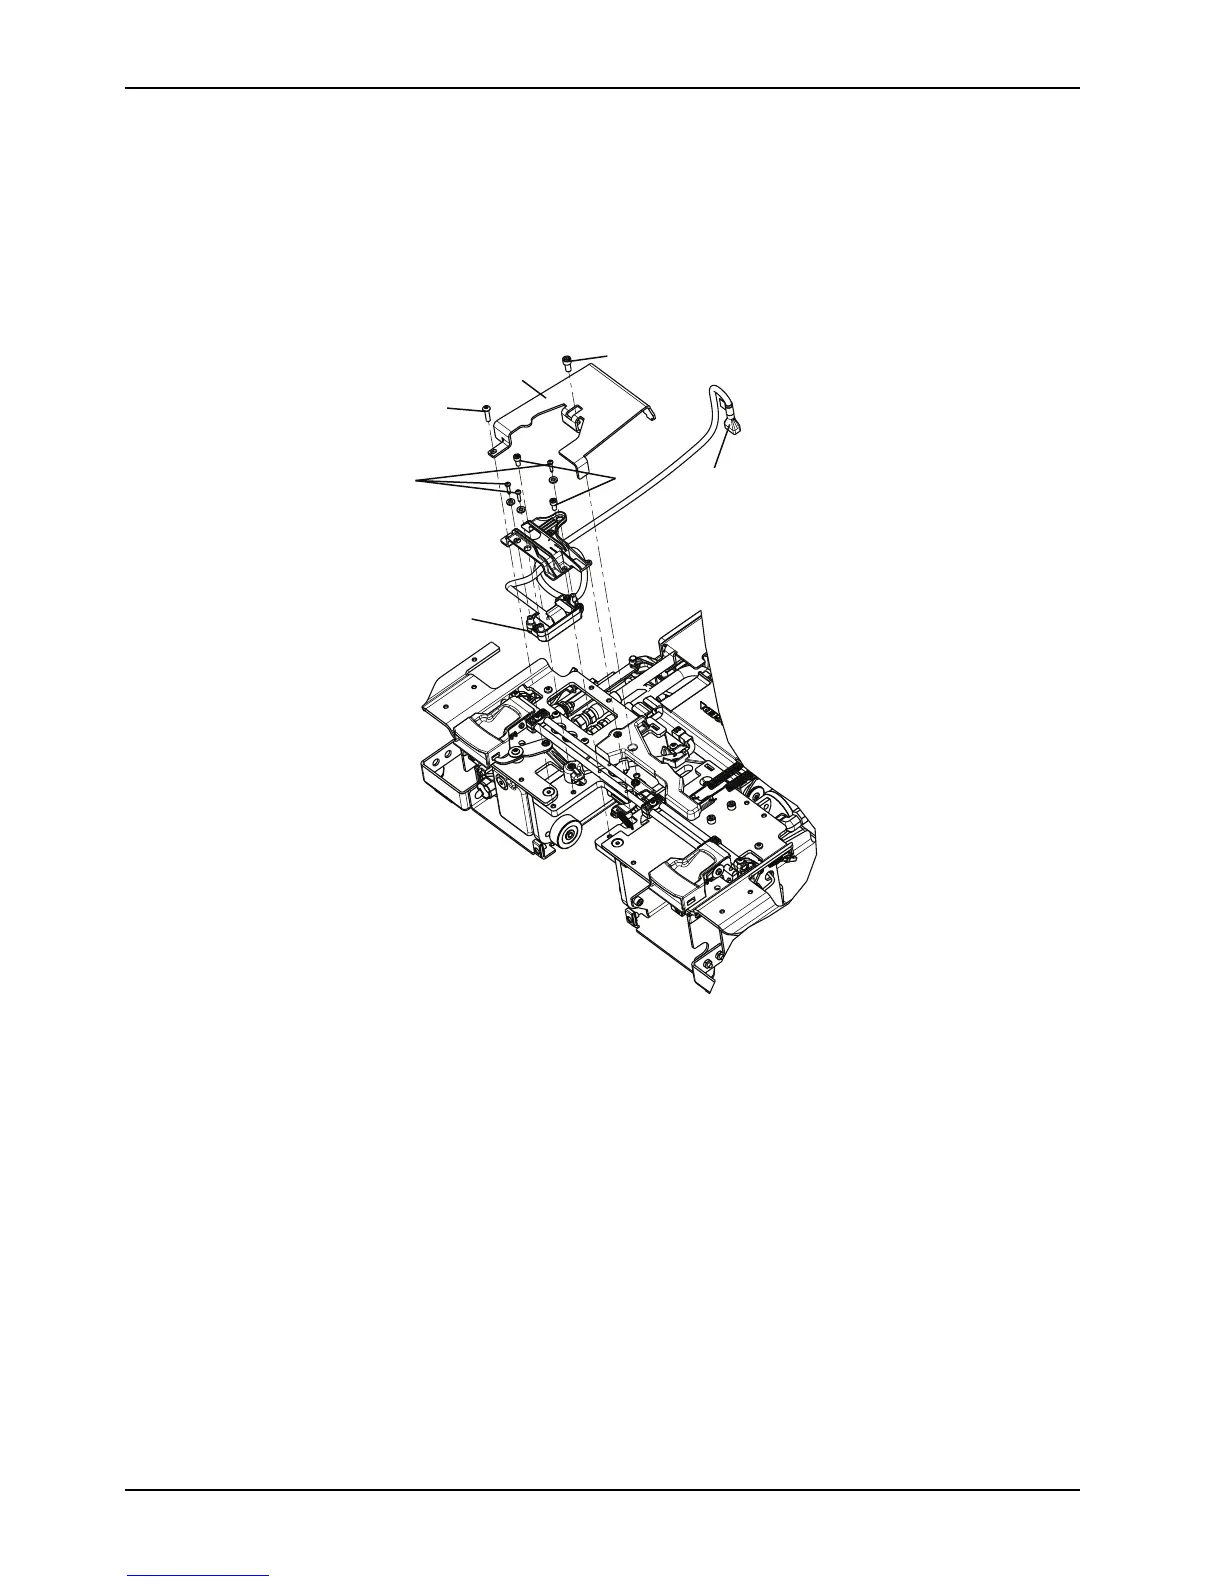
2. Using a 5/32" hex wrench, remove the screw (A) that secures the inductive coil assembly to the frame (Figure 21
on page 54).
3. Using a 3/16" hex wrench, remove the screw (B) that secures the inductive coil assembly to the frame (Figure 21
on page 54).
4. Remove the cover (C) (Figure 21 on page 54). Save for reinstallation.
A
B
C
E
F
G
H
Figure 21: Inductive coil assembly

Table of Contents

Questions and Answers:

Question and Answer IconNeed help?

Do you have a question about the Stryker 6390 and is the answer not in the manual?

Stryker 6390 Specifications

General IconGeneral
BrandStryker
Model6390
CategoryMedical Equipment
LanguageEnglish

Related product manuals