www.stryker.com 6390-009-002 REV D 53
Service
Communication board replacement (Continued)
Procedure
1. Pull the trolley assembly out of the patient compartment until it locks into the loading position.
2. Remove the trolley covers. See Cover removal and replacement on page 40.
3. Using diagonal pliers, cut the cable tie that secures the hydraulic cylinder rod end assembly cable to the plastic
cover.
Note: Pay attention to the location of all cable ties for reinstallation.
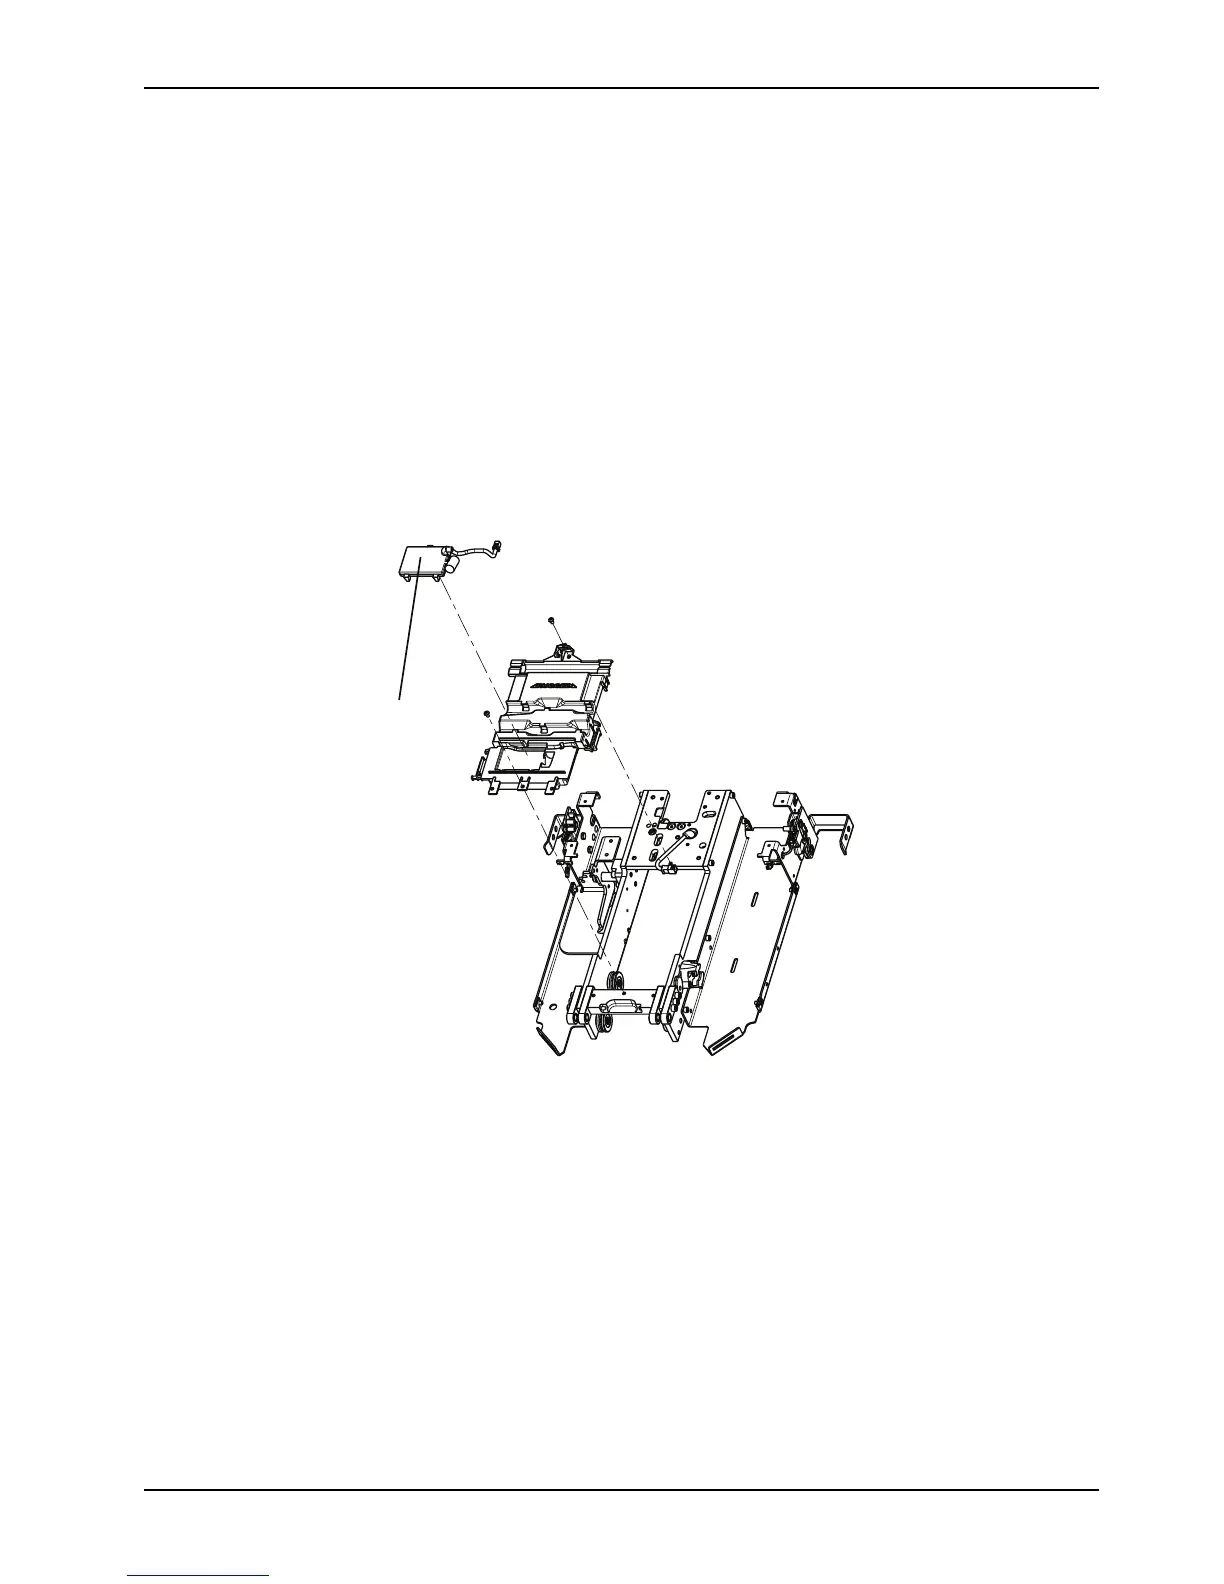
4. Lift up on the trolley communication board (A) to remove (Figure 20 on page 53). Discard the communication board.
Note: Do not dispose of as unsorted municipal waste. Refer to your local distributor for return and/or collection
systems available in your country.
5. Reverse steps to reinstall.
6. Verify proper operation of the product before returning it to service.
Figure 20: Communication board assembly
Inductive coil replacement
Tools required
• 5/32" hex wrench
• 3/16" hex wrench
• T25 Torx driver
Procedure
1. Remove the manual release button assembly. See Manual release button assembly removal and replacement on
page 42.