PPrroocceedduurree::
1. Remove the manual release button assembly. See
Manual release button assembly removal and replacement
(page
37).
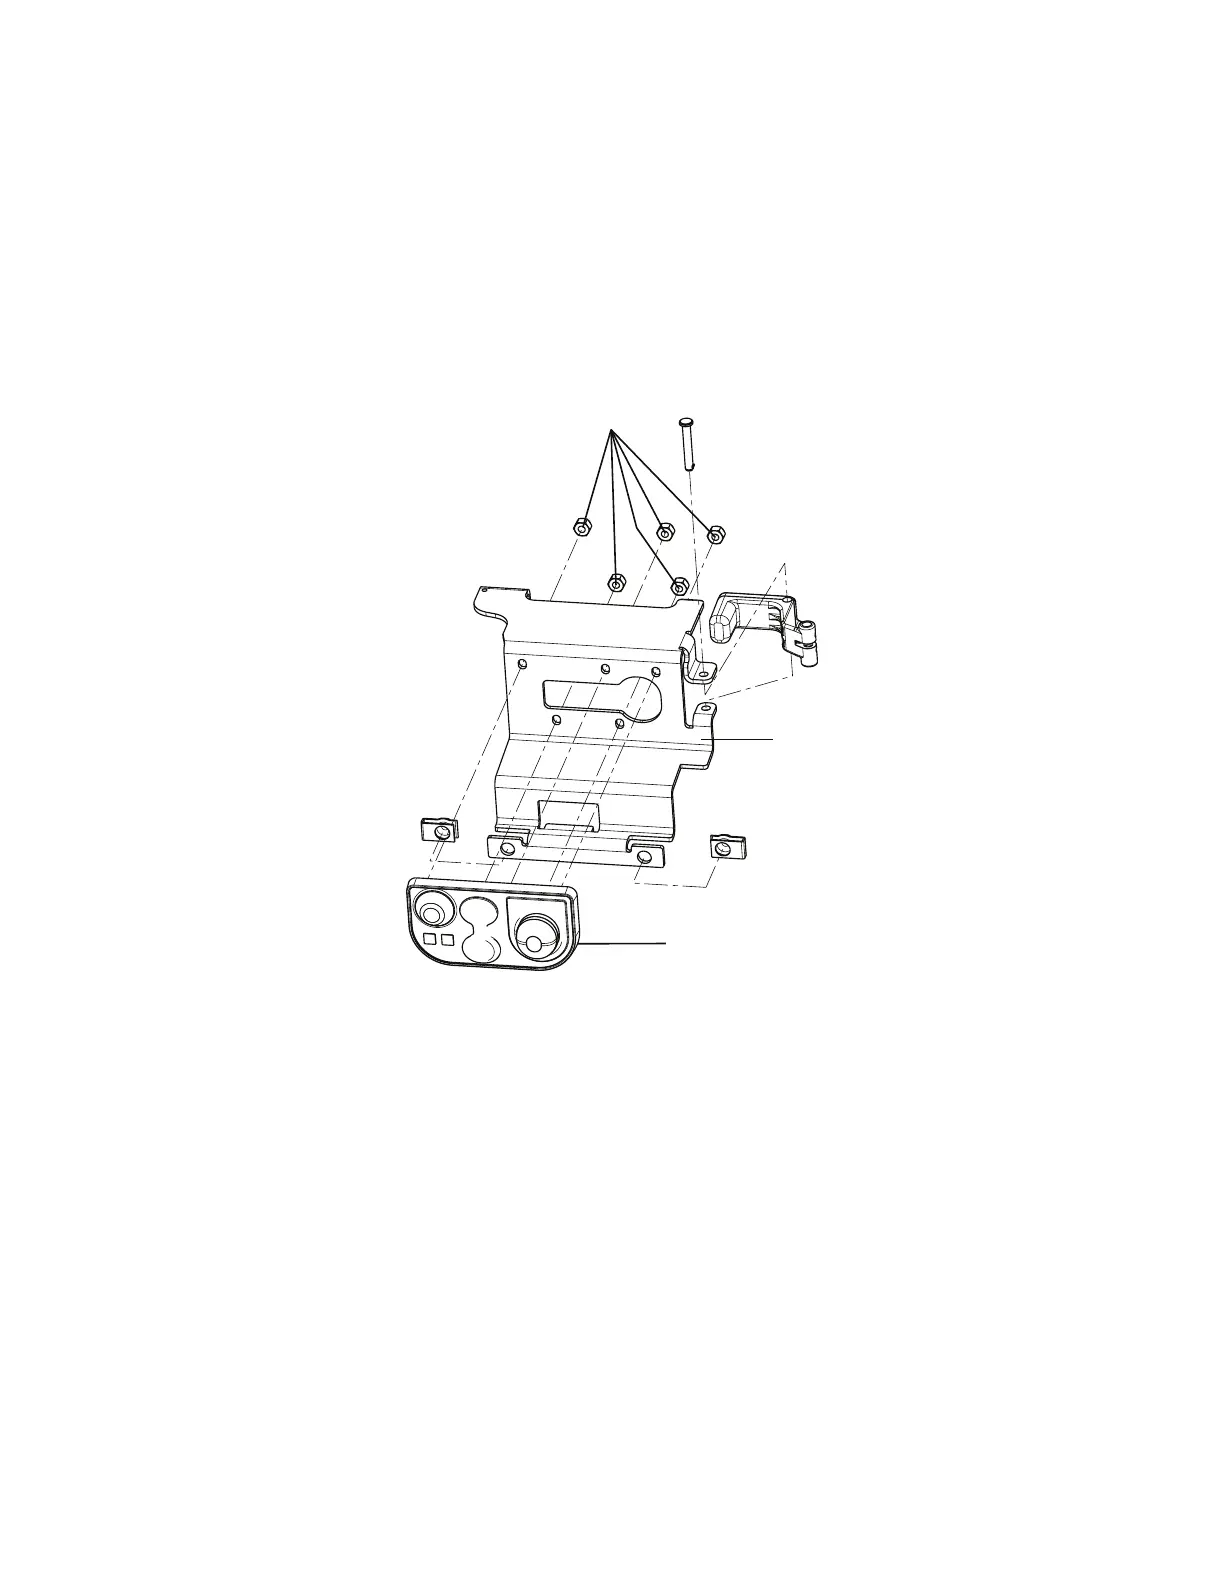
2. Using an 1/32" nut driver, remove the five Fiberlock hex nuts (A) that secure the master On/Off switch (B) to the manual
release button bracket (C). Discard the master On/Off switch (Figure 18).
NNoottee -- Do not dispose of as unsorted municipal waste. Refer to your local distributor for return or collection systems
available in your country.
3. Reverse steps to reinstall.
NNoottee -- Do not overtighten the nuts.
4. Verify proper operation before you return the product to service.
FFiigguurree 1188 –– MMaasstteerr OOnn//OOffff sswwiittcchh aanndd mmaannuuaall rreelleeaassee bbuuttttoonn bbrraacckkeett aasssseemmbbllyy
TTrroolllleeyy aaccttuuaattoorr aasssseemmbbllyy rreeppllaacceemmeenntt
TToooollss rreeqquuiirreedd::
• T20 Torx driver
PPrroocceedduurree::
1. Remove the manual release button assembly. See
Manual release button assembly removal and replacement
(page
37).
2. Using a T20 Torx driver, remove the three delta screws (A) that secure the trolley actuator (B) to the trolley frame
(Figure 19).
EN 40 6390-309-002 Rev AB.0

 Loading...


