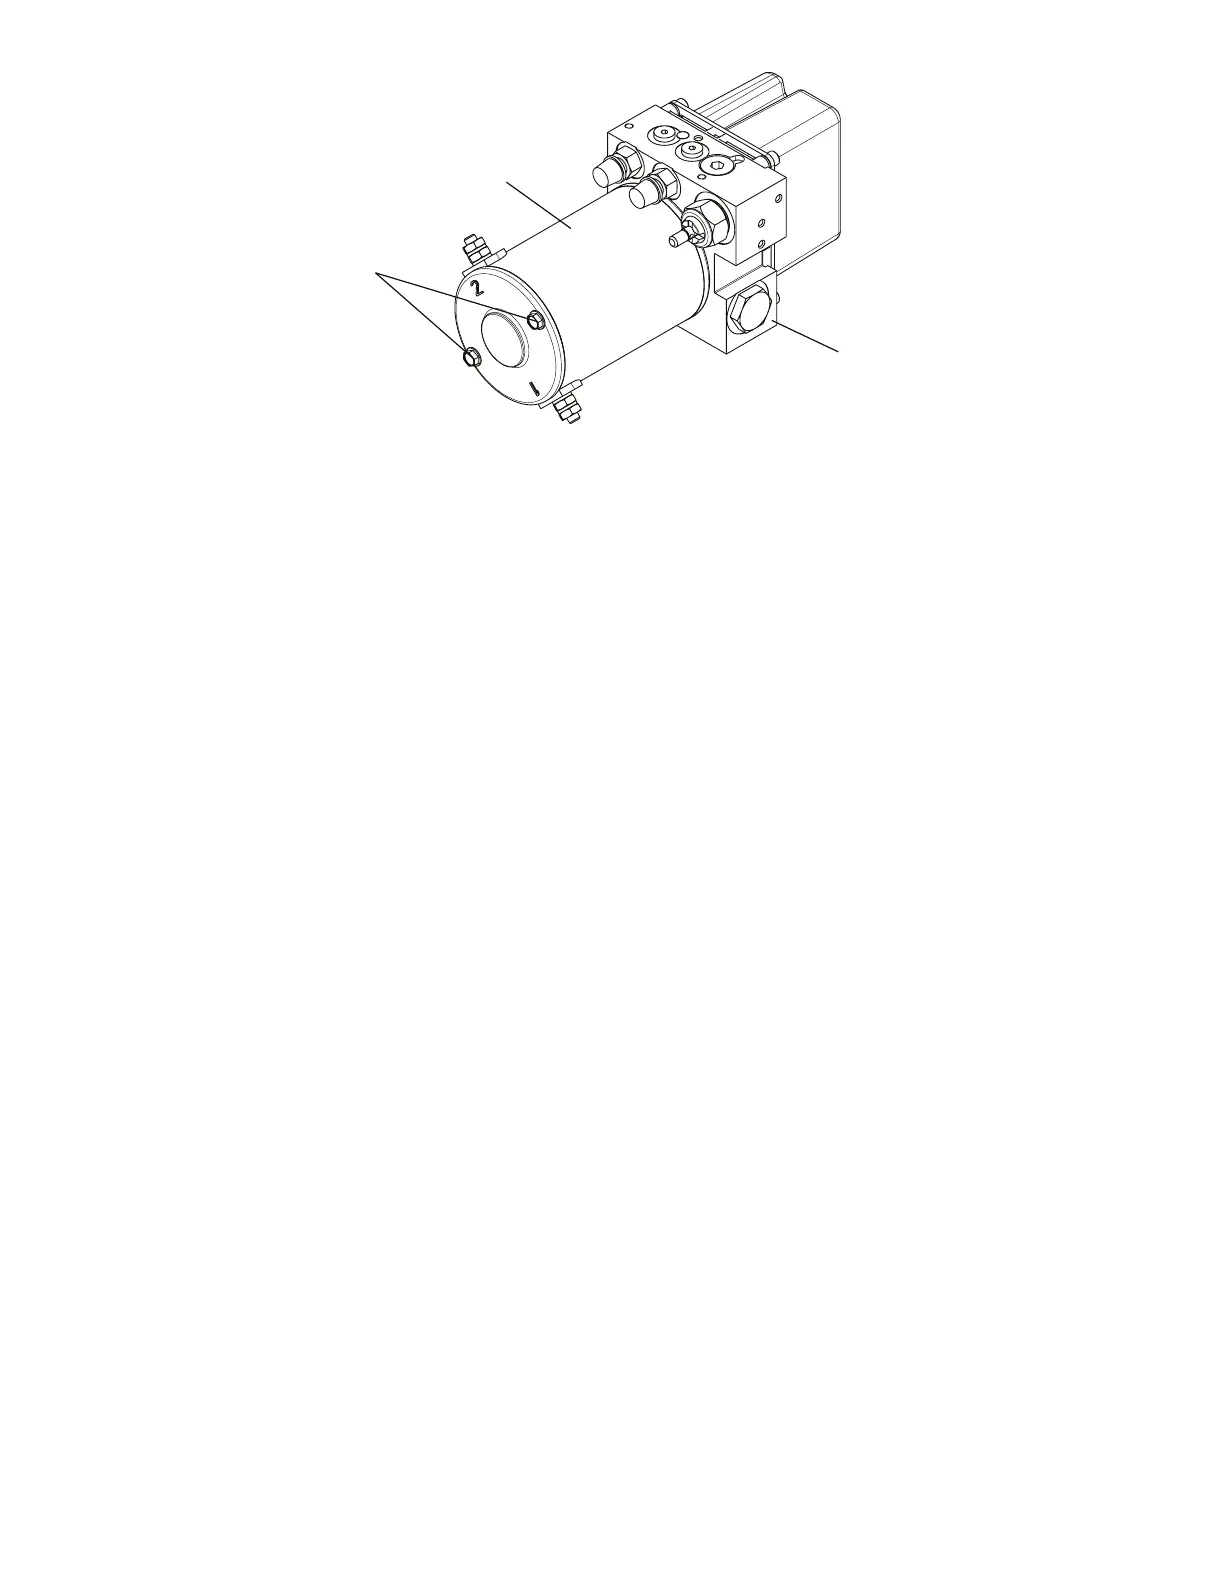
FFiigguurree 4433 –– MMoottoorr rreeppllaacceemmeenntt ppaarrttss
5. Reverse steps to reinstall.
6. Verify proper operation before you return the product to service.
PPrreessssuurree ccoommppeennssaatteedd ffllooww ccoonnttrrooll vvaallvvee rreeppllaacceemmeenntt
TToooollss rreeqquuiirreedd::
• 1/4'' hex wrench
• Needle nose pliers
PPrroocceedduurree::
1. Pull the trolley assembly out of the patient compartment until it locks into the loading position.
NNoottee -- This makes working on the product easier, but is not required.
2. Remove the trolley covers. See
Cover removal and replacement
(page 35).
3. Remove the hydraulics assembly. See
Hydraulics assembly removal and replacement
(page 41).
4. Using a 1/4" hex wrench, remove the hex plug (A) from the top of the hydraulic manifold assembly (Figure 44).
NNoottee -- Pay attention to the orientation of the valve for reinstallation.
EN 58 6390-309-002 Rev AB.0

 Loading...


