27
- - End
4.5.2 Wall-Mounted Installation
Tool preparation
Name Specification
Maker
—
Level
-
Hammer drill Bit: φ12
Wrench Inner diameter: 16mm
Material preparation
Name Quantity Specification Source
Expansion
bolt
2 M10 Not included in the delivery
scope
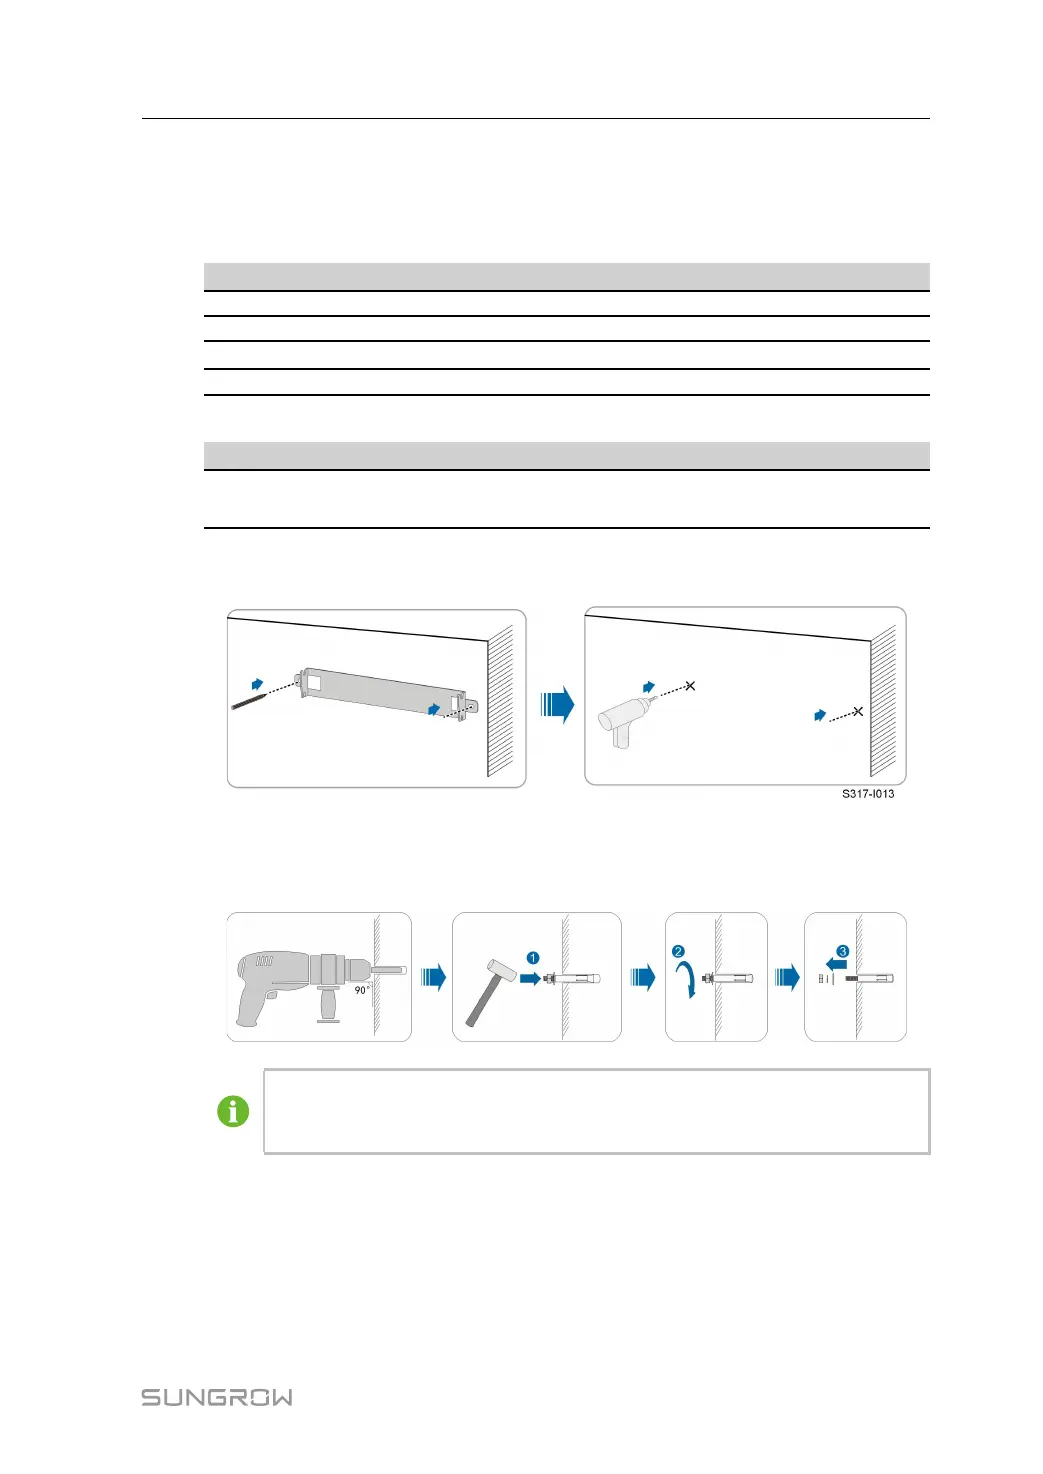
Step 1 Place the mounting-bracket at the installation place, adjust the angle with a level, and mark
the location of the drilled holes.
Step 2 Drill holes with a hammer drill. Clean up the holes, stuff the expansion bolts into the holes,
and fix them with a rubber mallet. Use a wrench to tighten the nut to fix the end of the bolt,
take off the nut, spring washer and flat washer for spare.
After removing the nut, spring washer, and flat washer, level the front of the expan-
sion tube with the wall. Otherwise, the mounting brackets will not stay steady on
the wall.
User Manual 4 Mechanical Mounting
 Loading...