getting started
114
Synrad Firestar f-Series operator’s manual
Mounting
2
Assemble three spherical washer sets as detailed in the outline and mounting drawing.
3
Place the spherical washer sets over the thru holes in your mounting surface.
4
Carefully position the laser so that each threaded hole in the baseplate (labeled “M” or “S” in Figure
1-10) aligns with a spherical washer and thru hole in the mounting surface.
5
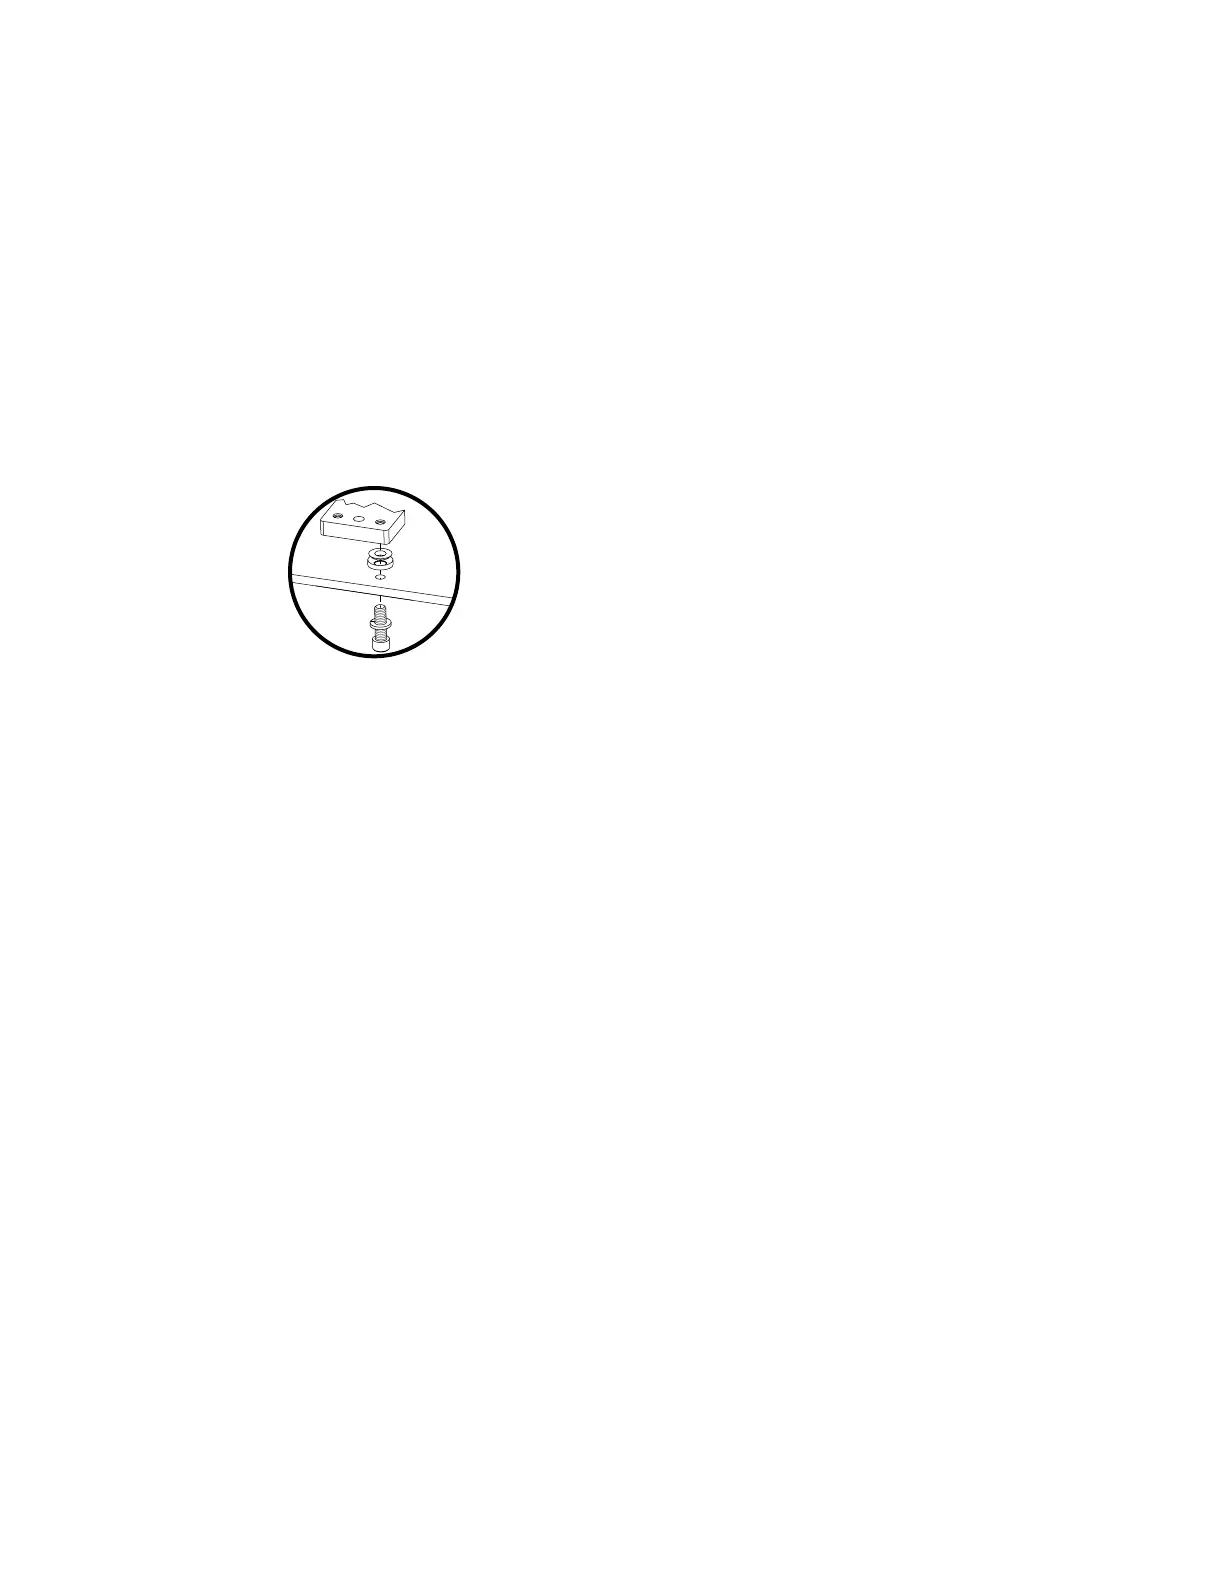
Insert the appropriate metric or standard capscrews, included in the laser’s ship kit, through the
mounting surface and spherical washers into the threaded holes of Firestar’s baseplate (see Figure
1-11). Turn the screws by hand until the threads engage.
Figure 1-11 Detail of fastening into laser
6
Evenly tighten all three capscrews. For M8 capscrews, torque to 12 N m; for M10 capscrews, tighten
to 24 N m. When using 5/16" capscrews, torque to a value of 13 ft lb; for 3/8" capscrews, tighten to
23 ft lb.
Insert metric or SAE
fastener thru mounting
plate and spherical washer
set into threaded metric
or SAE hole in laser mount
 Loading...
