BRAVO – Wireless Alarm Control Panel
28
Description of the sound types:
- Buttons Beep – A single beep when pressing a
button
- Alarm – Alarm signal for unauthorized access to the
protected premises
- Exit – Exit time running
- Entry – Entry time running
- Chime – “Chime” sound signalization at opening of
entry-exit zone type
The detailed description of all sound signalization types
is presented in item 4.4.
AC Loss Delay [min] (setting a time delay for the
sound signalization for lost mains power supply).
Enter a time interval from 1 to 255 minutes. By
default no time delay is set and the signalization is
immediate.
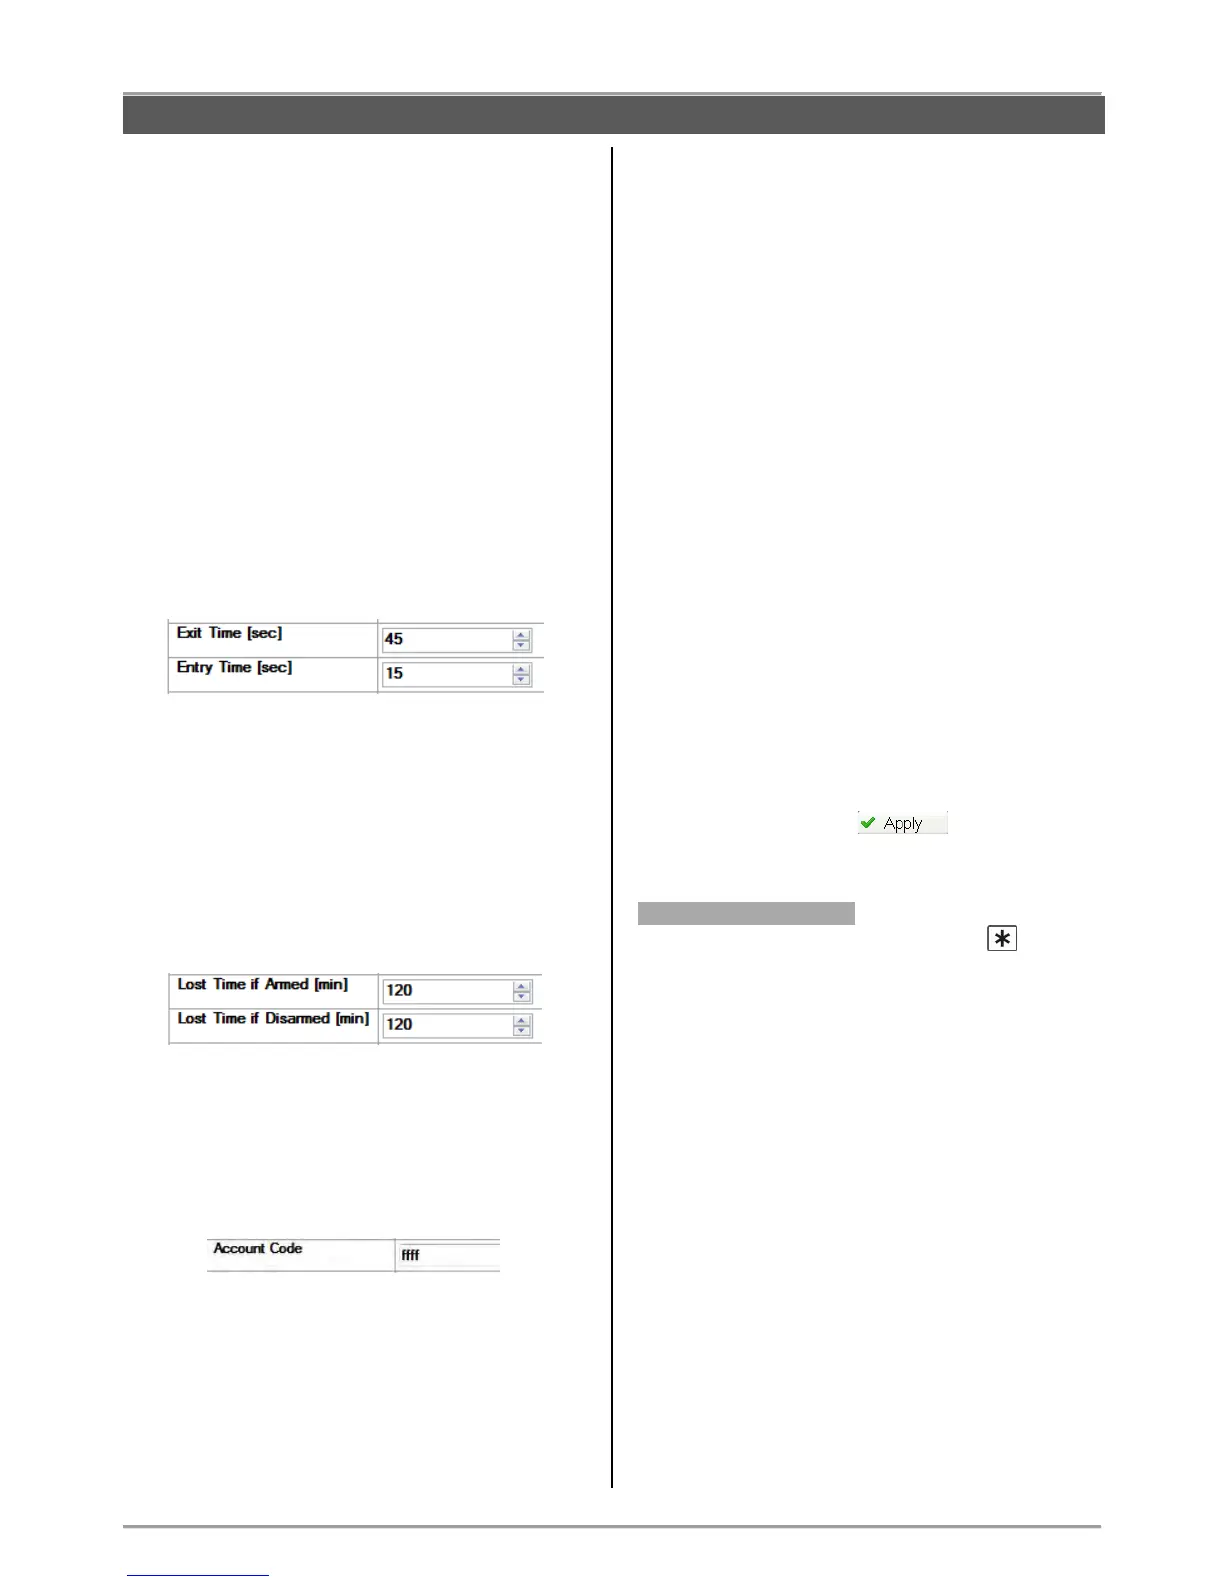
Entry/ Exit Time [sec] (setting the entry and exit
time duration in seconds).
Enter a time interval from 1 to 255 seconds.
Bell Time [min] (setting the duration of the alarm
cycle).
Enter a time interval from 1 to 3 minutes. By default
the bell time is 1 minute.
Lost Time if Armed/ Disarmed [min] (setting a time
delay for the sound signalization for lost device).
Enter a time interval from 1 to 120 minutes. The
panel will alert for lost device if within the set time the
communication with the device is not restored.
Account code length – From the drop-down menu
chose the account code length – 4 or 6 digits.
Account code (a unique number for communication
with server for monitoring and management). Enter a
code up to 4 or 6 digits in hexadecimal form.
Note: The code combination FFFF entered in the field
means that the code will not be used.
Area Name (panel name, e.g. Home Alarm).
Type a name for the panel (or the system if you
prefer) up to 16 symbols, including spaces.
Panel Tamper Alarm (setting an option for
activation of the tamper sound signalization when the
panel’s box is opened).
The tamper alarm event activates the sounders –
built-in one and the outdoor.
Select one option of the drop-down menu:
- No Alarm – No sound alarm when the tamper is
activated.
- In ARM only – The sound alarm for tamper is
activated when the system is armed.
- Always – The sound alarm for tamper is activated
regardless of the system status (ARM or DISARM).
WL Device Alarm (setting of options for sending of
alarm signals from wireless devices).
In the menu are programmed alarm signals from:
- Zone Tamper (Open tamper in a zone)
- Zone Lost (Lost detector in a zone)
- Siren Tamper (Open tamper of a sounder)
- Siren Lost (Lost outdoor sounder)
For every of the alarm signals the installer should set
one option from the drop-down menu:
- No Alarm – No alarm when the tamper is activated.
- In ARM only – The sound alarm for tamper is
activated when the system is armed.
- Always – The sound alarm for tamper is activated
regardless of the system status (ARM or DISARM).
After setting all parameters in “General Settings”, save
the new configuration with button.
Menu “2. RC Button *”
This a menu for setting the functionality of button for
every of the enrolled to the system configuration remote
key fobs.
Select “2. RC Button *” – in the right side of the screen
are displayed fields for setting of every of the key fobs,
as BRAVO RC 1 corresponds to the key fob enrolled to
position 1 of the control panel, BRAVO RC 2
corresponds to position 2 and so on.
Select the functionality of the button from the drop-down
menu for every key fob:
- No Func – No functionality of the button
- Stay Arm – Arming in “Stay ARM” mode
- Panic Fire – Panic button for FIRE alarm event
- Panic Medical - Panic button for MEDICAL alarm
event
- Panic Police - Panic button for POLICE alarm event
- Siren Check – Testing the operation of outdoor
sounder.