INSTALLATION AND CONFIGURATION | 9
Livewire for audio I/O
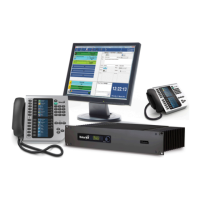
The VX uses Livewire for all audio I/O. For studios that are already Livewire-based, this ap-
proach saves money and simplifies installation. With its simple support of bi-directional audio
flow, Livewire is ready for hassle-free mix-minus.
When needed, traditional audio connections are provided via VX Interfaces, with Axia Livewire
connectivity. These come in both analog and AES3 versions. Because they are networked,
they can be located where convenient, either in individual studios or in a central rack room.
Each standard Interface connects eight stereo audio inputs and eight outputs. The many
audio converters and connectors that would be needed to interface the multiple hybrids and
program-on-hold inputs are reduced to a single Ethernet RJ-45.
Livewire is both an elegant technical solution and an unprecedented value. Only one Ethernet
RJ-45 connects dozens of bi-directional audio channels and rich control.
Step-by-step
There is a lot of information in the pages that follow. Here’s the (very) abridged version of what
you need to do to get your VX system up and running.
1. If you will not be using an existing network to support the VX, install the Ethernet switch,
or switches, depending upon your needs.
2. Mount the Engine and set the IP address or accept the default. Make the network connections.
3. Install and configure your gateways if you will be using them to interface to POTS, ISDN,
or T1 PSTN lines. If you will be using VoIP trunking for your Telco connection, get it
connected and gather the IP and registration password info.
4. Get a web browser going and do the system configuration.
5. Move on to install and configure the VXset phones and VX Producer software applica-
tion. Then to any other controllers you have in your system, such as integrated console
controller modules.
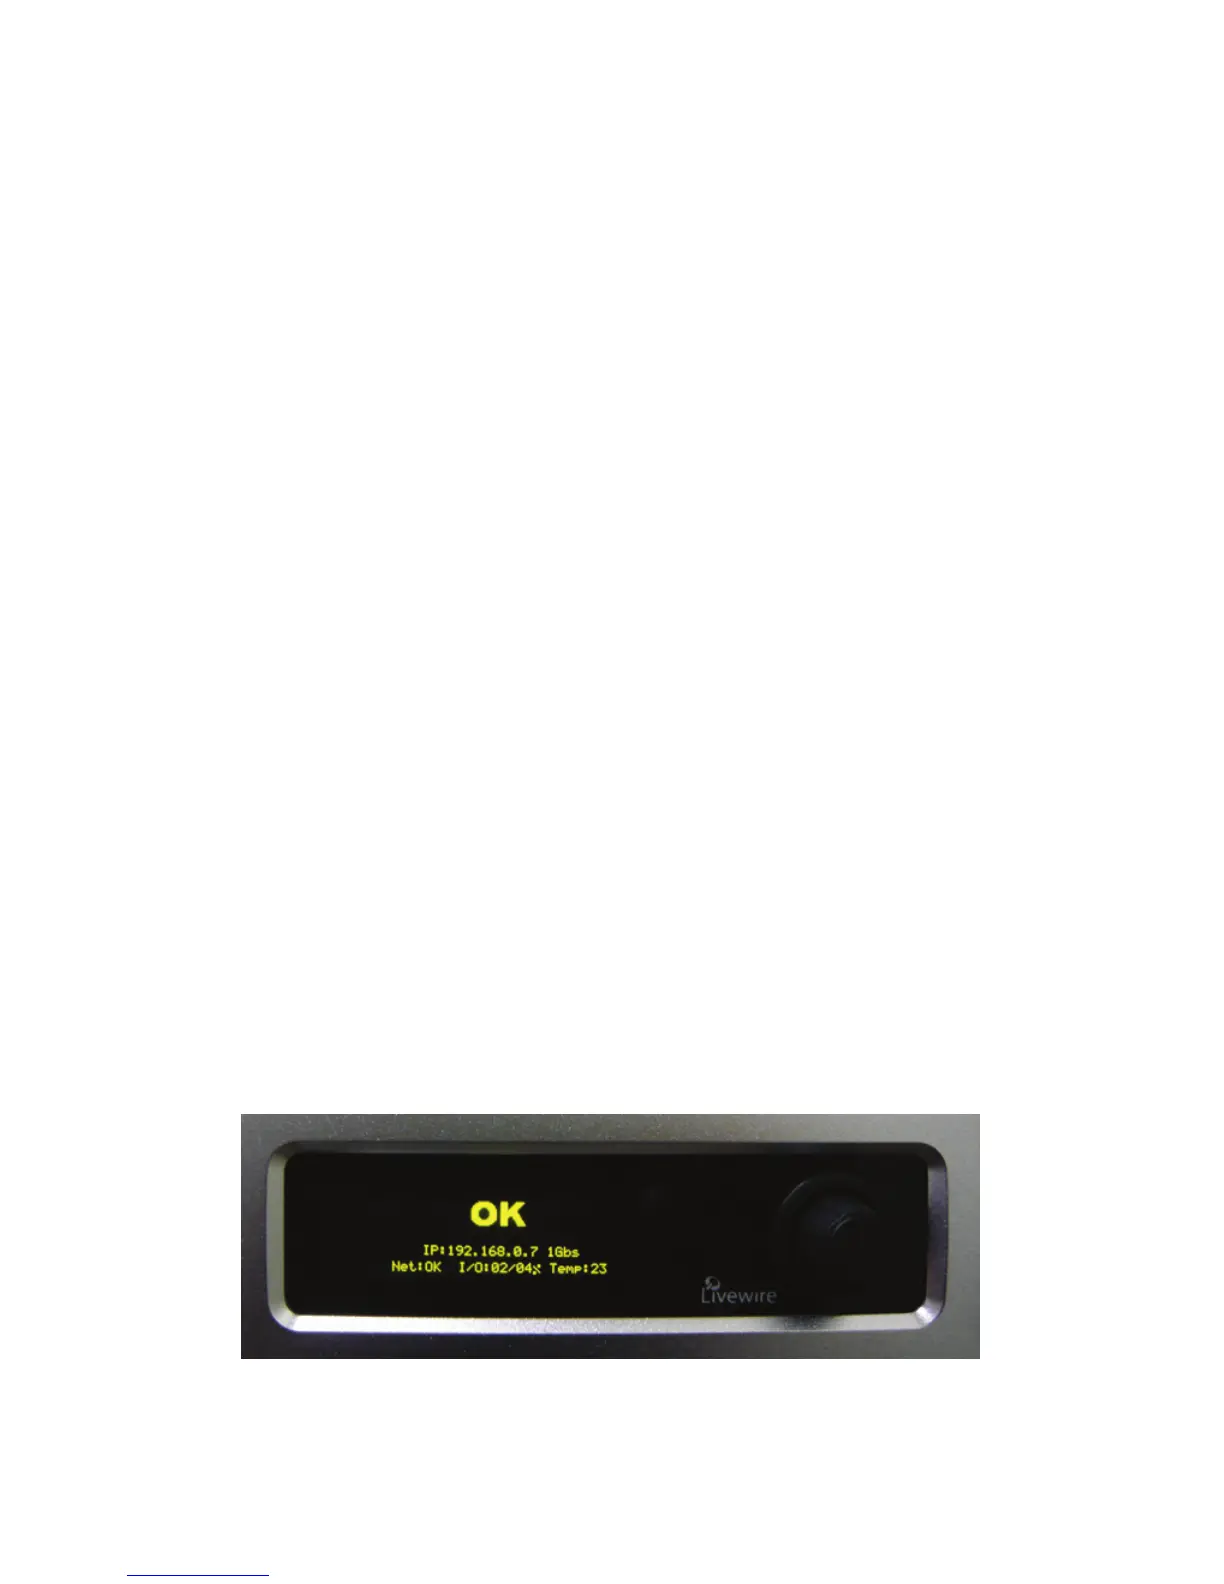
The Engine and Network
The front panel OLED/knob interface.