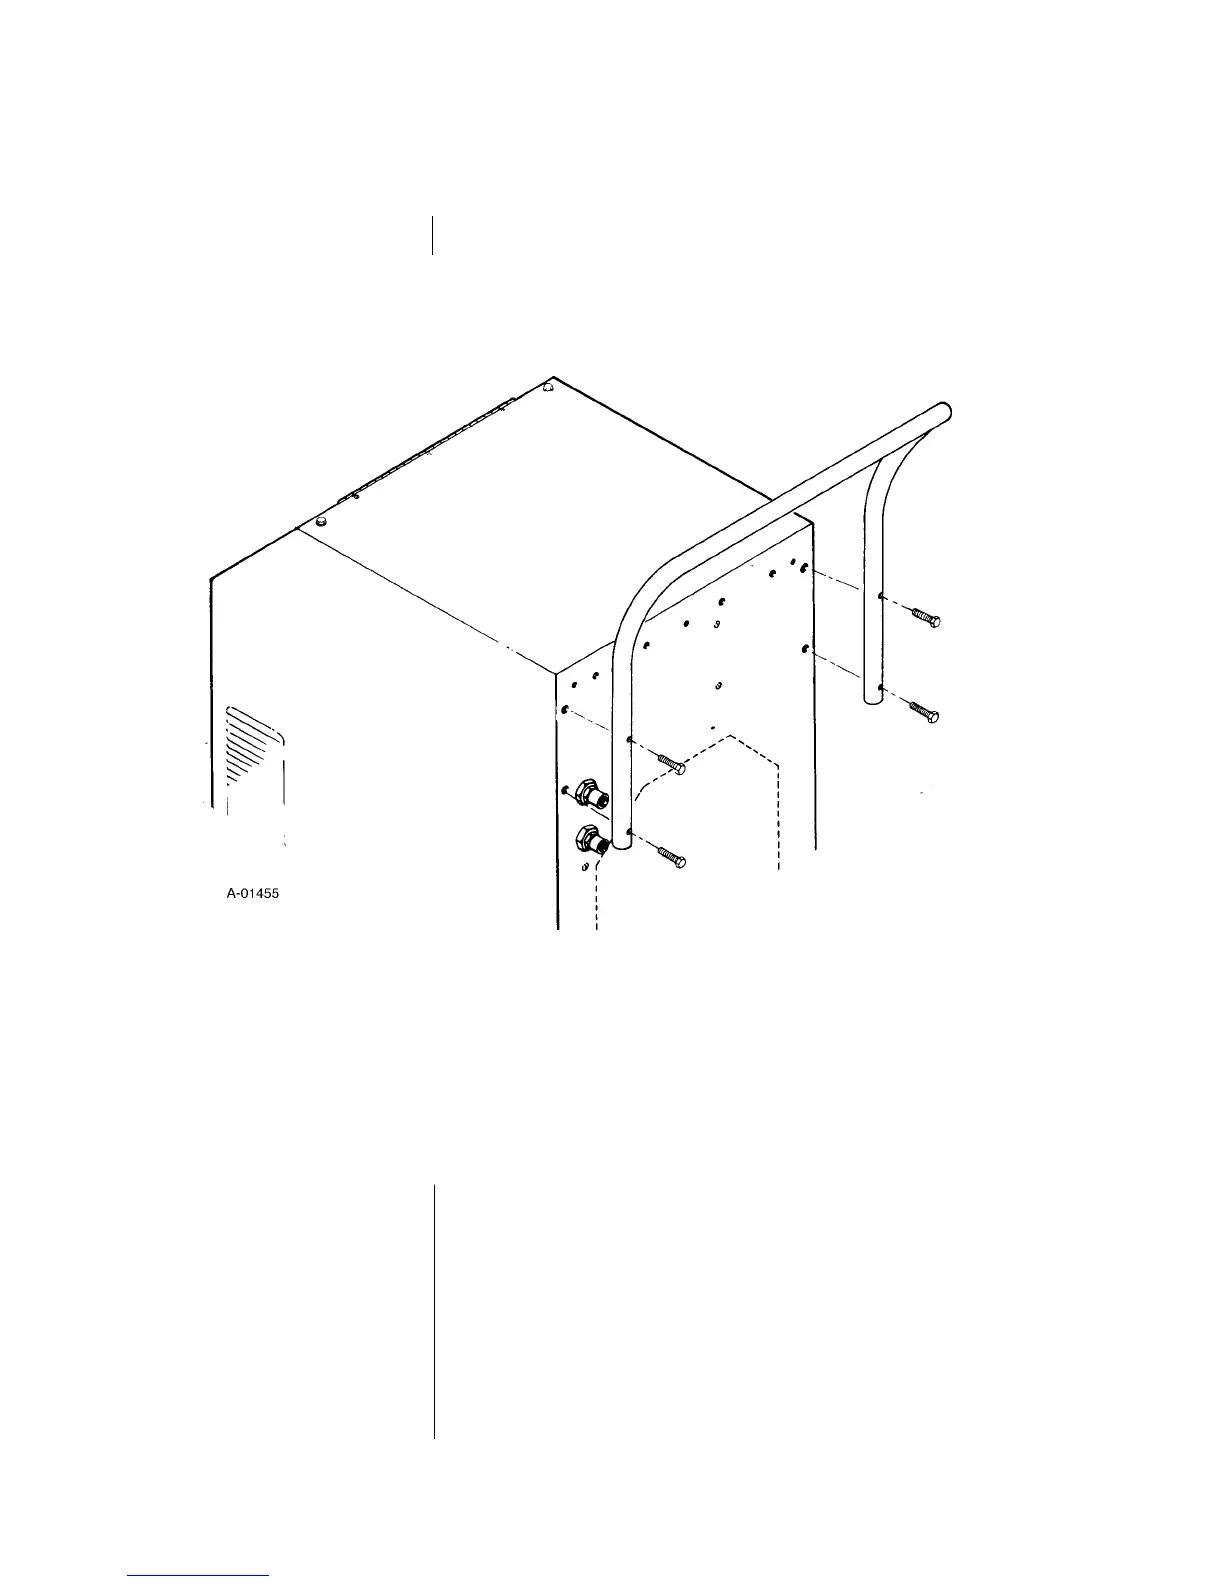
8
2.2 EQUIPMENT ASSEMBLY (continued)
7. Mount the handle on the rear panel of the power supply
(see Figure 2-B).
INSTALLATION
Standard Running Gear
Assembly (continued)
Refer to Figure 2-C and:
1. Remove all packing material.
2. Remove the unit from the shipping skid and set it
onto a platform to install the cylinder rack.
3. Attach the base extensions to the base of the unit.
4. Attach the cylinder tray to the base extensions.
5. Feed the axle through the large holes in the cylinder
tray and base extensions beneath the rear of the unit.
6. Slip a flat washer onto the axle, then a wheel, fol-
lowed by another flat washer. Locate these parts
behind the groove in the axle.
Cylinder Rack Running
Gear Assembly
Figure 2-B Handle Assembly
 Loading...