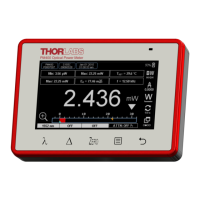
3.4 Operating Instruction
PM100 / page 21
given through the sensor type. Confirm the new wavelength setting with
Enter, the unit will switch back to the measurement display. This method
allows changing the wavelength quickly with very few clicks.
• The second way uses the menu structure. To get to the numerical input field
enter the Menu, toggle down to menu #2 ‘Wavelength Correction’; confirm with
Enter or right arrow. Chose the wavelength to be changed and confirm with
Enter or right arrow. A numerical input screen comes up, press enter to enable
editing the wavelength. Change the wavelength value by navigating with the
arrow buttons and confirm with Enter. Leave the menu with the left arrow or
any function button.
Whenever the PM100 is switched off (also by auto-shutdown) the last wavelength
used will be stored. The next time the unit is powered up this wavelength will be in
effect. When changing to a different sensor the last wavelength that was stored for
this sensor will show up. This works for up to 5 different sensors.
3.4.4.3 Attenuation/Gain Correction
When an attenuator (e.g. a neutral density filter) is attached to the power meter
system then the attenuation factor can be conveniently set as a ratio in dB that will
automatically correct the measurement value. The value is linked to the connected
sensor and stored with it’s setup values. The attenuation correction will be effective
when the unit is powered up again or the sensor is connected again. The attenuation
value is displayed in the graphics display’s top section.
Procedure:
• Enter the Menu, toggle down to menu #3 ‘User Calibration’ and press Enter
• A numerical input screen comes up, press Enter to enable editing the
attenuation value
• Set the calibration factor in logarithmic representation (dB) by using the arrow
buttons. The system allows input values between -20dBm and +30dBm.
• Confirm the set value with the Enter button
• Toggle out of the menus with the left arrow button
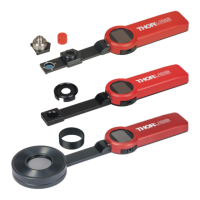
3.4.5 Connecting a Thermal Sensor (PM200 series)
Plug the DB-9 connector of the optical head into the jack located on the top of the
console and secure the two screws. This can be done while the power meter is
switched on.