39
BASIC OPERATIONS
BASIC OPERATIONS
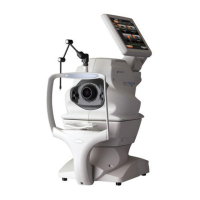
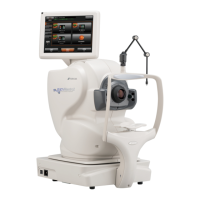
FUNDUS TOMOGRAPHY
• Changing by using the scan position button (touch display)
Use this method when changing the scan position.
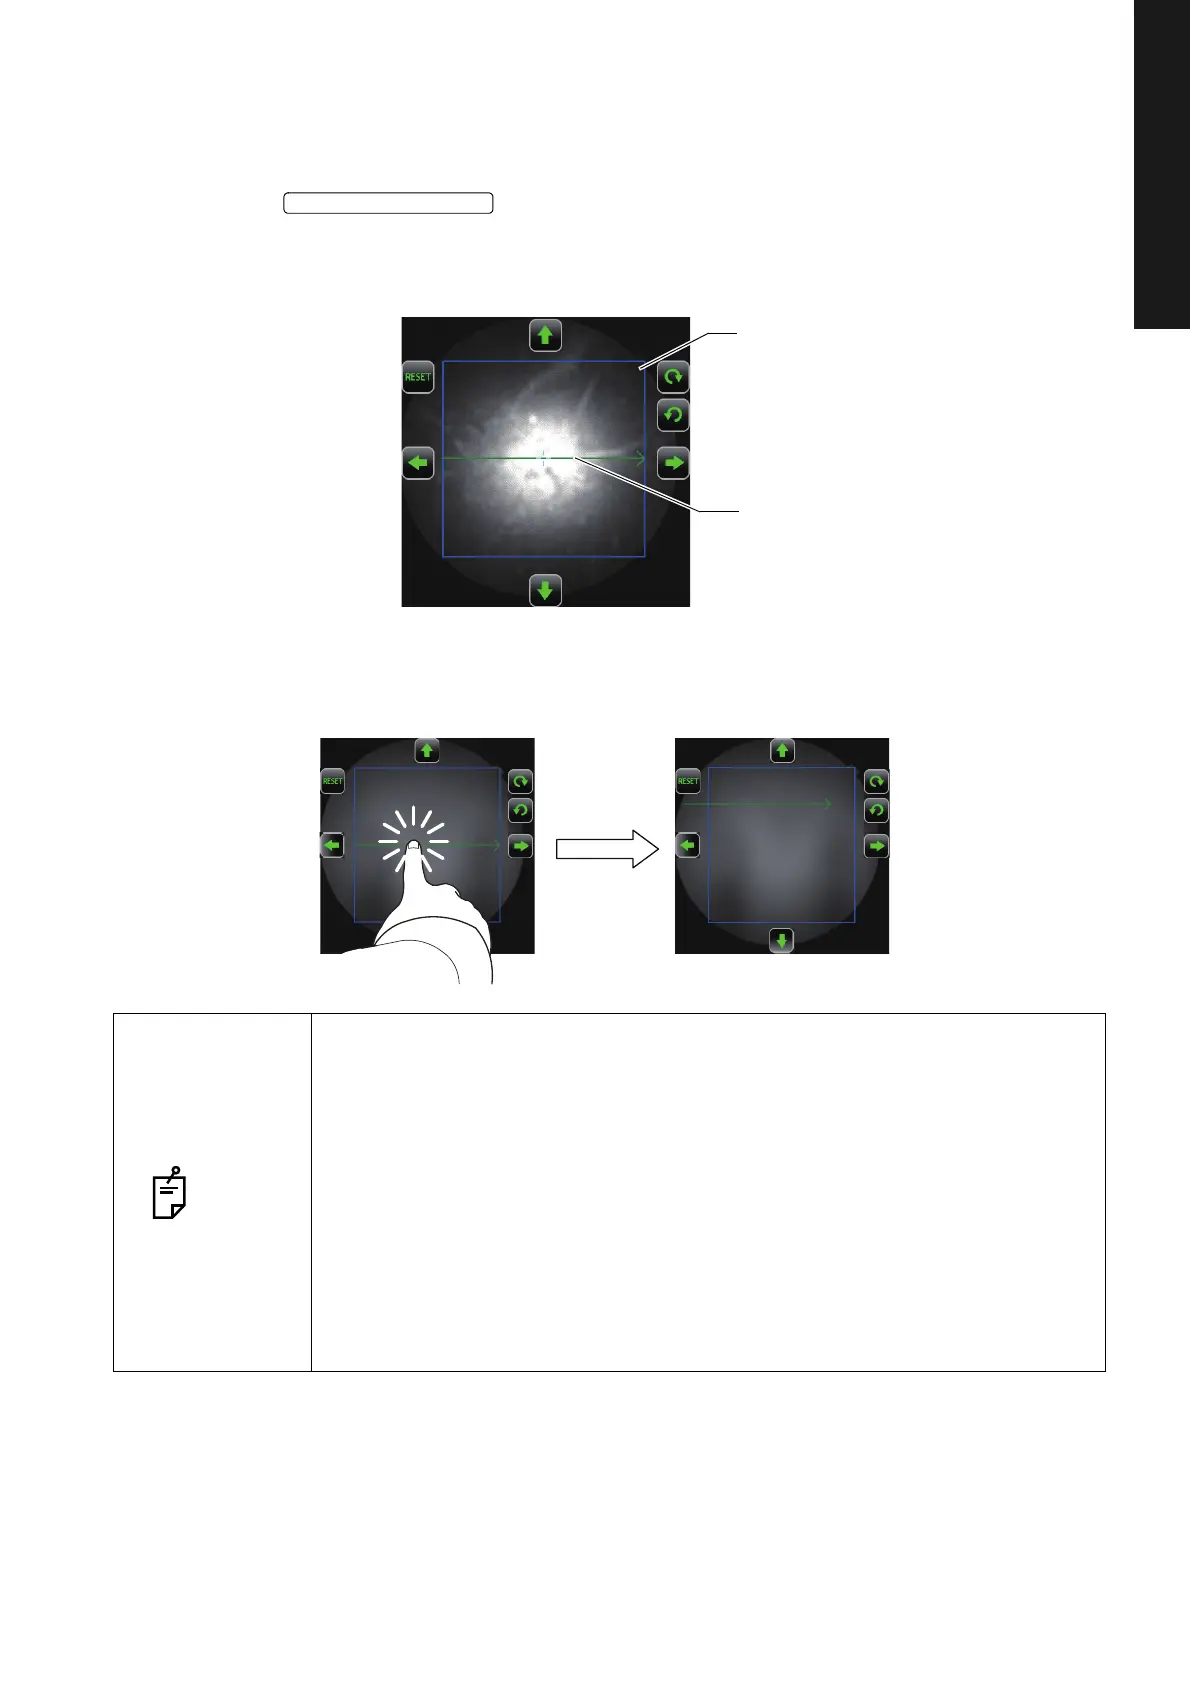
1 Tap the on Area 2 of the photography screen (OCT photography) to
access the scan position adjustment mode. On the fundus live image area, the graphic image
of the selected scan shape and range is displayed with a solid line. For the details of display,
refer to P.18.
2 Touch the scan position adjustment range indicated by a blue frame to move the scan position. For
details, refer to P.
18.
NOTE
• To adjust the picture position finely, use the fine adjustment buttons around
the image. To use "rotation", which can be adjusted only for "Line" scan and
"5 Line Cross" scan, perform the rotating adjustment with the rotation buttons
(clockwise/counterclockwise) indicated around the image. For details, refer to
P.18.
• For the scan pattern of "3D", the scan position cannot be adjusted.
• When 3 seconds have passed since the last operation, the scan pattern dis-
play status is automatically changed from "solid line" to "interrupted line". In
addition, the scan position adjustment range and fine adjustment buttons dis-
appear on the screen. The instrument exits from the scan position adjustment
mode. You can change "3 seconds" by selecting "Setting menu"
→ "Page 2"
→ "OCT" → "Scan ADJ Duration Time". It is possible to select "1, 2, 3, 5 sec".
Scan position adjustment range (blue)
Scan pattern display

 Loading...