Servicing the Blades
T o ensure a superior quality of cut, keep the blades
sharp. For convenient sharpening and replacement,
you may want to keep extra blades on hand.
Replace the blades if they hit a solid object, they are
out of balance, or a they are bent. T o ensure best
performance and continued safety conformance of
the machine, use genuine T oro replacement blades.
Replacement blades made by other manufacturers
may not meet the safety standards.
Blade Safety
• Inspect the blade periodically for wear or damage.
• Use care when checking the blades. W rap the
blades or wear gloves, and use caution when
servicing the blades. Only replace or sharpen the
blades; never straighten or weld them.
• On multi-bladed machines, take care as rotating
one blade can cause other blades to rotate.
Before Servicing the Blades
Prepare the cutting unit for maintenance; refer
to Raising and Lowering the Cutting Unit into the
Maintenance Position ( page 69 ) .
Inspecting the Blades
Service Interval : Before each use or daily
1. Raise the cutting unit into the maintenance
position.
2. Inspect the cutting edges ( Figure 88 and Figure
89 ).
3. If the edges are not sharp or have nicks, remove
and sharpen the blade.
4. Inspect the blades, especially in the sail area.
5. If you notice any cracks, wear , or a slot forming
in this area, immediately install a new blade.
Removing the Blades
Note: Since there is a left and right blade, ensure
you take note of how the blades are installed.
1. Hold the blades end using a cloth or a thickly
padded glove.
2. Remove the blade bolt, spring lock washer ,
curved washer , and blade from the spindle shaft
( Figure 88 ).
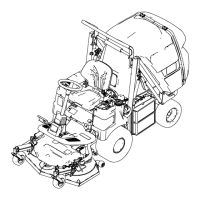
g432963
Figure 88
1. Center blade
4. Blade bolt
2. Curved washer 5. Left blade
3. Spring lock washer
6. Right blade
Sharpening and Balancing the
Blades
1. Use a le or sharpening tool to sharpen the
cutting edge at both ends of the blade ( Figure
89 ).
Note: Maintain the original angle.
Note: The blade keeps its balance if you
remove the same amount of material from both
cutting edges.
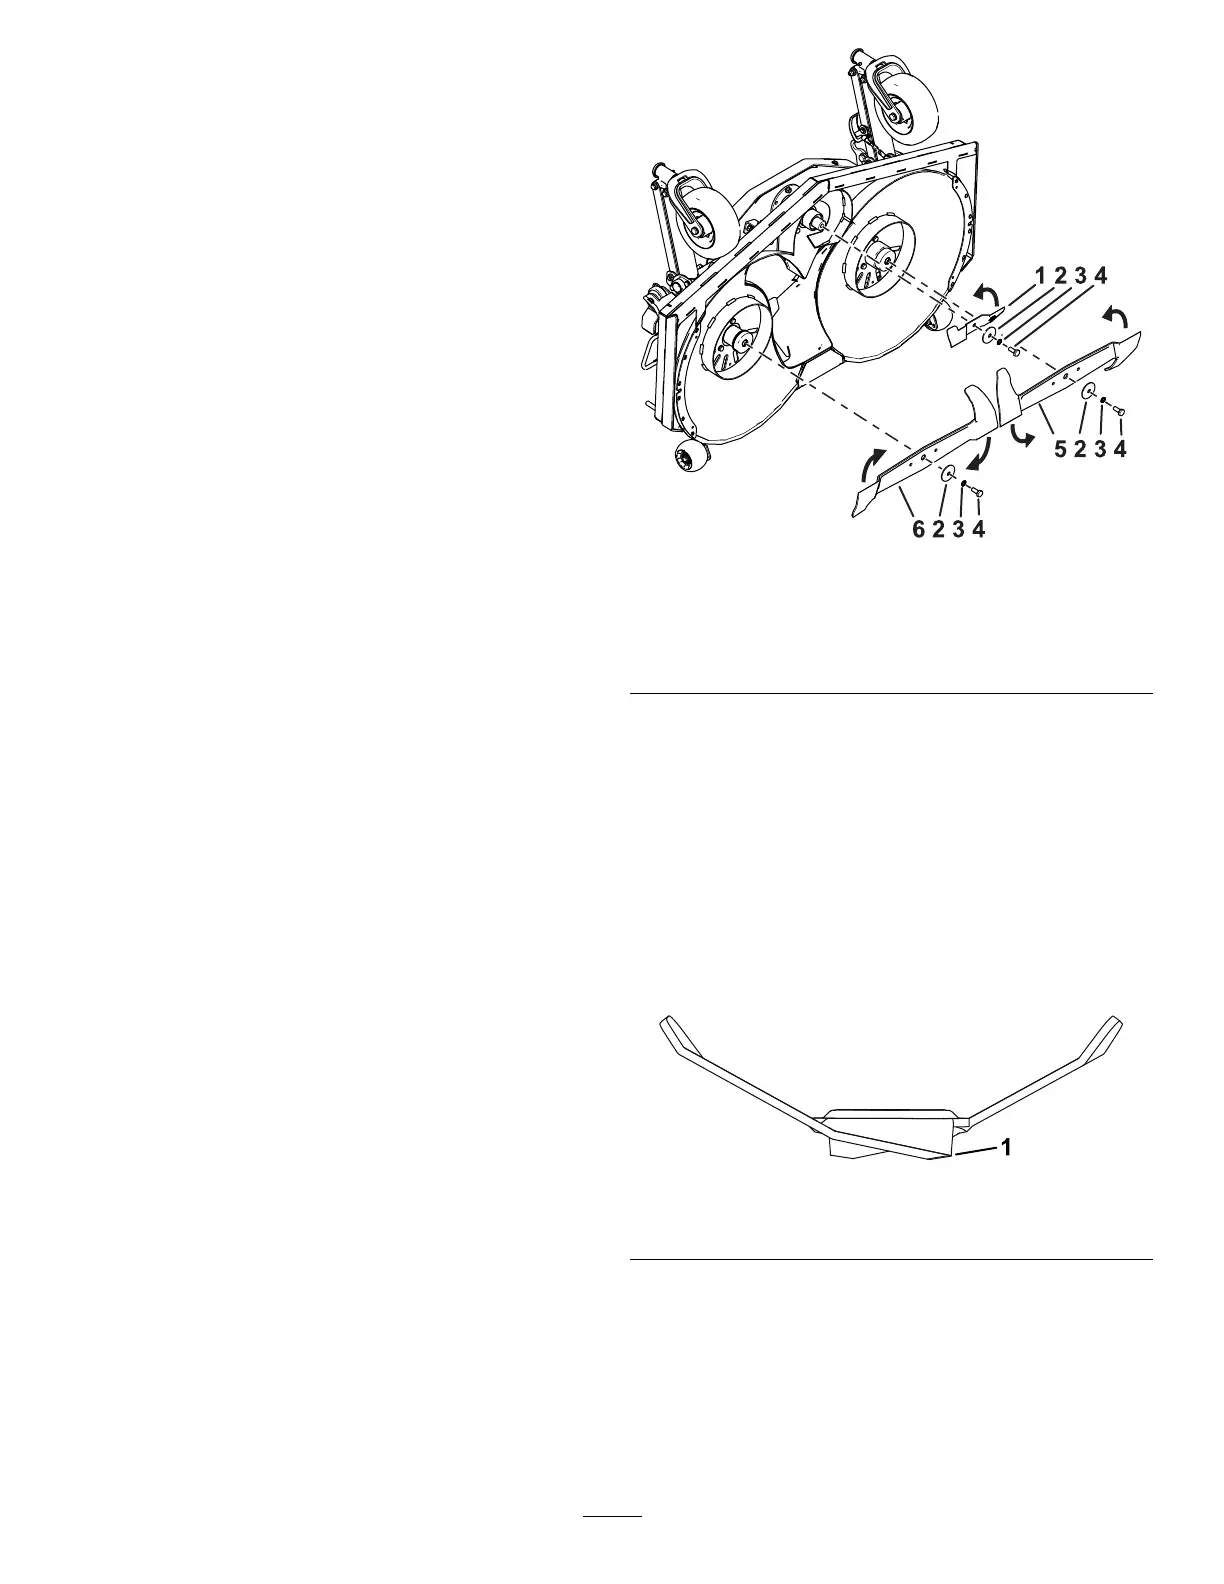
g435856
Figure 89
1. Sharpen at the original angle.
2. Check the balance of the blade by putting it on a
blade balancer ( Figure 90 ).
Note: If the blade stays in a horizontal position,
the blade balances and it is ready for use.
Note: If the blade is not balanced, le some
metal of f the heavy end of the blade in the sail
area only ( Figure 90 ).
70