57
WARNING: If damage or corrosion is found, return
your Element to an Authorized TUSA Dealer, and DO
NOT attempt to use it until it has received factory
prescribed service.
Battery Installation
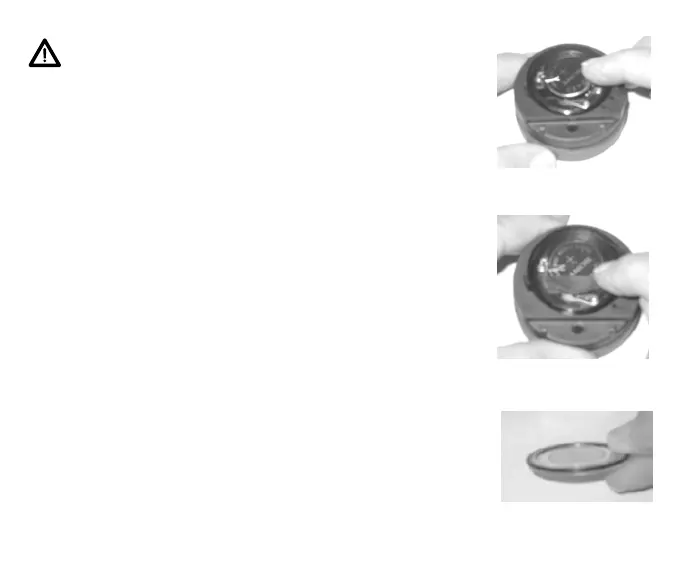
• Slide a new 3 volt type CR2450 Lithium Battery, negative
( - ) side down into the Battery Cavity. Slide it in from the
right side and ensure that it slides under the contact clip on
the left rim of the cavity (Fig. 64).
• Orient the Retaining Bar across the lower portion of the
Battery and carefully push it down into position (Fig. 65).
Battery Hatch and Hatch Retaining Ring Installation
• Replace the Hatch O-ring with a new one which must be a
genuine TUSA part.
• Lightly lubricate the new Hatch O-ring with silicone grease
and place it on the inner rim of the Battery Hatch (Fig. 66).
Ensure that it is evenly seated.
• Slide the Hatch Retaining Ring, top portion first (small open-
ing), onto your thumb.
• Carefully place the Battery Hatch (with O-ring) into position
on the rim of the Battery Compartment, then press it evenly
and completely down into place with your same thumb.
Fig. 64 -INSERTING
BATTERY
Fig. 65 - INSERTING
RETAINING BAR
Fig. 66 - O-RING ON RIM OF
HATCH