3.HYDROSTATIC TRANSMISSION
DISASSEMBLY
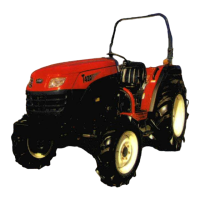
4. Remove gasket from pump assembly.
Back plate Disassembly:
NOTE:Pump and motor valve plates are
IMPORTANT: The pump body and motor
body are aluminum and can be easily
damaged by steel tools.Be careful to not
damage machined surfaces.Do not use
screw driver or other sharp objects to pry
pump or motor body from back plate.
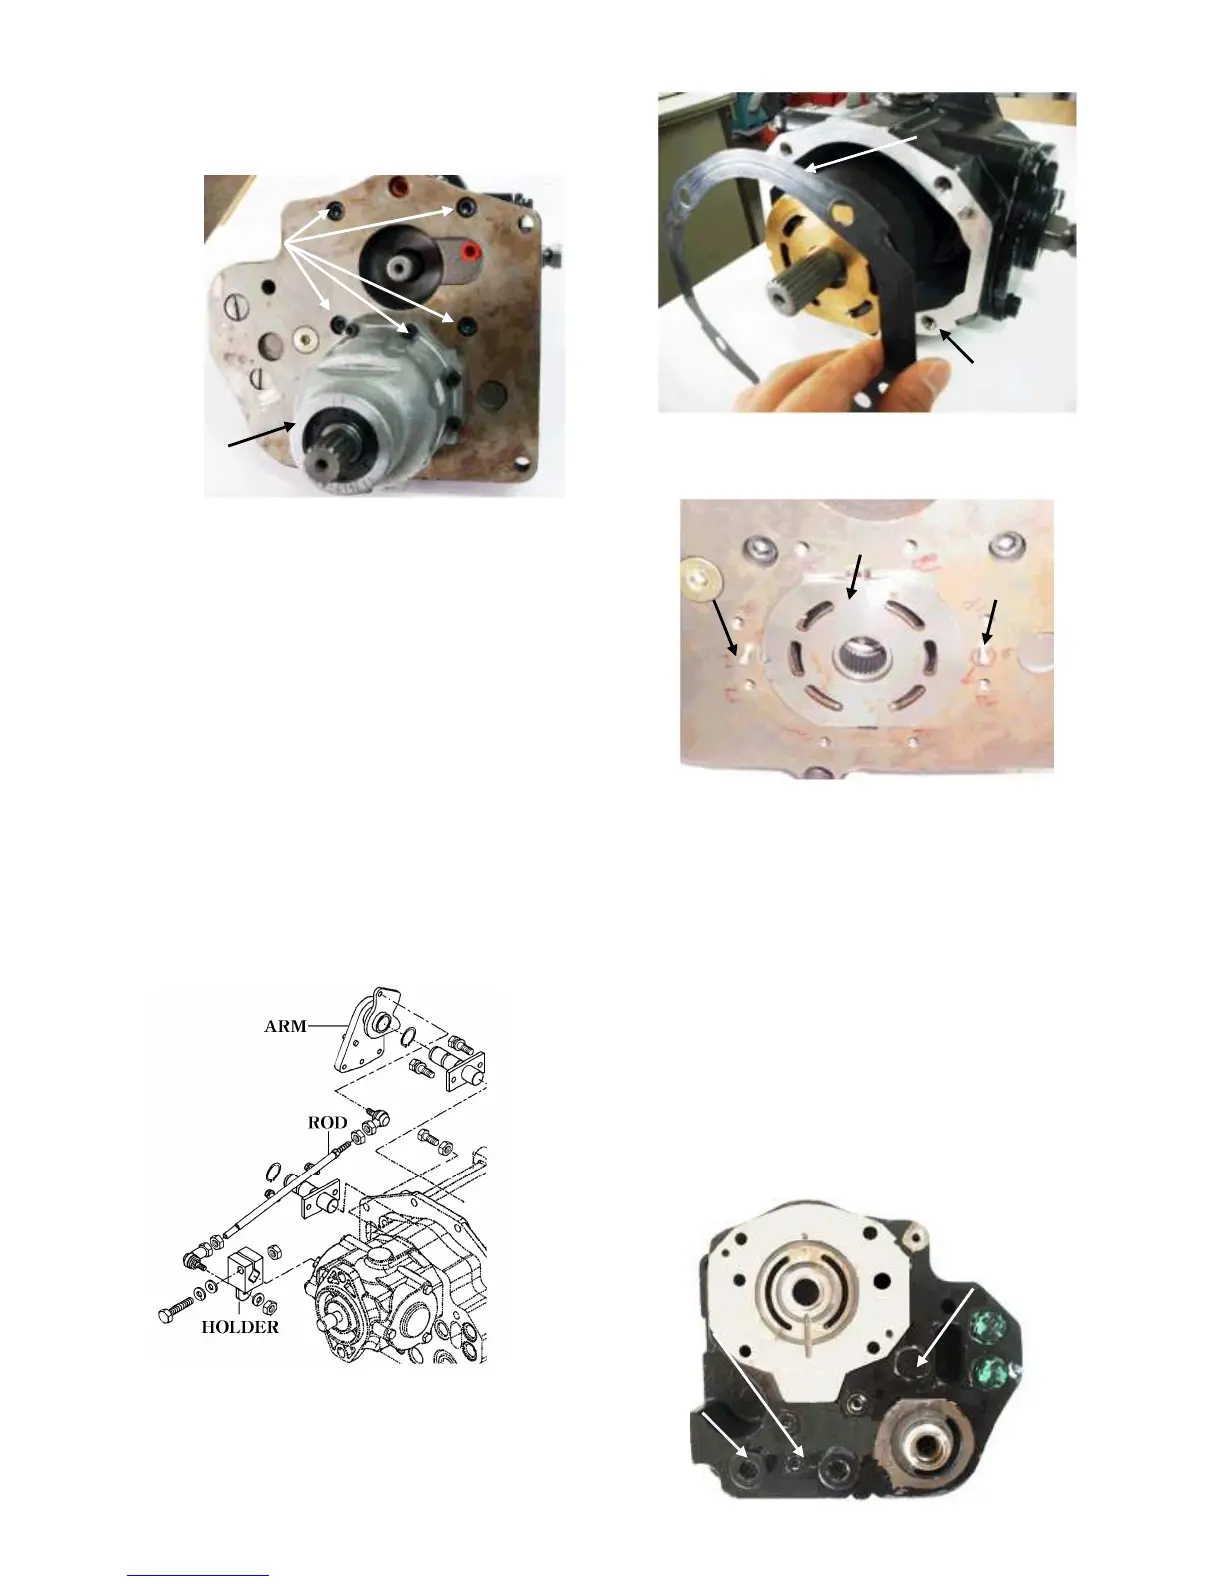
1.Remove eight socket head screws Securing
the hydrostatic motor to the back plate.tap
of the motor housing with a plastic mallet
to loosen it from the valve plate.Keep the
assembly level or tip output end down to
Cap screws
Hydrostatic
motor
Gasket
Hydrostatic
pump
Spring pin
Dowel pin
Motor valve plate
3.Remove cap screw and nut.Remove
holder and arm as an assembly.
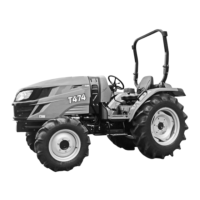
NOTE:Pump and motor valve plates are
very similar in appearance,but are not
interchangeable.Note shape of valve
plates when removing.Valve plates are
not fastened to back plate,but may
adhere slightly because of oil between
the machined surfaces.
5.Remove valve plates from the back plate.
6.Remove two dowel pins.
NOTE:Unless spring pin used to locate
valve plate is damaged or loose,do not
remove.If replacement is necessary,
Use care not to scratch the machined
surfaces of the back plate.
4-24
assembly level or tip output end down to
keep the rotating assembly from sliding off
of shaft.Pull the motor housing,shaft,and
rotating assembly away from back plate.
2.Remove the four socket head cap screws
securing the pump to the back late.
Remove pump.
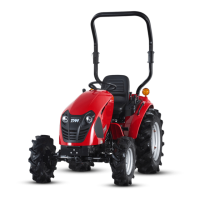
Reverse
Relief valve
Forward
Relief valve
Charge pressure
Relief valve