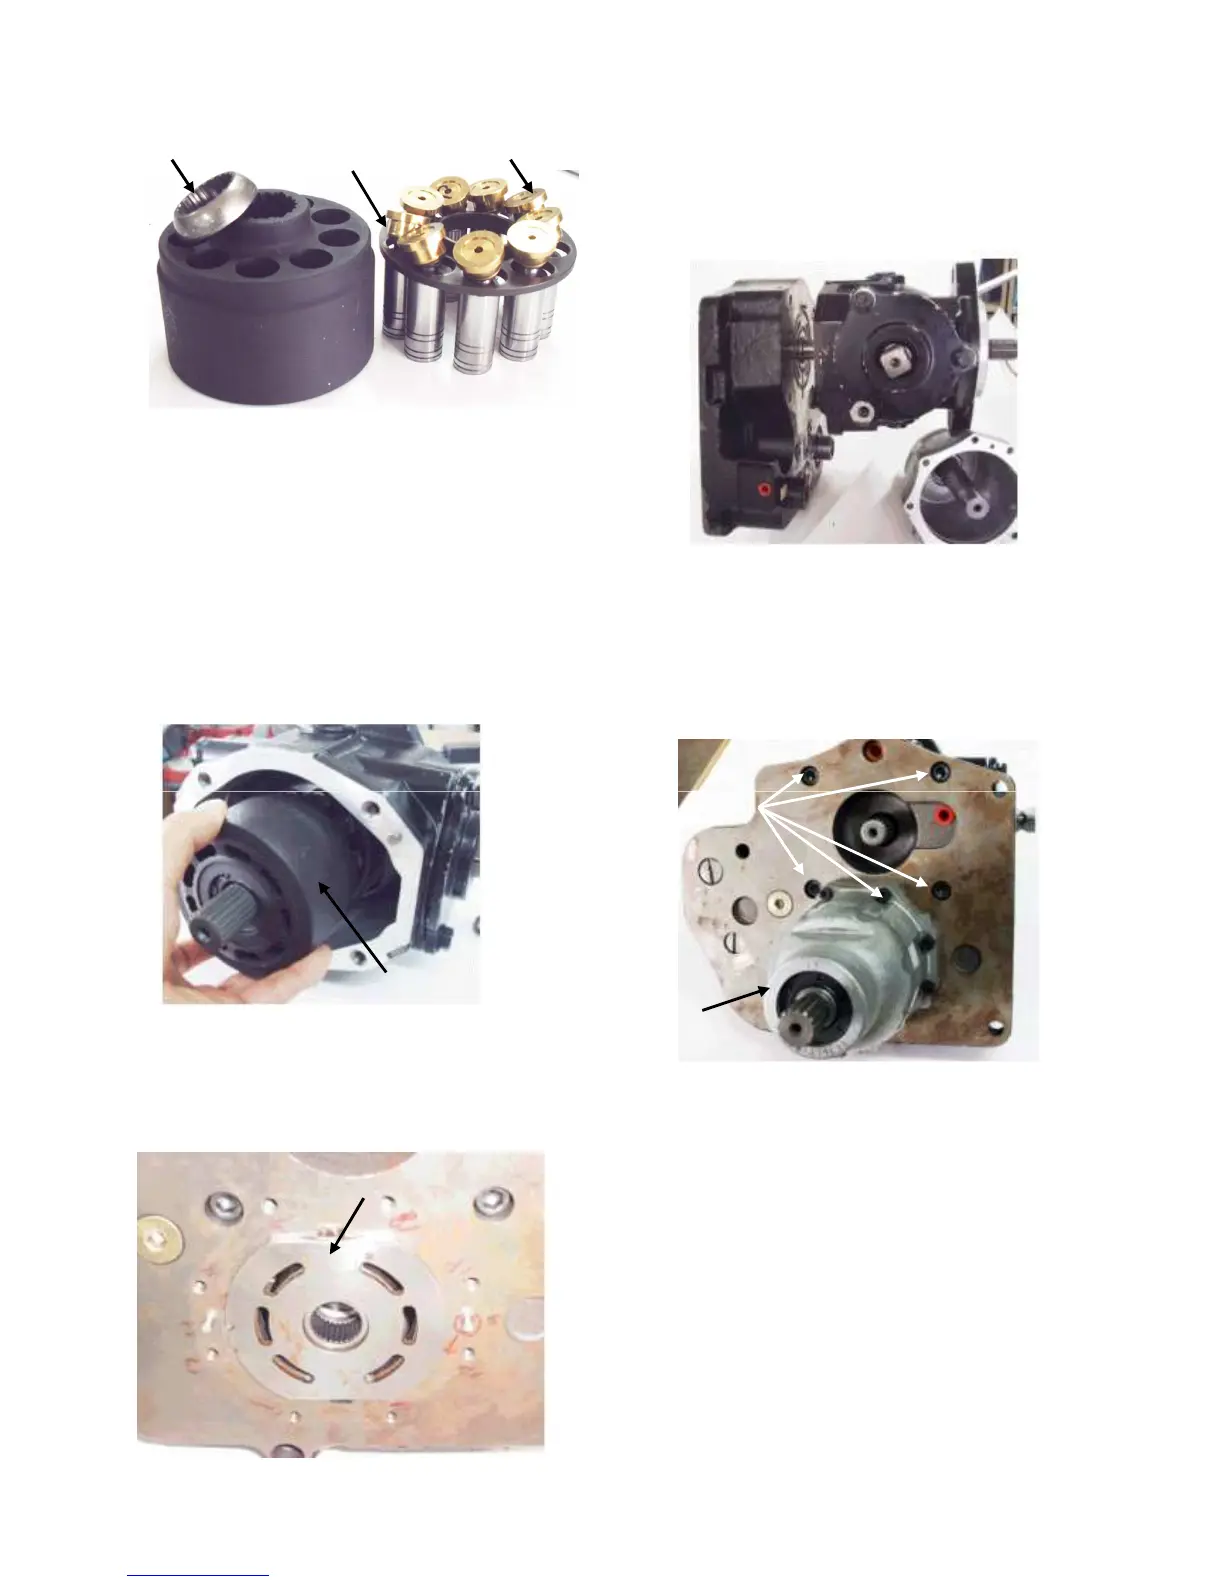
9.Place an appropriate size socket in the hole
in the piston block to keep the pivot in
place while installing the pistons.Slide the
pivot down so that the flat side rests on the
top of the three pins.
10.With the pistons in place in the spider,
lower the pistons into the piston block.
NOTE: It is not necessary to put the pistons
in the original position.Any piston can be
installed in any hole.
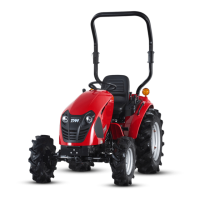
13.Apply a small amount of grease to the
steel side of the valve plate to hold it in
place during pump installation.
14.Install pump valve plate on back plate.
15.Place a new gasket on the pump.
16.Install the pump assembly on to the back
plate assembly.Make sure valve plate and
gasket stay in position.Tighten the socket
head cap screws to 37-42N.m(27-31lb-ft).
7. HYDROSTATIC MOTOR
DISASSEMBLY
Shoe face
Spider
Pivot
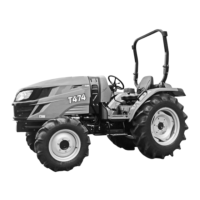
11. Tilt the pump housing so that the open
end is facing slightly downward.
12.Slide the rotating assembly up the shaft
until it meshes with the splines on the shaft.
IMPORTANT:The motor body is aluminum
and can be easily damaged by steel tools.Be
careful to not damage machined surfaces.
Do not use screw driver or other sharp
objects to pry motor body from back plate.
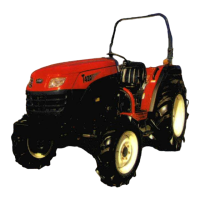
1.If not already done,remove motor from back
plate.Remove eight socket head cap screws
securing the motor to the back plate.Tap the
motor housing with a plastic mallet to loosen
it from the valve plate.Keep the assembly
level or tip output end down to keep the rotating
assembly from sliding off of shaft.Pull the motor
housing,shaft,and rotating assembly away from
back plate.
4-32
Rotating assembly
Valve plate
Cap screws
Hydrostatic
motor