UPONOR CONTROL SYSTEM WIRED - INSTALLATION AND OPERATION MANUAL
12
4.3.3 Connecting thermostats and actuators to Uponor
Controller C-33
Uponor Controller C-33 can only be used for heating. One to six
thermostats and one to eight actuators can be connected to this
controller.
To connect the first thermostat with actuators to the controller,
do this:
1. Follow the general instructions in section 4.3.1 for
connecting devices to the controller.
2. Ensure that the conditions for the auto-linking function are
met when connecting the thermostats and actuators. See
section 4.3.2
Auto linking, page 11.
3. See the wiring diagram on the foldout page for connector
positions.
4. For each thermostat, connect one wire of the thermostat to
position 1 and the other wire to position 2. See table below.
Use cables with 2×0.5 mm
2
wires for the thermostats.
5. Connect actuators controlled by the same thermostat in
groups. See the wiring diagram on the foldout page for
connector positions.
See section 4.4.1
Uponor Controller C-33 for a connection
example.
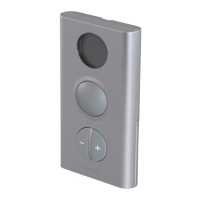
4.3.4 Connecting thermostats and actuators to Uponor
Controller C-35
Uponor Controller C-35 can be used for both heating and
cooling. One to twelve thermostats and one to fourteen actuators
can be connected to this controller.
To connect thermostats to the controller, do this:
1. Follow the general instructions in section 4.3.1 for
connecting devices to the controller.
2. Ensure that the conditions for the auto-linking function are
met when connecting the thermostats and actuators. See
section 4.3.2
Auto linking, page 11.
3. See the wiring diagram on the foldout page for connector
positions.
4. For each thermostat, connect one wire of the thermostat to
position 1 and the other wire to one of the positions 2, 3, or
4. See table below.
Use cables with 2×0.5 mm
2
wires for the thermostats.
Explanations to the different controller functions
See sections 4.4.2
Uponor Controller C-35 with three thermostats
and without timer, 4.4.4 Uponor Controller C-35 with four
thermostats and timer, and 4.4.5 Uponor Controller C-35 with
four thermostats, timer and heating–cooling switch for
connection examples.
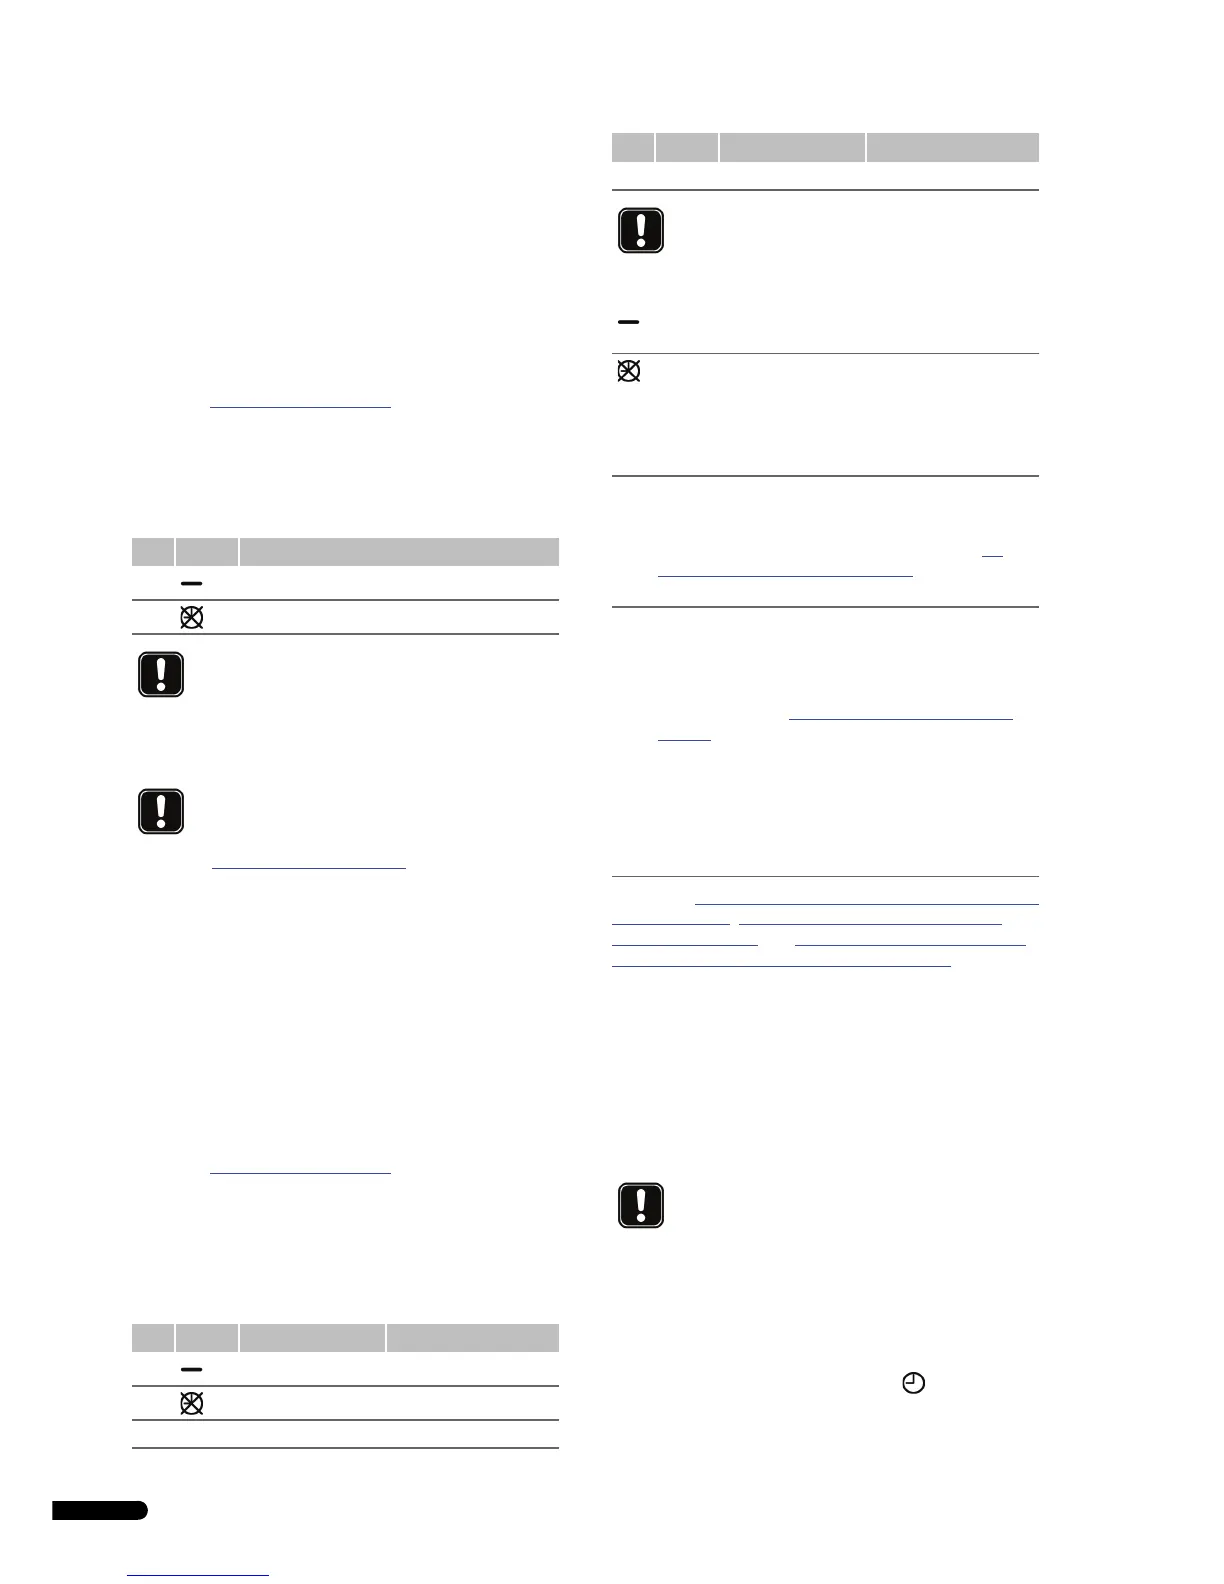
4.3.5 Connecting a timer
Uponor Control System Wired can be equipped with a timer to
add energy-saving features and define independent zones. The
timer has two programming zones. Each zone offers four
programming options, including one that can be personalized,
thus enabling different programmes to be created for each day of
the week.
To connect a timer to the controller, do this:
1. Follow the general instructions in section 4.3.1 for
connecting devices to the controller.
2. See the wiring diagram on the foldout page for connector
positions.
3. Connect the timer to positions 1 and 2, .
4. Tighten the screws of the cable clamps to fix the timer cable.
Pos. Label Heating
1 Common terminal
2No timer control
NOTE!
The two wires from the thermostat are non-polarized.
NOTE!
The two wires from the actuator are non-polarized.
Pos. Label Heating Cooling
1 Common terminal Common terminal
2 No timer control No timer control
3 Z1 Timer control zone 1 Timer control
4 Z2 Timer control zone 2 No cooling for this room
NOTE!
The two wires from the thermostat are non-polarized.
Common terminal. One wire from the thermostat must
always be connected to this position.
Thermostats must always be connected to this position
with the second wire if the controller is not provided with
a timer.
This position must also be used for thermostats if the
timer function is not to be used in the related room.
Z1 Thermostats can be connected to this position to use the
timer function in the related room. The timer is used to
switch the temperature between two temperature levels,
comfort and ECO (economy level). See section 10
Operating Uponor Timer I-36, page 33 for programming
details.
Z2 Heating mode
The Z2 position is an alternative position for connecting
thermostats to use the timer function. It is possible to
have two different timer schemes for different rooms in a
house. See section 10
Operating Uponor Timer I-36,
page 33 for programming details.
Heating and cooling mode
When the thermostat is connected to position Z2, the
cooling function is disabled in the related room. The
heating function is working as described in Heating
mode above.
NOTE!
The timer is not available for Uponor Controller C-33.
Pos. Label Heating Cooling