UPONOR CONTROL SYSTEM WIRED - INSTALLATION AND OPERATION MANUAL
20
Connecting the cable to the controller is described in section
4.3
Connecting components to controller, page 10.
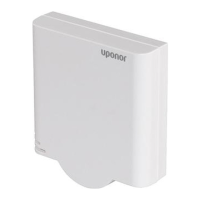
5.4 Installing Uponor Thermostats T-35, T-
33, and T-37
The three thermostat types Thermostat T-35, T-33 Public, and T-
-37 are similar in design but have the following differentiatng
characteristics:
5.4.1 Opening the thermostats
To open the thermostats:
1. (T-33 only) Unscrew the screw fixing the cover to thermostat
box.
2. Insert a flat-bladed screwdriver from underneath and push it
gently to release the latch.
3. Pull off the thermostat cover.
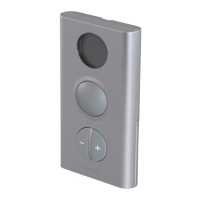
5.4.2 Mounting thermostats onto a wall
The Uponor thermostats are delivered in kits including screws and
wall plugs. The Uponor thermostats can be mounted either
directly onto a wall or using a 60 mm European wall box. See
figure below.
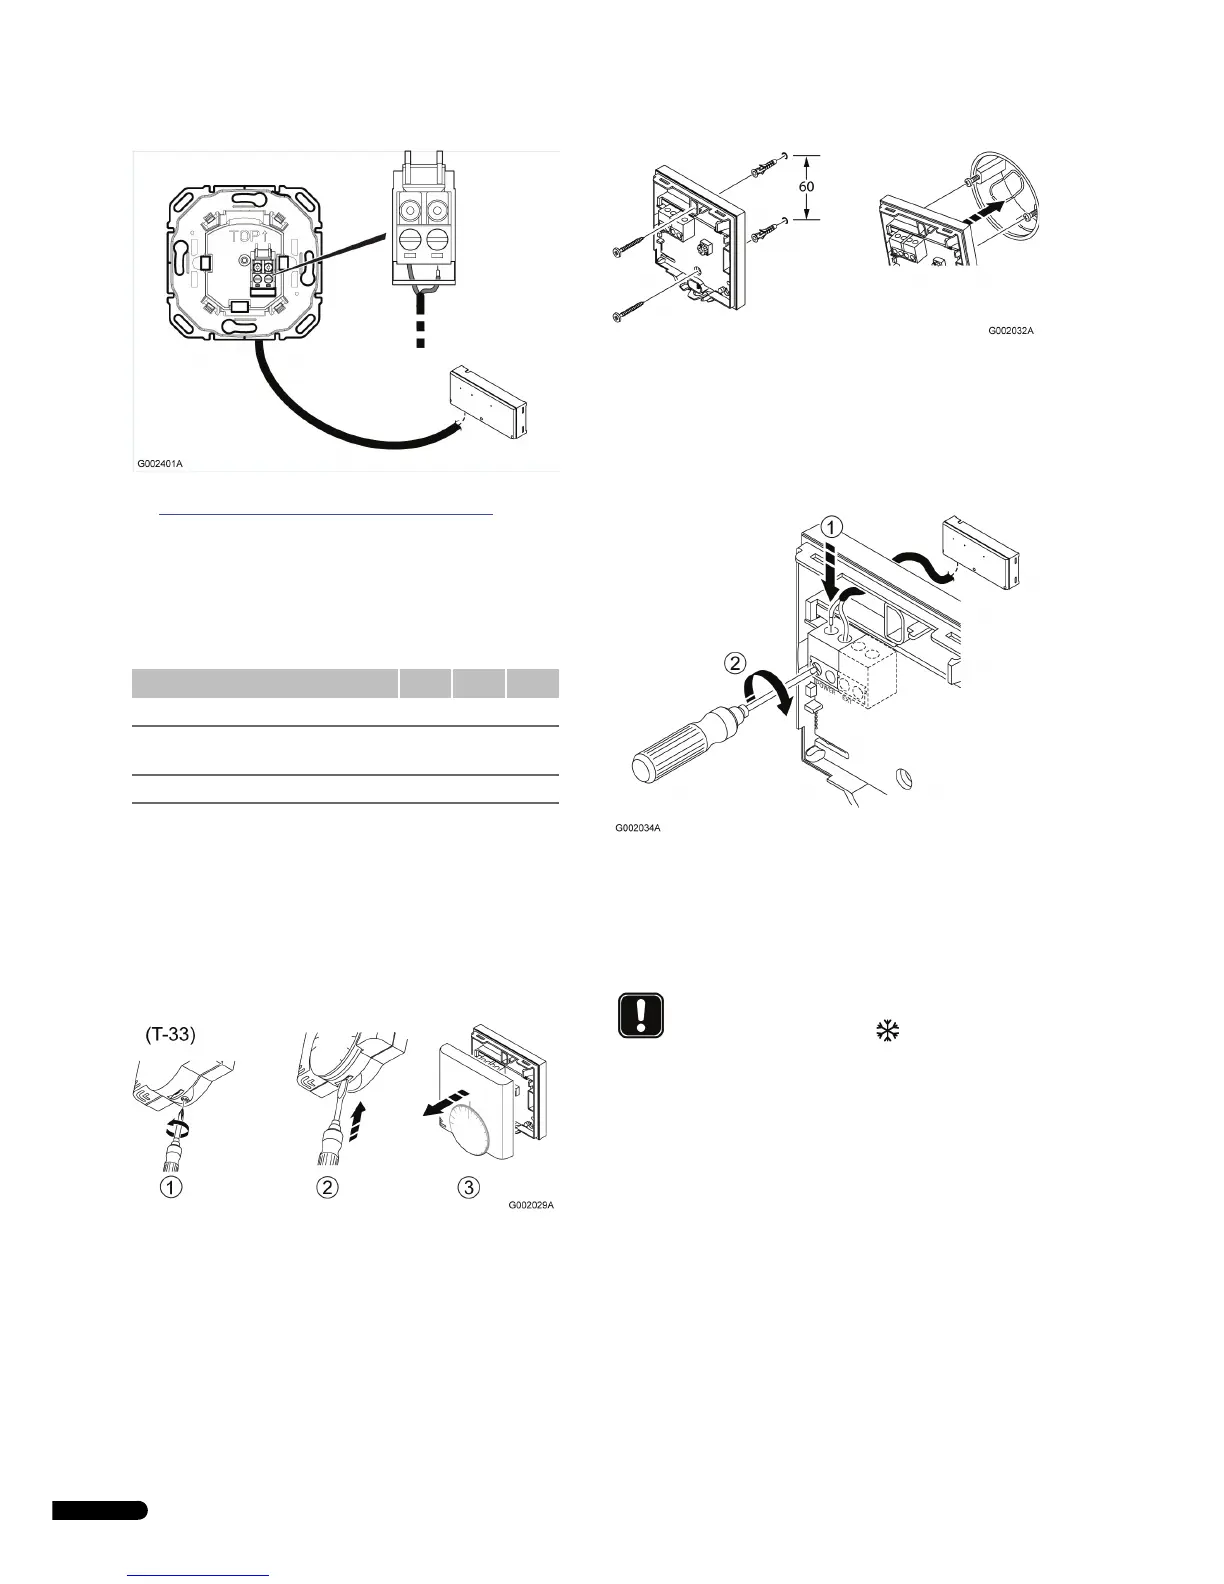
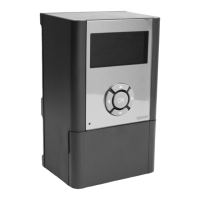
5.4.3 Connecting thermostats to controller
To connect the thermostat to the controller:
1. Insert the two wires of the thermostat cable into the
connector labelled POWER.
2. Tighten the screws fixing the wires in the connector.
Setting the room temperature potentiometer in Uponor
Thermostat T-33
In Uponor Thermostat T-33 the temperature setpoint is adjusted
with a potentiometer.
• Minimum temperature range: +5 °C to +30 °C
To set the room sensor potentiometer:
1. Use a cross-headed screwdriver to set the potentiometer. See
figure below.
Characteristic T-35 T-33 T-37
Setpoint adjusted with dial Yes No Yes
Setpoint adjusted with internal
potentiometer
No Yes No
Optional connection of floor sensor No Yes Yes
NOTE!
The frost protection symbol, , denotes the
minimum temperature, +5 °C.