UPONOR CONTROL SYSTEM WIRED - INSTALLATION AND OPERATION MANUAL
28
9.5 Parameter and mode settings menu
To enter the parameter and mode settings menu:
1. Press and hold the OK button for three seconds to enter the
settings menu.
• T-38: The first menu, CLK (clock), is displayed
• T-36: The first menu, MOD (mode), is displayed
2. Press the + button repeatedly to reach the other menus.
The menus are presented in the following order:
Uponor Thermostat T-36
• MOD (regulation choices)
• BAL (balancing mode)
• ECO (economy mode)
• CAL (calibration)
• OFF (standby mode)
Uponor Thermostat T-38
• CLK (clock)
• PRG (programming)
• HOL (holiday mode)
• MOD (regulation choices)
• BAL (balancing mode)
• T °C (temperature setpoint)
• CAL (calibration)
• OFF (standby mode)
3. Press the -button to run the menu sequence in opposite
order.
4. Press and hold the OK button for three seconds to exit the
settings menu.
9.6 CLK – Clock settings (T-38 only)
The clock menu is used to set date and time.
To set the clock parameters:
1. Press and hold the OK key for 3 seconds.
The next screen displays CLK (clock).
2. Press OK to enter the clock menu.
The screen displays YR (year) and four digits designating the
year are blinking.
3. Press the + and - buttons to change the setting.
4. Press OK to confirm the setting.
The screen displays MTH (month) and two digits designating
the month are blinking.
5. Press the + and - buttons to change the setting.
6. Press OK to confirm the setting.
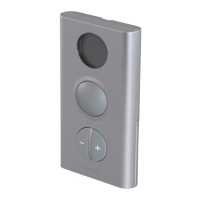
The screen displays DAY (day) and two digits designating the
date are blinking.
7. Press the + and - buttons to change the setting.
8. Press OK to confirm the setting.
The screen displays TME (time) and either 24:H or AM/PM
12:H, designating the time format are blinking.
9. Press the + and - buttons to change the setting.
10. Press OK to confirm the setting.
The screen displays TME (time) and four digits designating
the time are blinking.
11. Press the + and - buttons to change the setting:
• Press once and the time setting increments with a 1
minute step.
• Press continuously and the time setting increments with
1 minute steps, after a few seconds increments are made
with 10 minute steps and then 1 hour steps.
12. Press OK to confirm the setting.
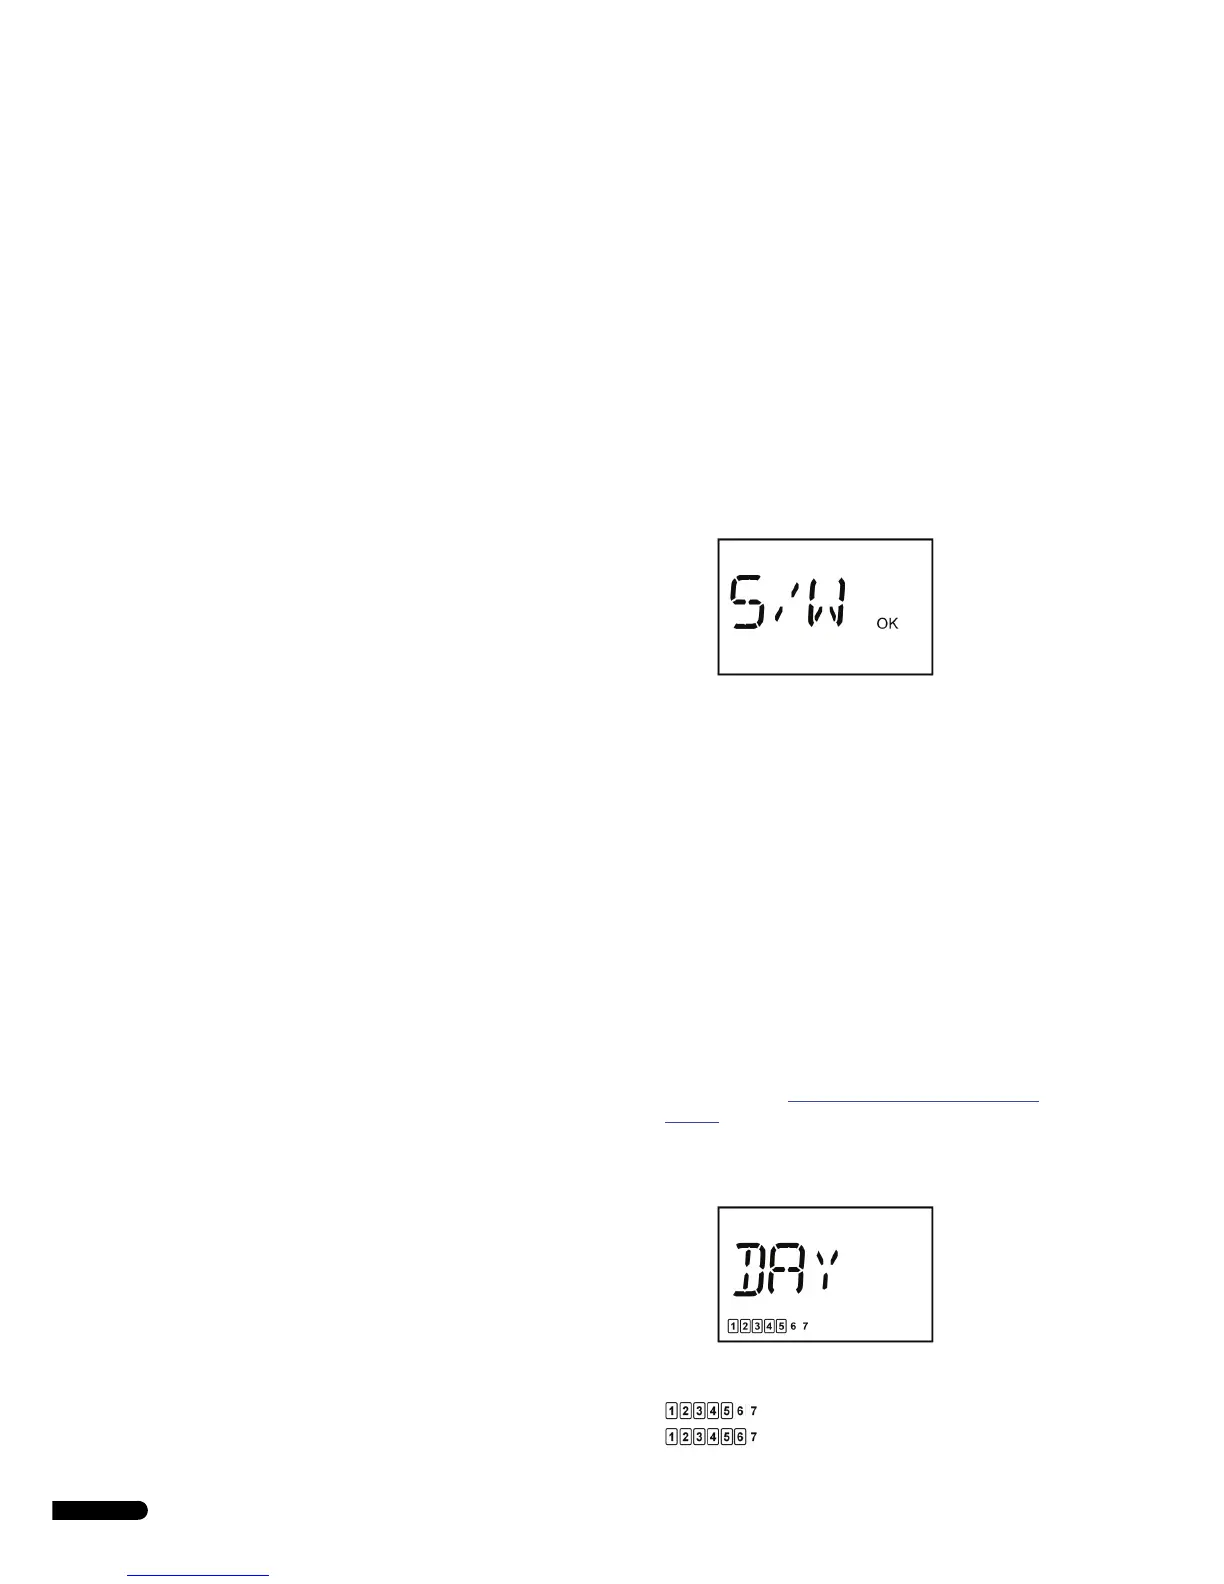
The screen displays S/W (summer-winter time).
Two alternatives are selectable:
• S/W and OK displayed: Automatic change of summer-
winter time activated
• S/W only displayed: Automatic change of summer-
winter time dis-activated
Example: Automatic summer-winter time change selected.
13. Press OK to confirm the setting and proceed to the next
menu, PRG.
9.7 PRG – Programming (T-38 only)
The programming menu is used to adjust the settings for comfort
and economy modes.
To change the programming:
1. When PRG is displayed, press OK to enter the menu.
The next screen displays one of the following:
• ON, programming is enabled (default setting)
• OFF, programming is disabled
2. Press the + and - buttons to select the setting ON or OFF.
Then select one of the following alternatives to proceed:
a. From setting ON, press OK to start the programming,
see step 3. below.
b. From setting OFF, press OK to proceed to the next
menu, see section 9.8
HOL – Holiday mode (T-38 only),
page 29
3. When PRG is displayed, press OK to enter the menu.
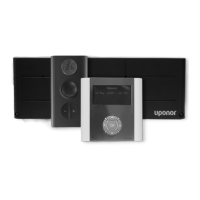
The group of days flashes (day numbers with frames).
4. Press + or - successively to select the group of days.
There are three alternatives:
• Monday till Friday, default setting
• Monday till Saturday