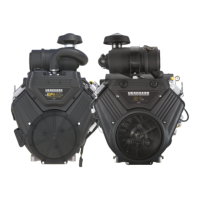
Oil Cooler
1. Remove the fastener (A, Figure 33) to release oil cooler
top bracket(B)from blower housing.
33
2. Remove the 2 fasteners (C) to release bottom bracket
from back plate.
3. Squeeze tangs and move hose clamps(D)away
fromdiverter oil inlet and outlet fittings. Remove hoses
fromdiverter. Use theFuel Line Removal Tool for best
results. See SECTION 3 - TROUBLESHOOTING -
Special Tool List.
4. Drain any remaining engine oil within the oil cooler to an
appropriate disposal container.
Oil Diverter Valve and Drip Tray
1. Rotate hex (A, Figure 34) to release adapter (B) and
diverter (C) from crankcase flange.
34
2. Remove o-ring (D) from diverter groove.
3. If equipped, remove the 2 fasteners (A, Figure 35) that
secure the oil drip tray to the engine block.
4. Remove the drip tray from the engine block and set
aside.
35
Oil Pressure Switch
1. Remove the electrical connector and wire from the oil
pressure switch terminal (A, Figure 36).
2. Remove the oil pressure switch from the engine (B).
NOTE: Wrap a shop tower around the oil pressure switch to
catch any residual engine oil.
36
51

 Loading...