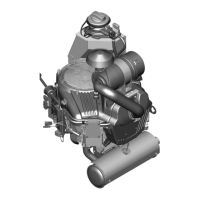
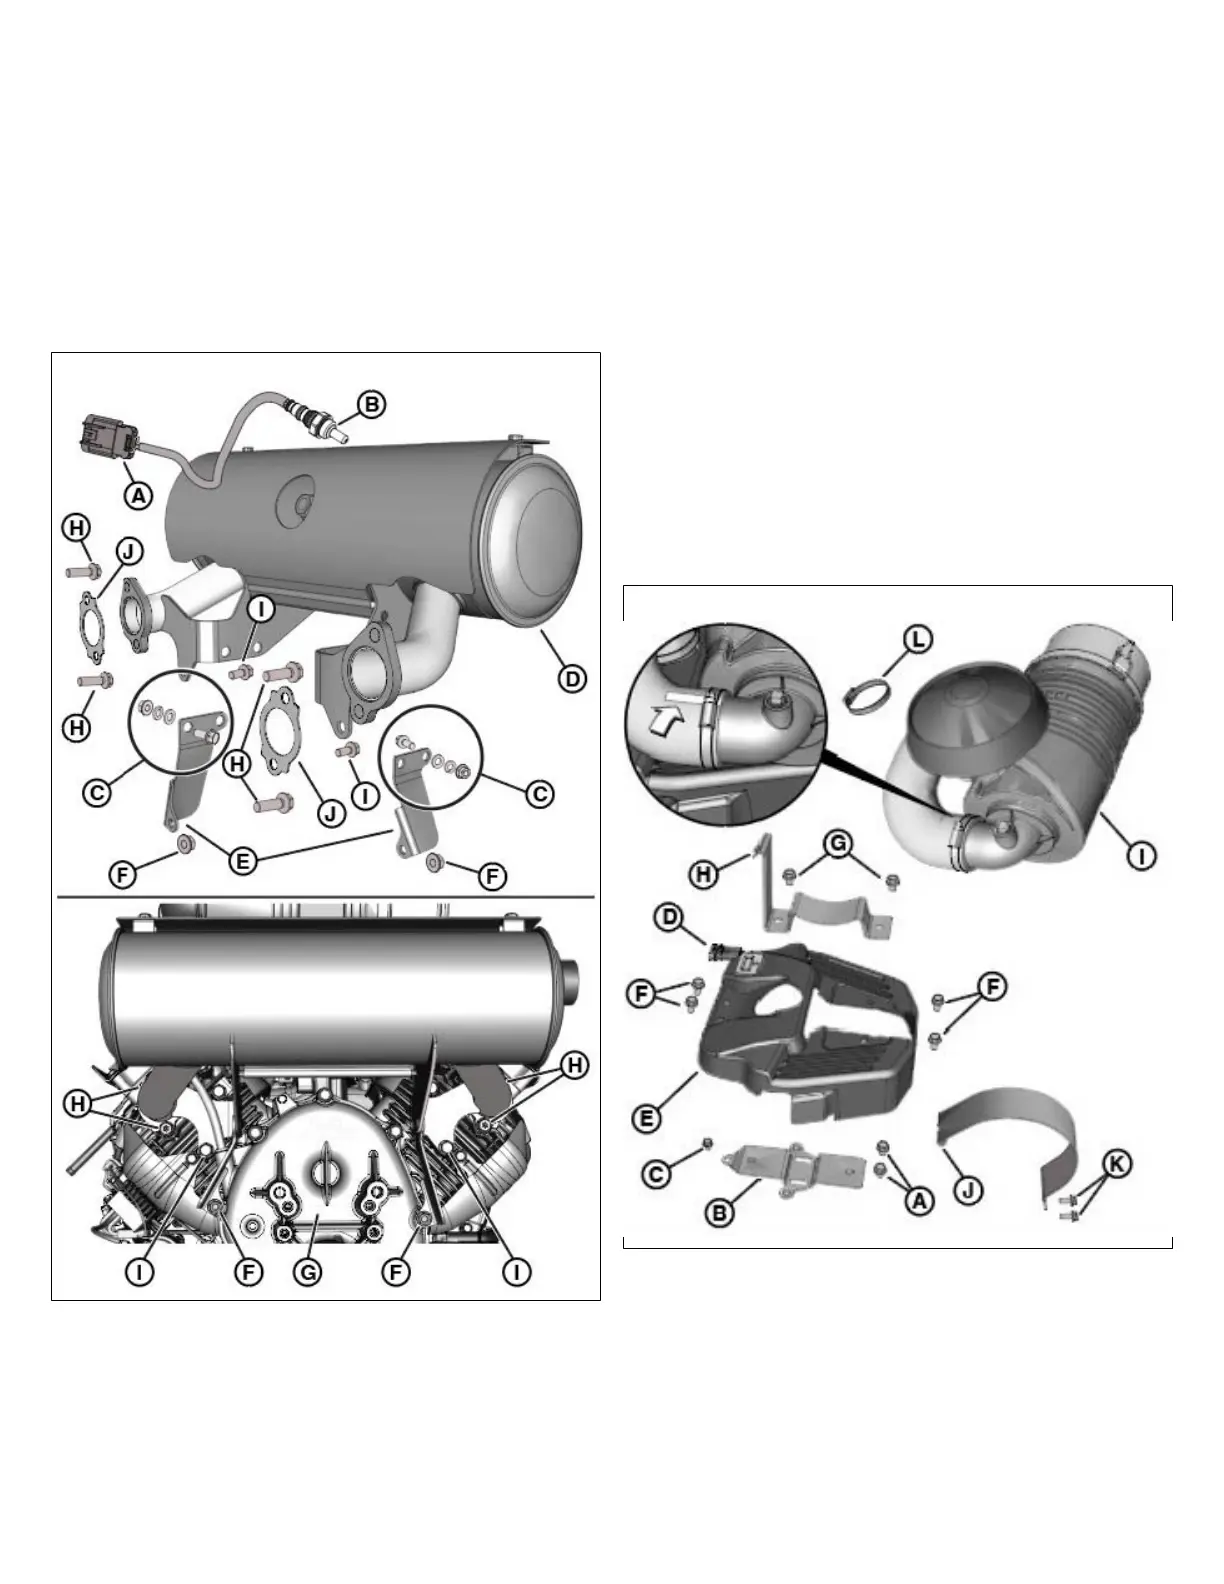
Muffler
1. If equipped with optional muffler bracket support,
proceed as follows:
A. Install 2 fasteners (F, Figure 218) to fasten bracket
supports (E) to crankcase cover () studs. Tighten to
195 lb-in (22 Nm).
B. Install fastener, flat washer, lock washer, and hex
nut (C) to fasten muffler (D) bracket to bracket
supports. Tighten nuts to 195 lb-in (22 Nm).
218
2. Verify that exhaust manifold and cylinder head flanges
are clean and dry. Install new gaskets (J) onto exhaust
manifold flanges.
3. Apply anti-seize compound to threads of 4 fasteners (H),
and then install to fasten muffler manifolds to cylinder
heads. Tighten fasteners to 195 lb-in (22 Nm).
NOTE: Depending on your engine model and trim, the
mufflermanifold to cylinder head fastener may be replaced
with studs and nuts.Apply anti-seize compound to threads of
studs and tighten nuts to 195 lb-in(22 Nm).
4. Install 2 fasteners (I) to fasten muffler bracket to
crankcase. Tighten screws to 195 lb-in (22 Nm).
5. If removed, rotate sensor body hex clockwise to fasten
O
2
sensor (B) to muffler. Tighten sensor to 160 lb-in (18
Nm).
6. Connect O
2
sensor connector (A).
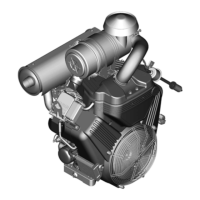
Air Cleaner Assembly - Cyclonic
1. Install 2 fasteners (A, Figure 219) to secure air cleaner
bottom bracket (B) to fuel pump module bracket support.
Tighten to 138 lb-in (15.6 Nm).
219
2. Install fastener (C) to secure air cleaner bottom bracket
to air intake elbow. Tighten to 90 lb-in (10.2 Nm).
3. If equipped, connect MIL/tachometer/hourmeter
connector (D) at back of top cover (E).
4. Install 4 fasteners (F) to secure top cover toair intake
elbow and air cleaner bottom bracket. Alternately tighten
to 90 lb-in (10.2 Nm).
5. Install 2 fasteners (G) to secure air cleaner top bracket
(H) to air cleaner bottom bracket. Tighten to 138 lb-in
(15.6 Nm).
156 vanguardpower.com
 Loading...